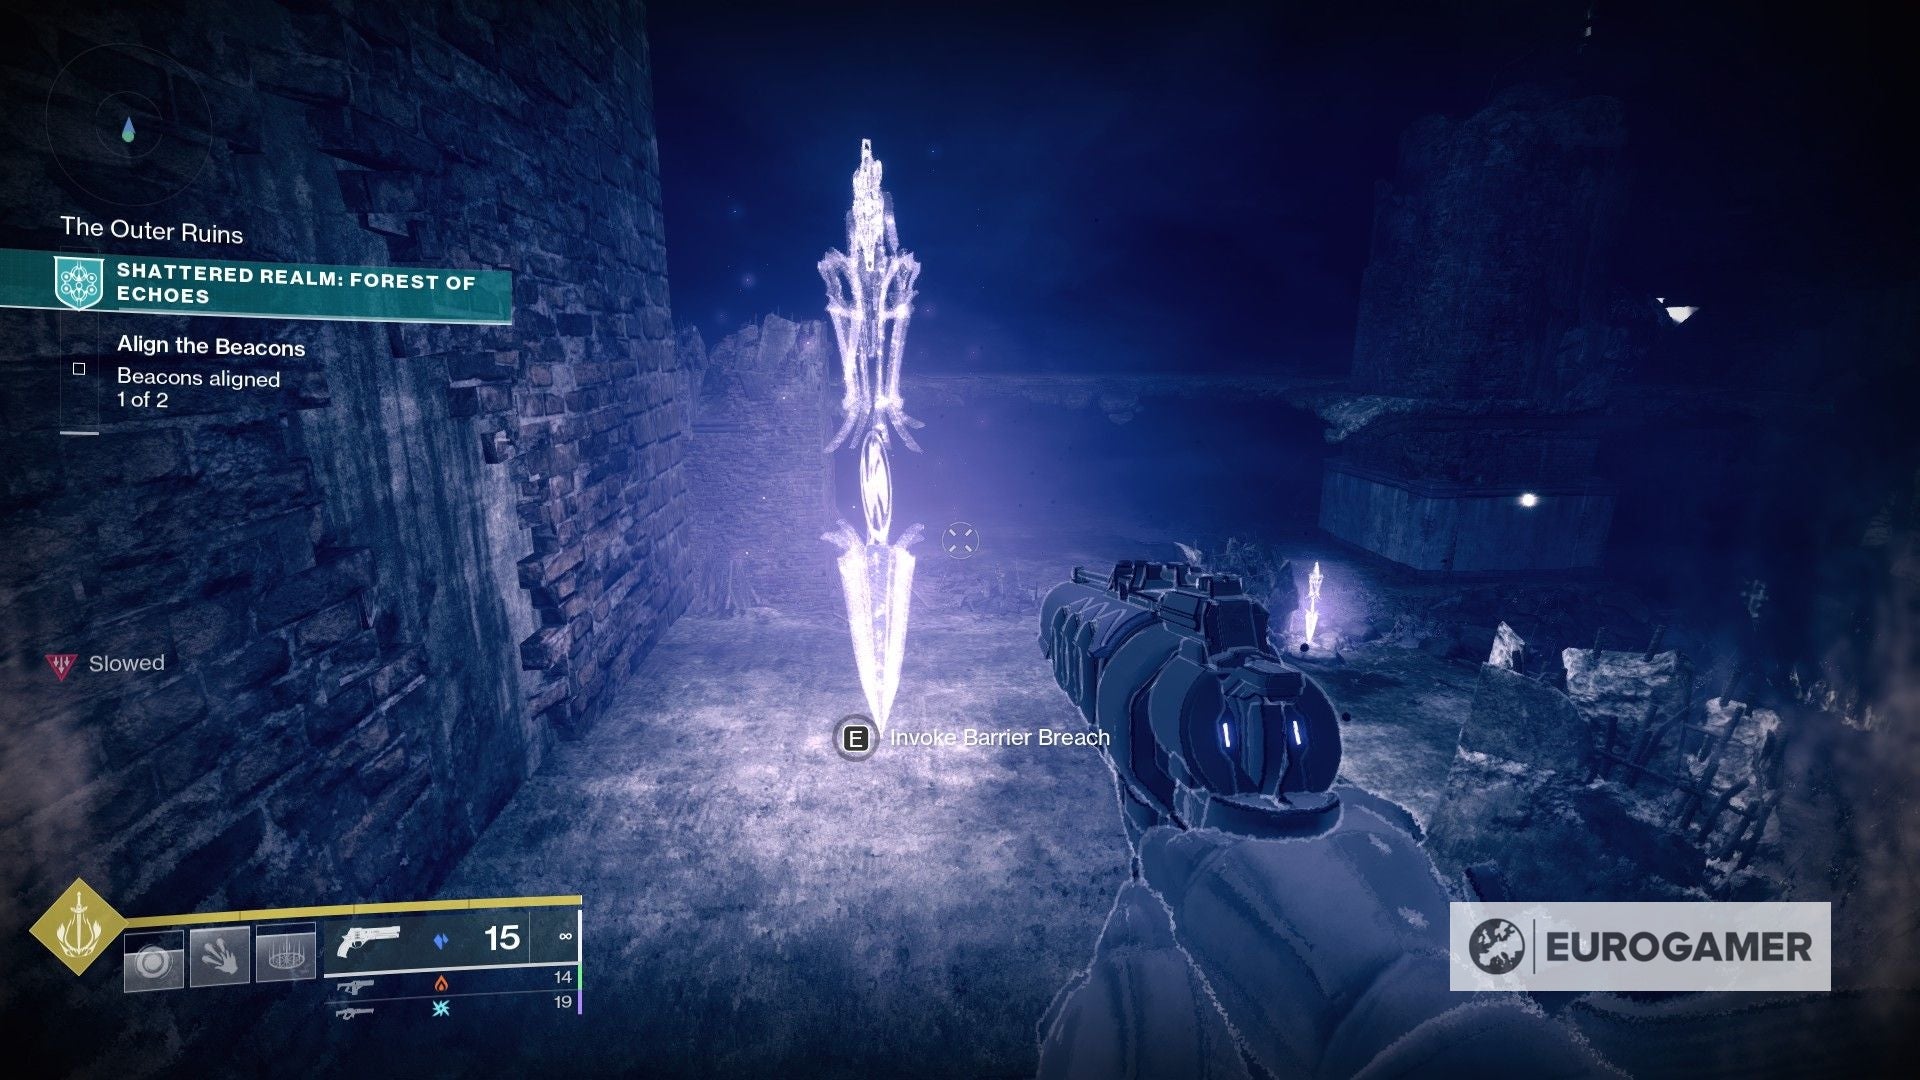
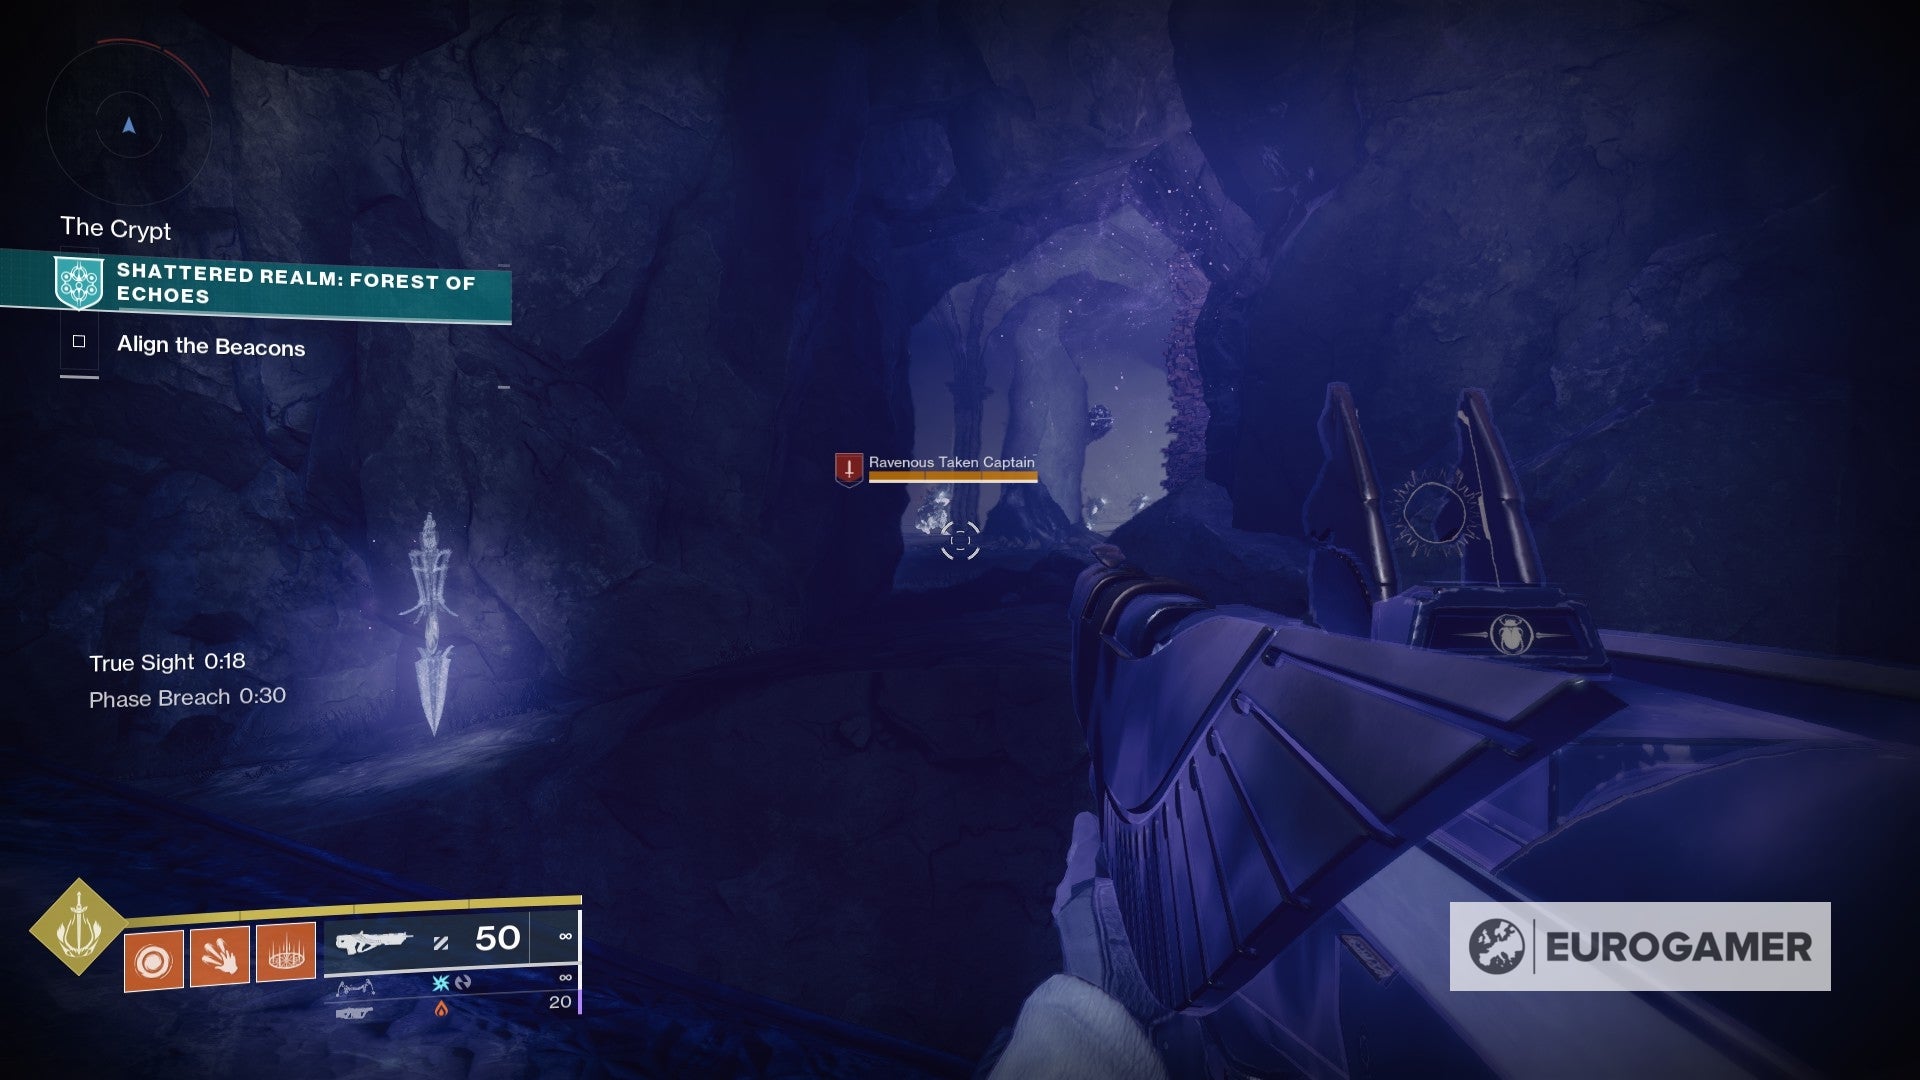
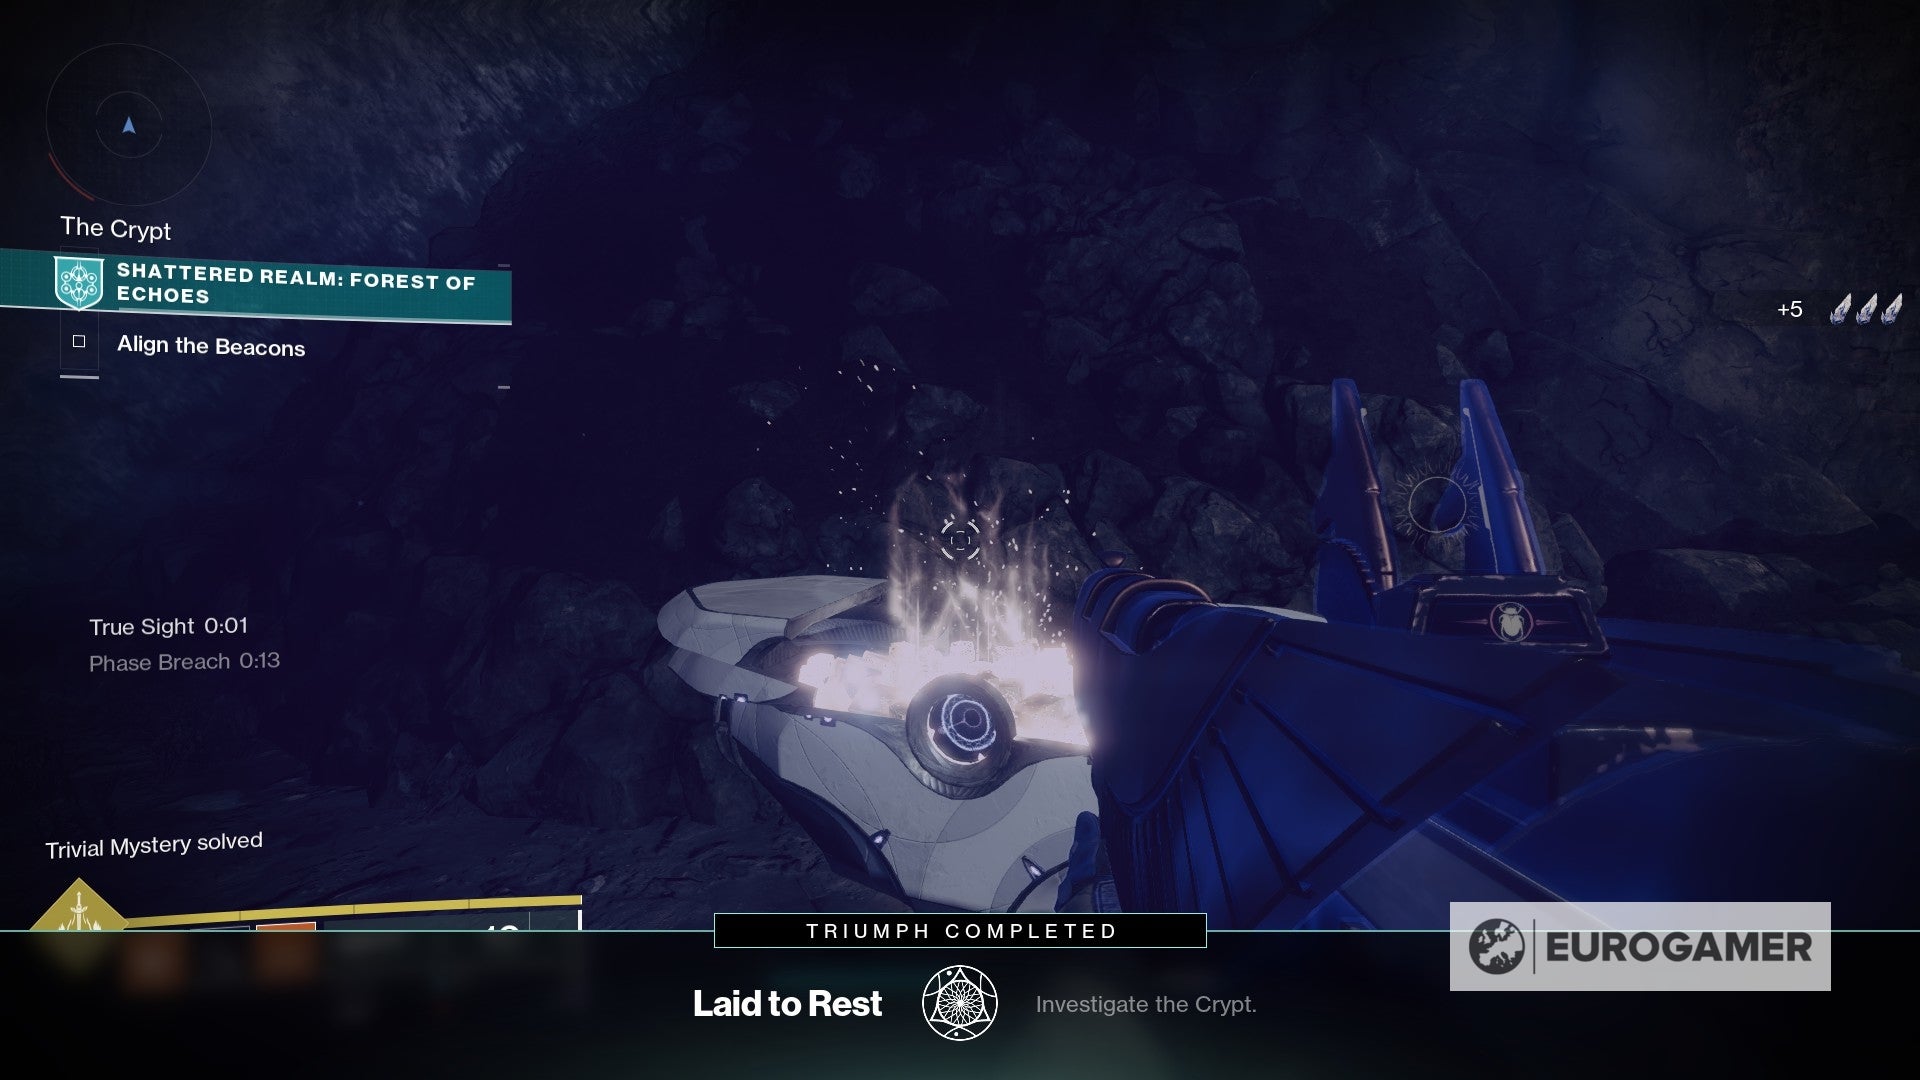
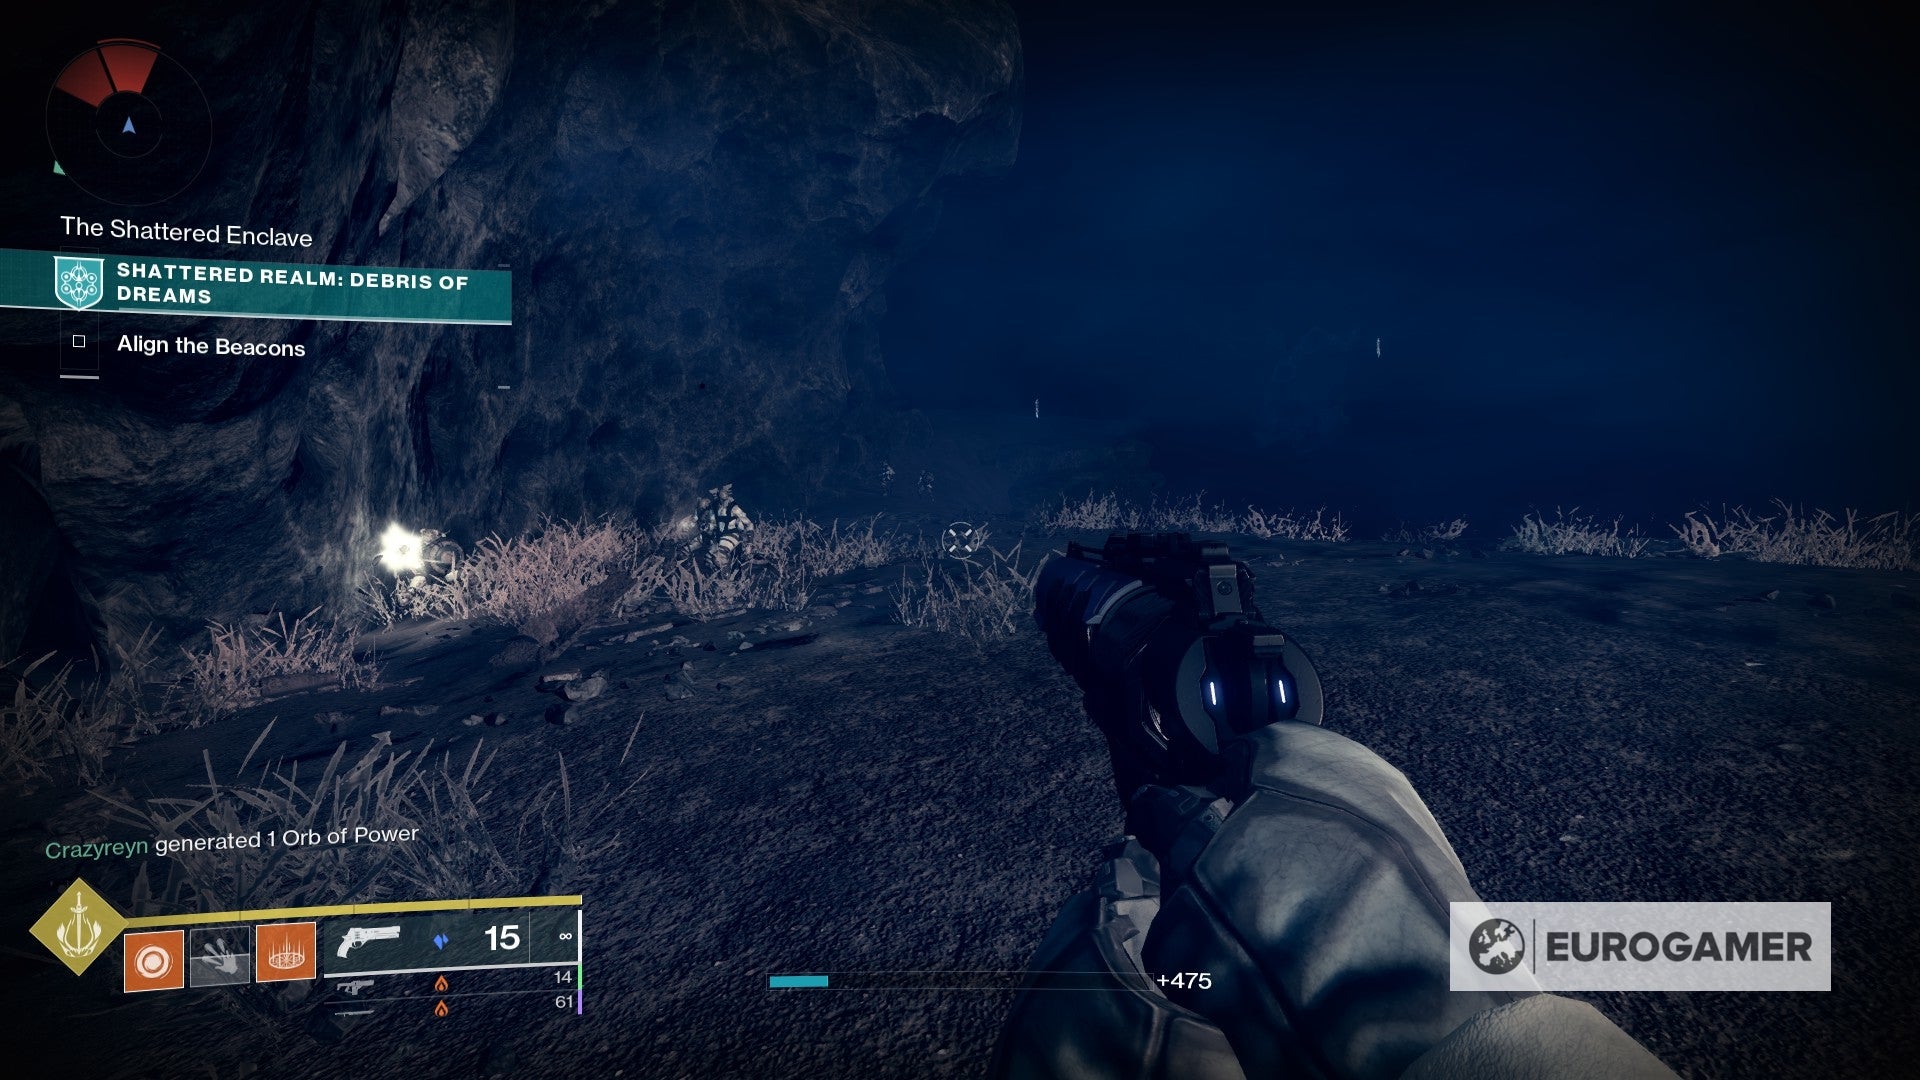
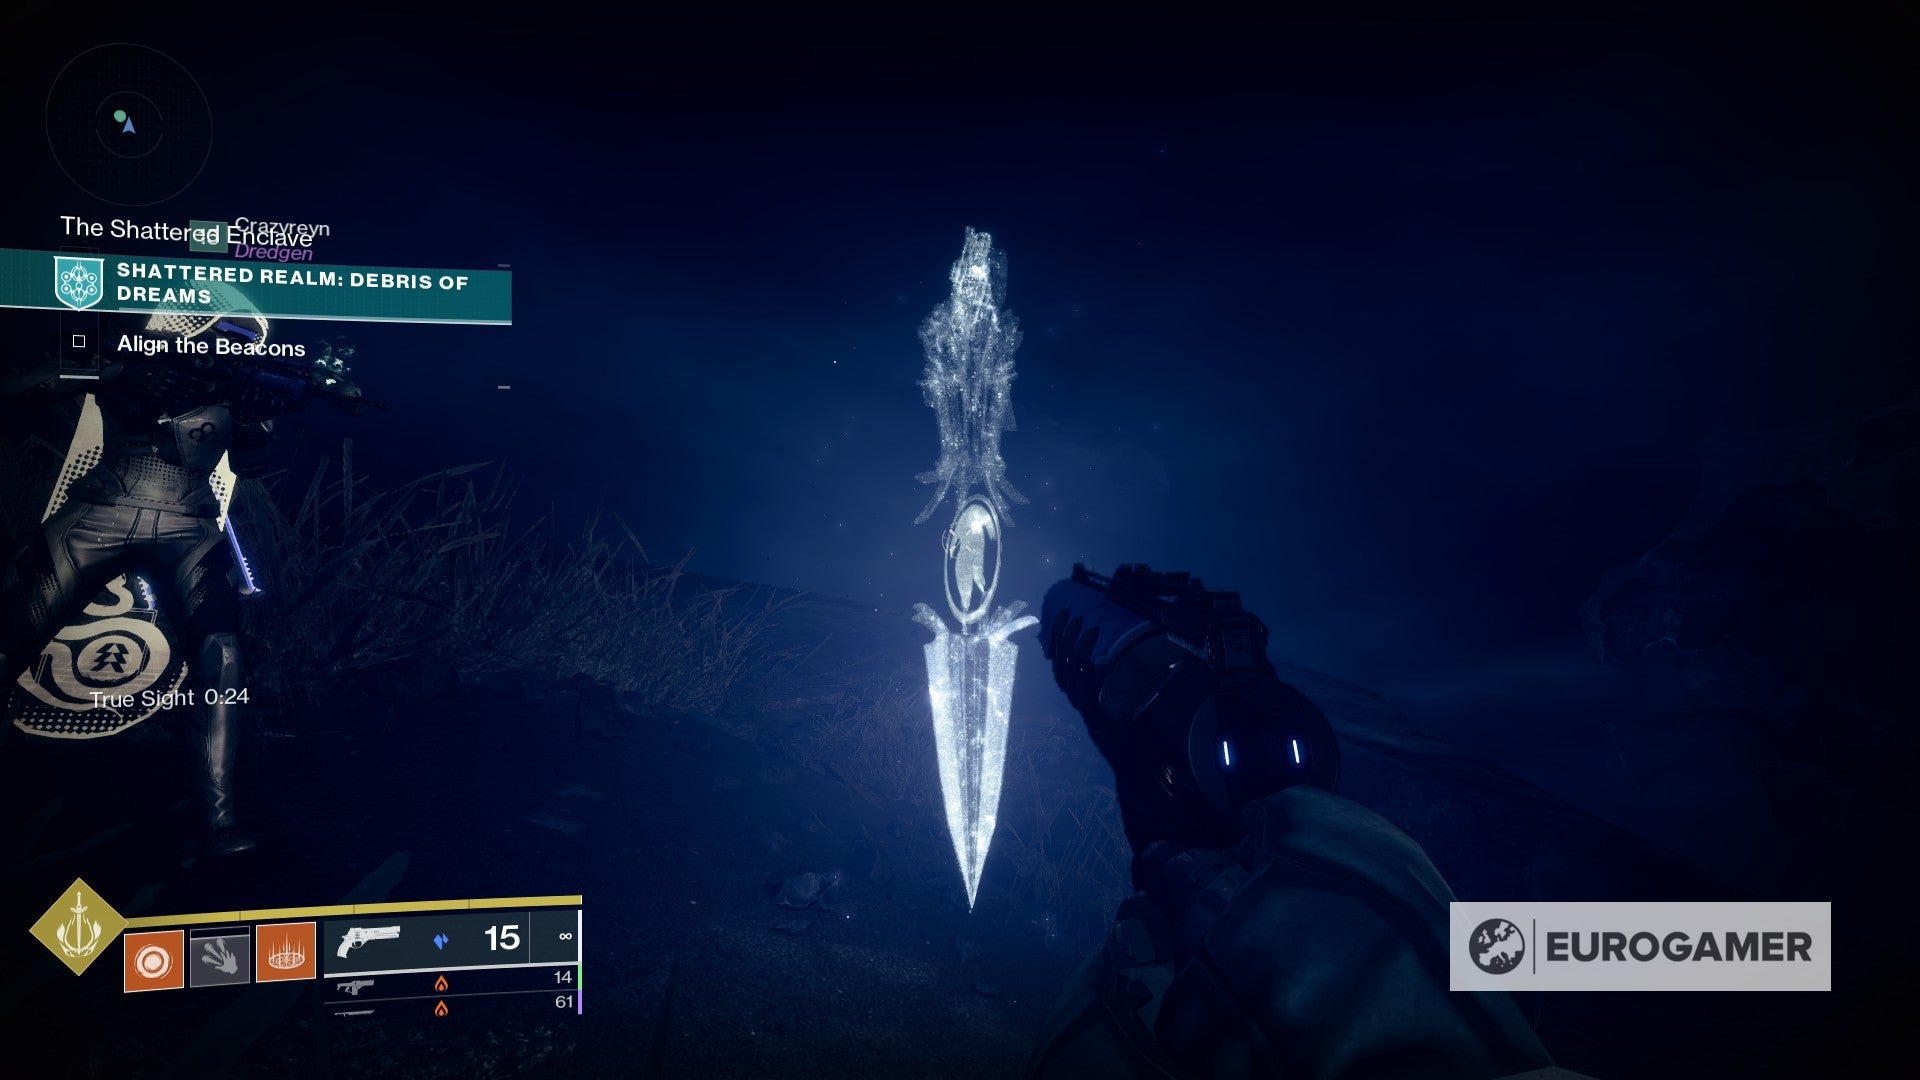
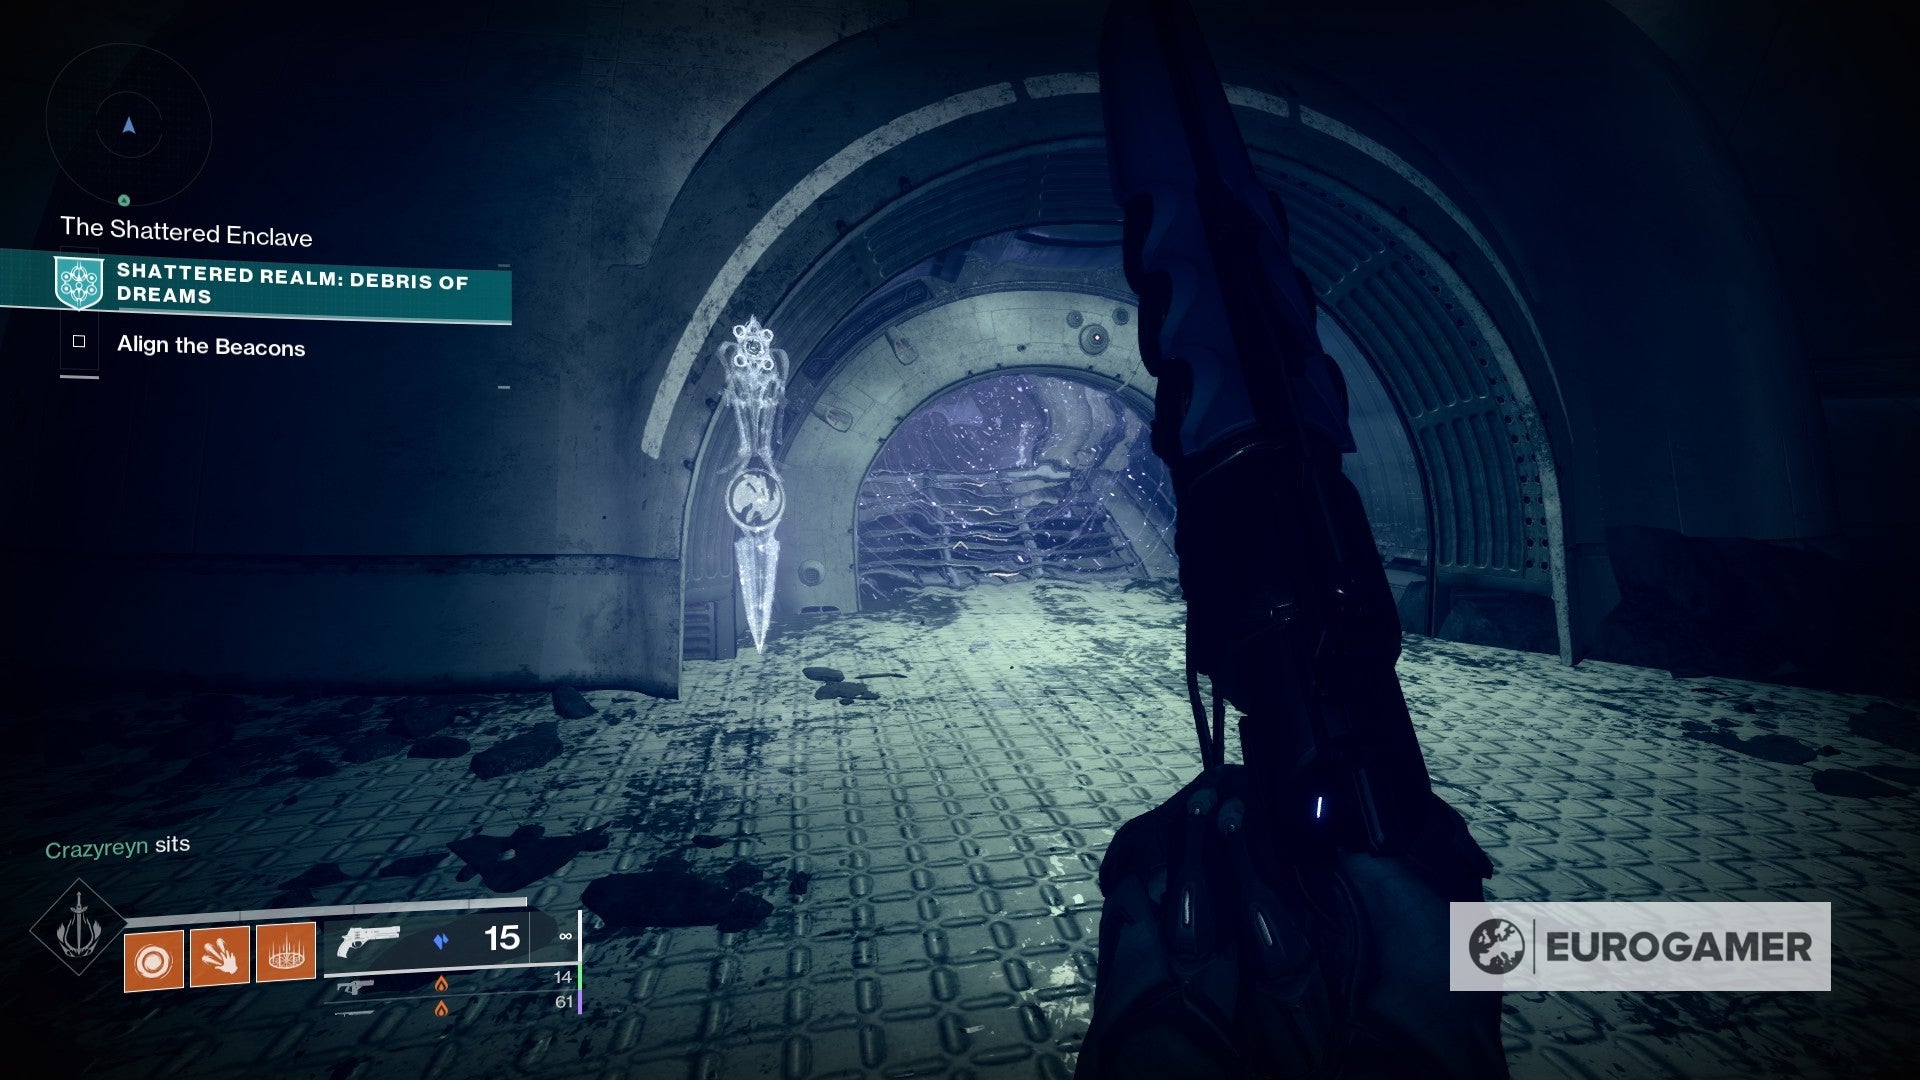
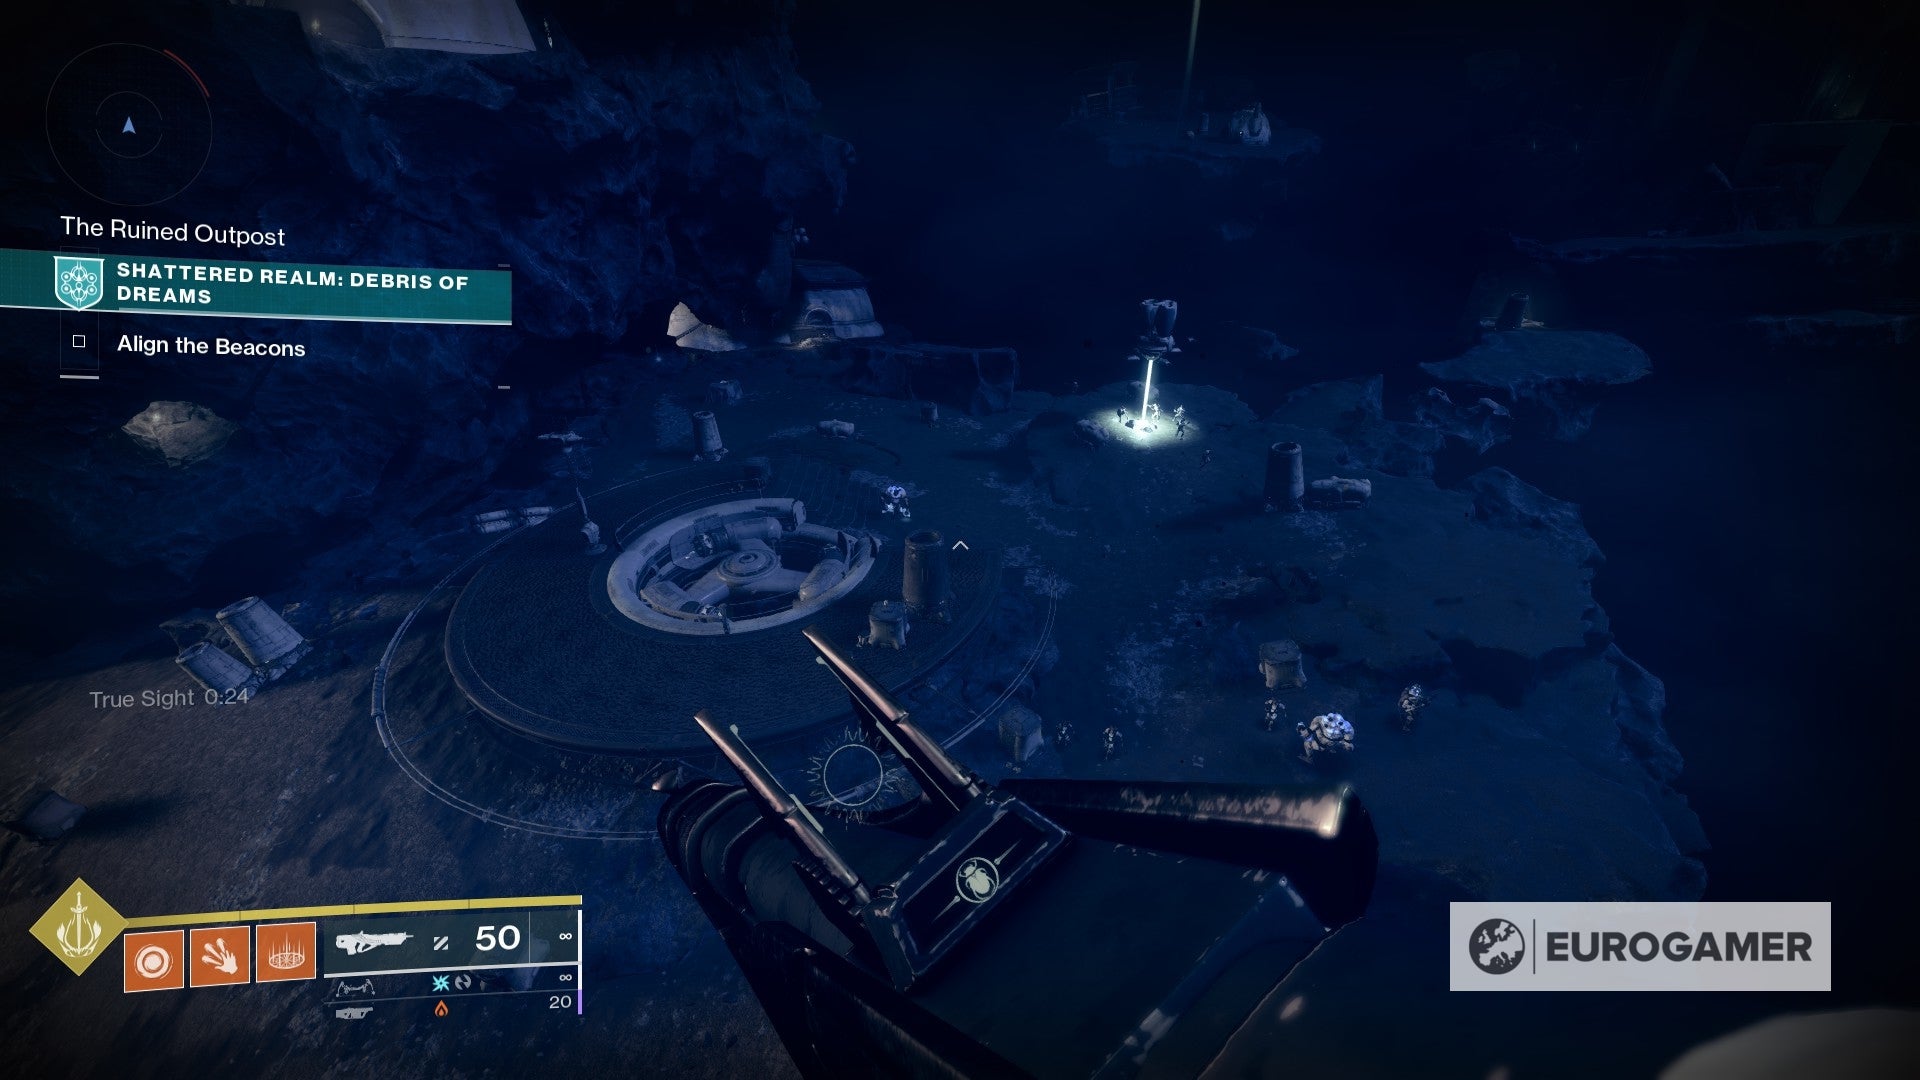
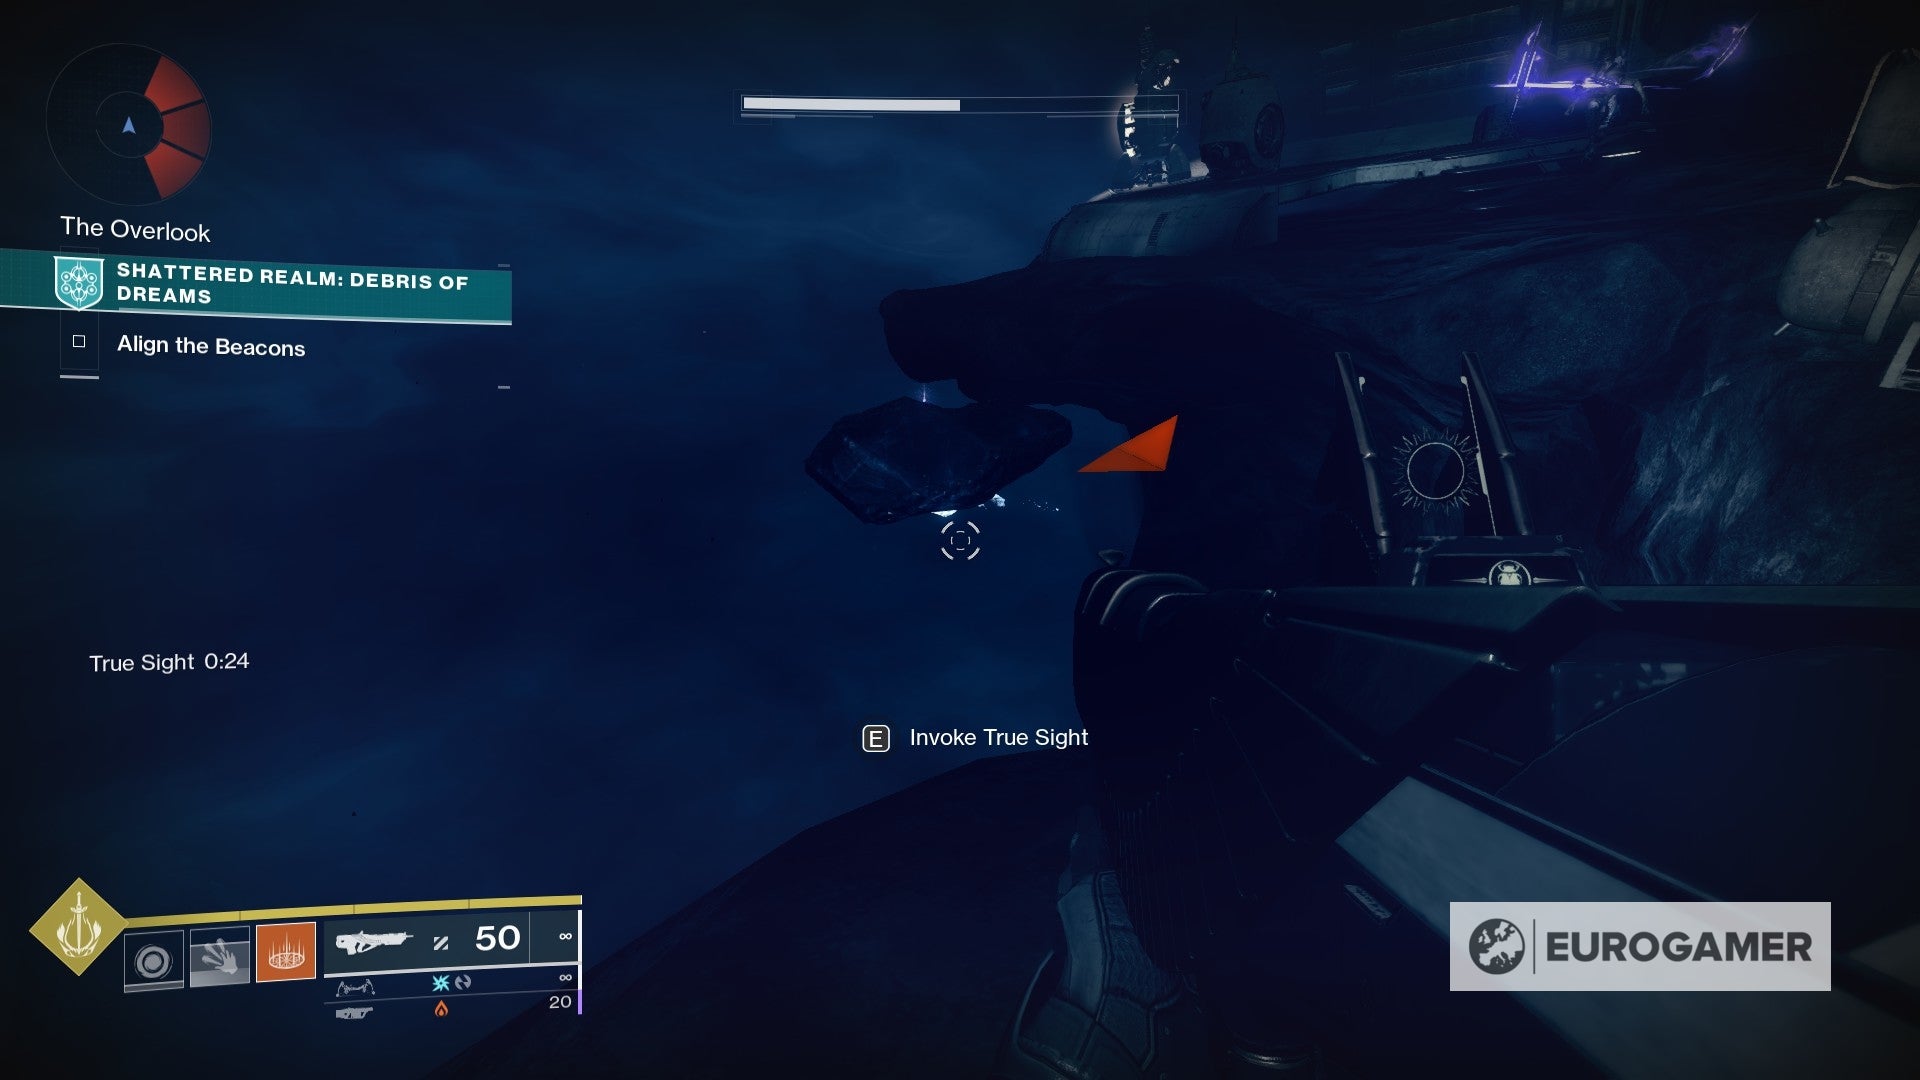
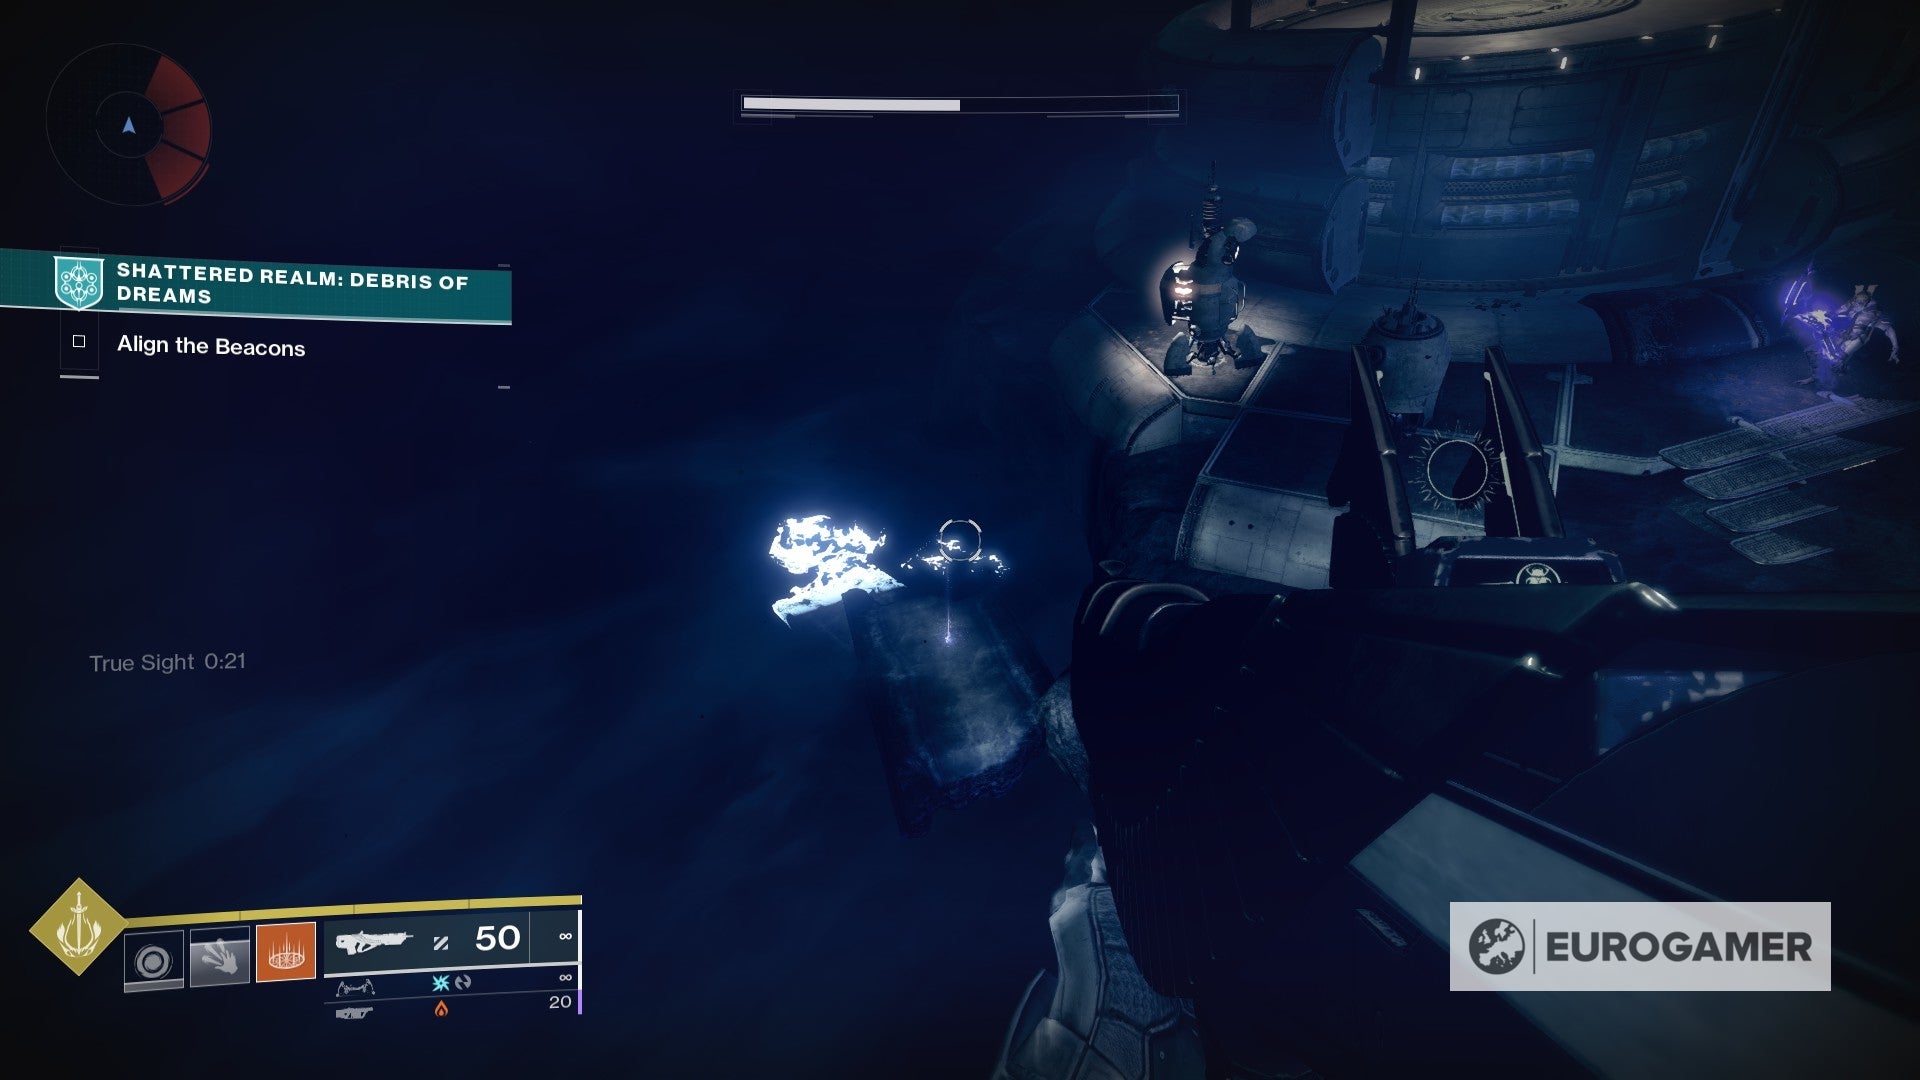
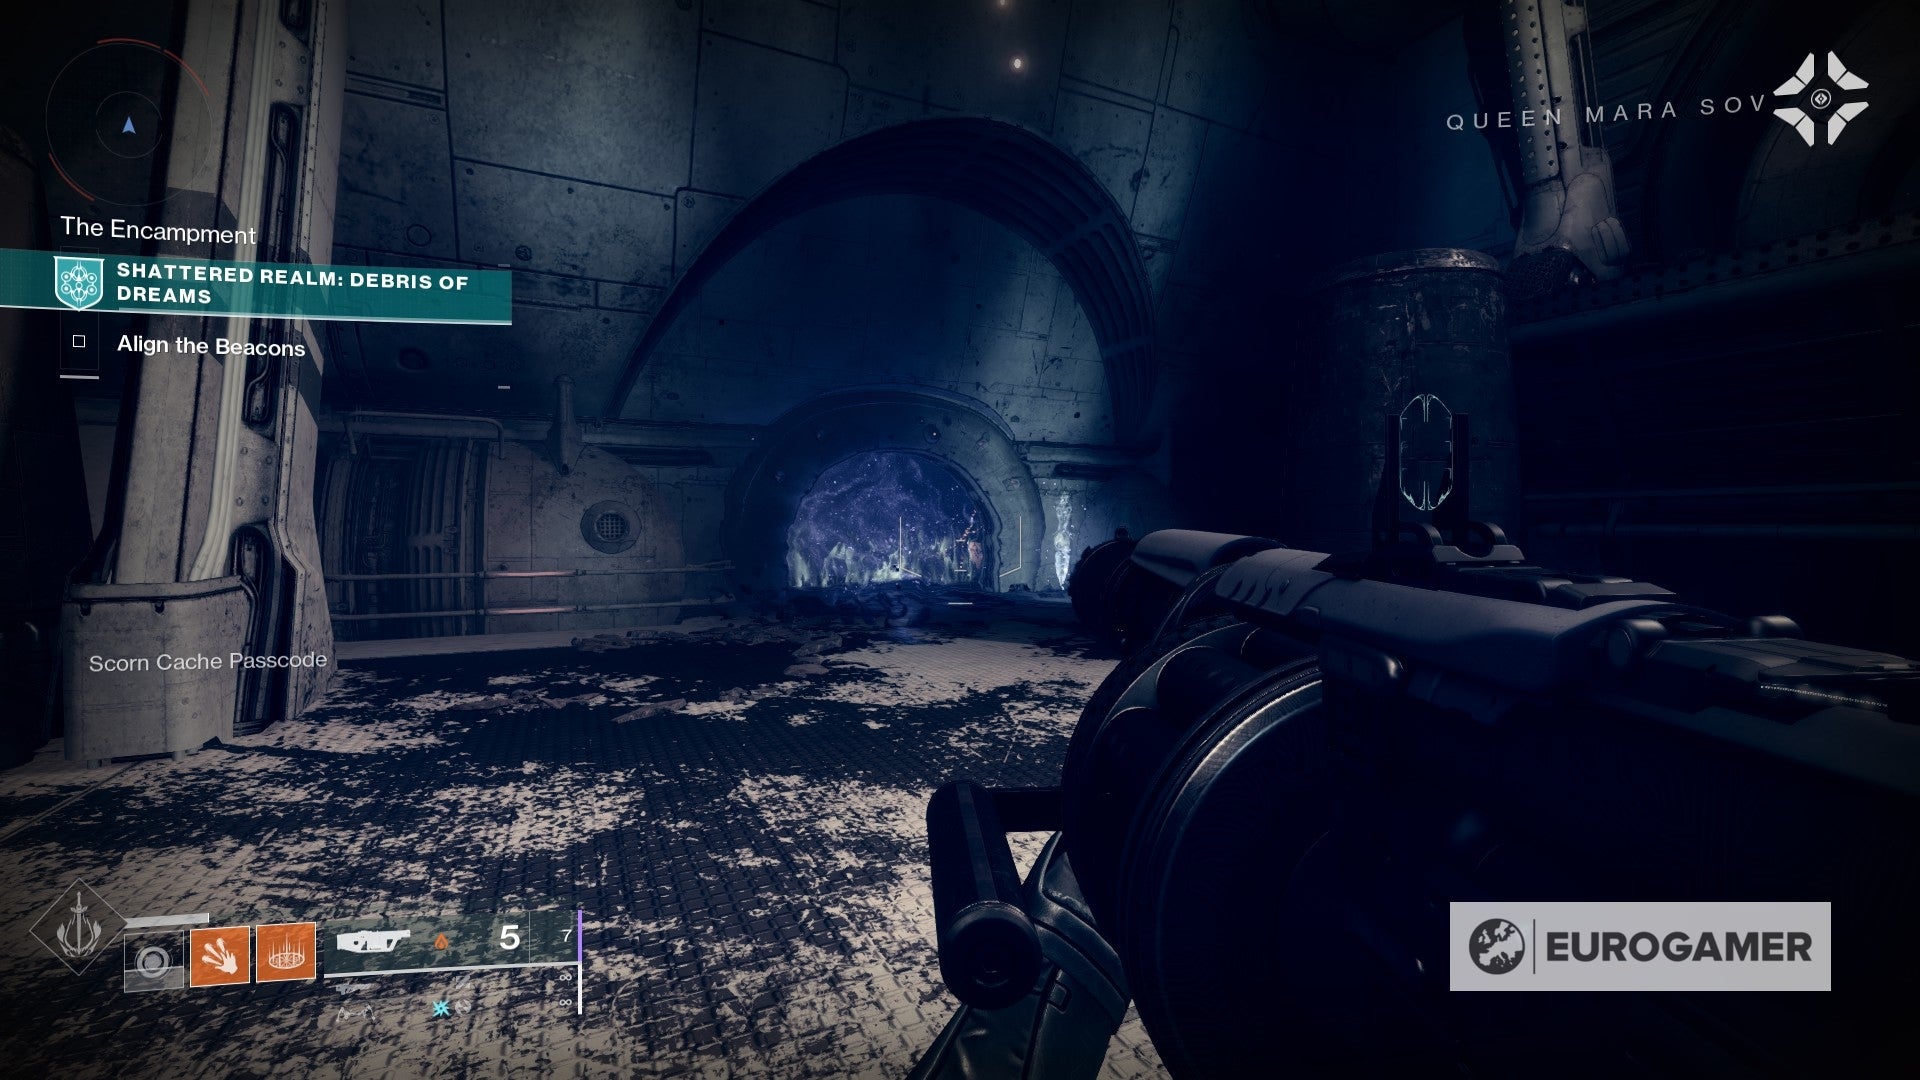
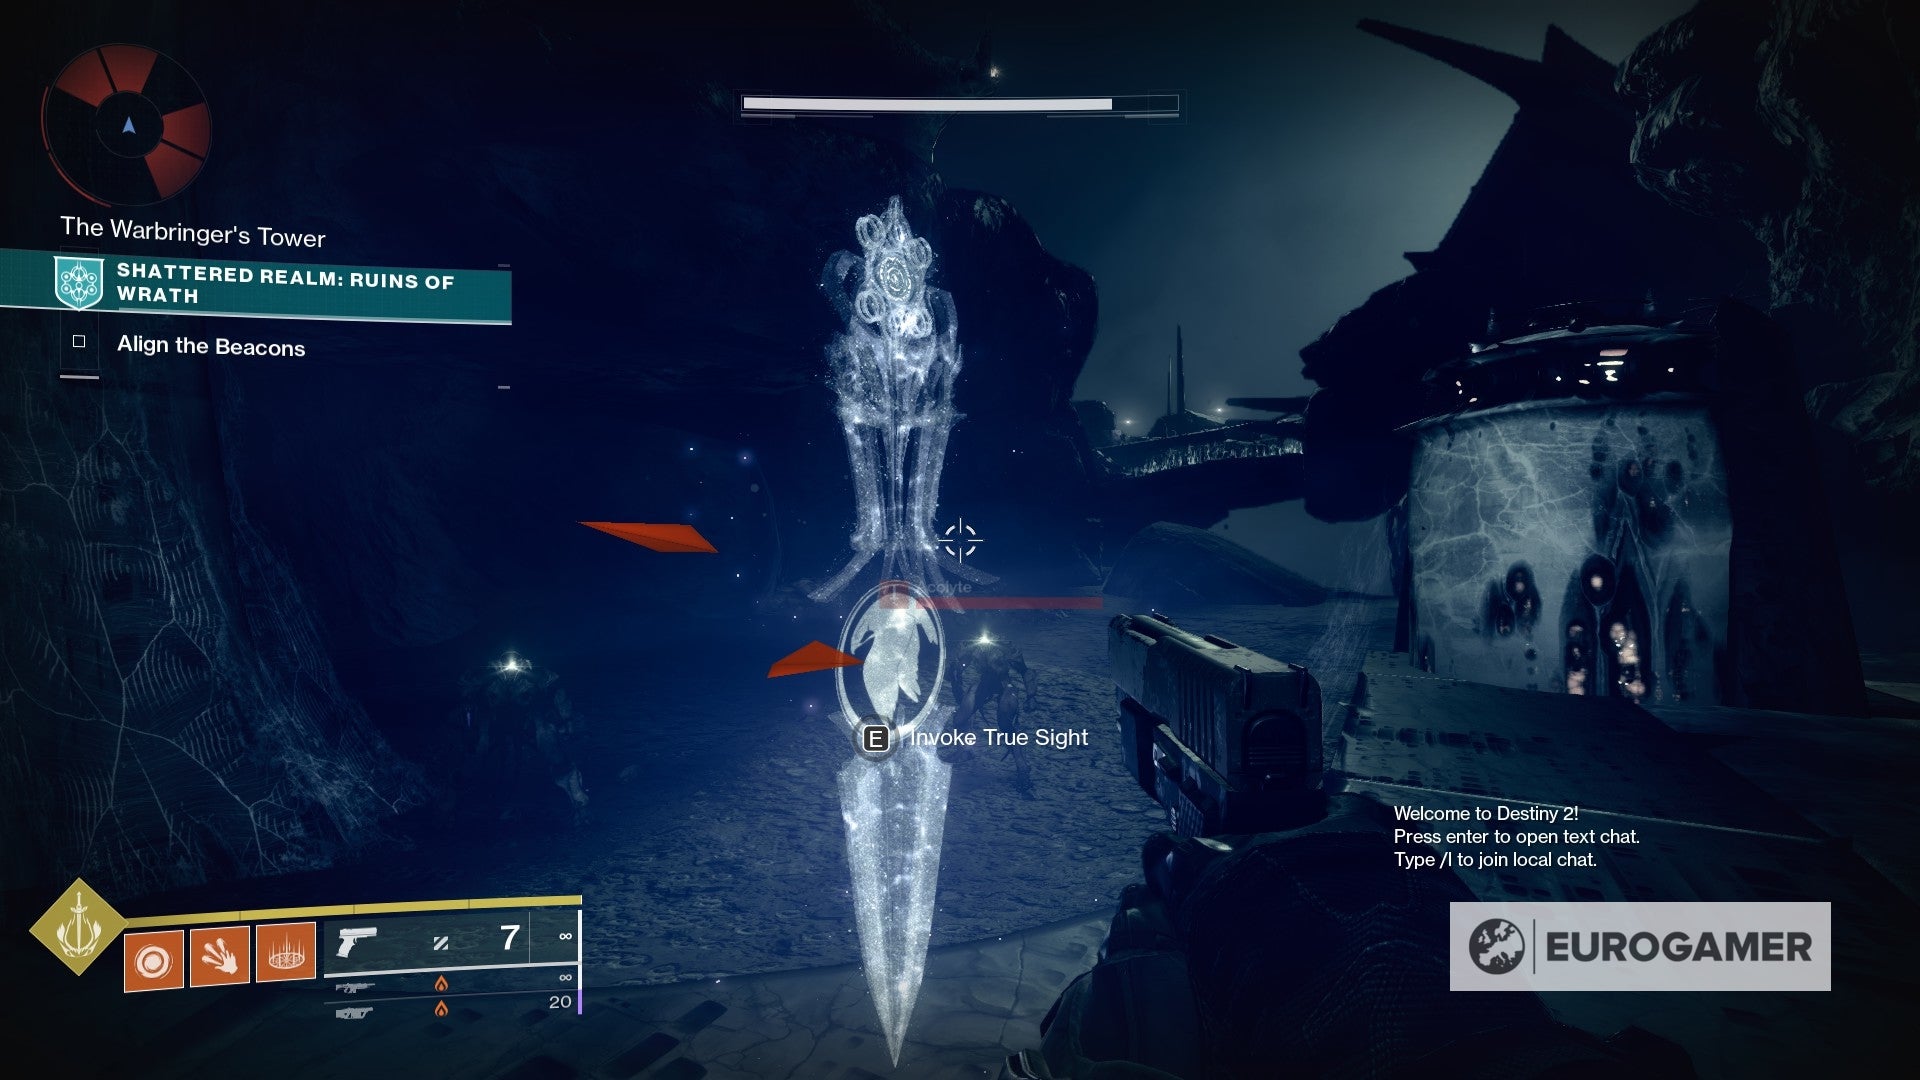
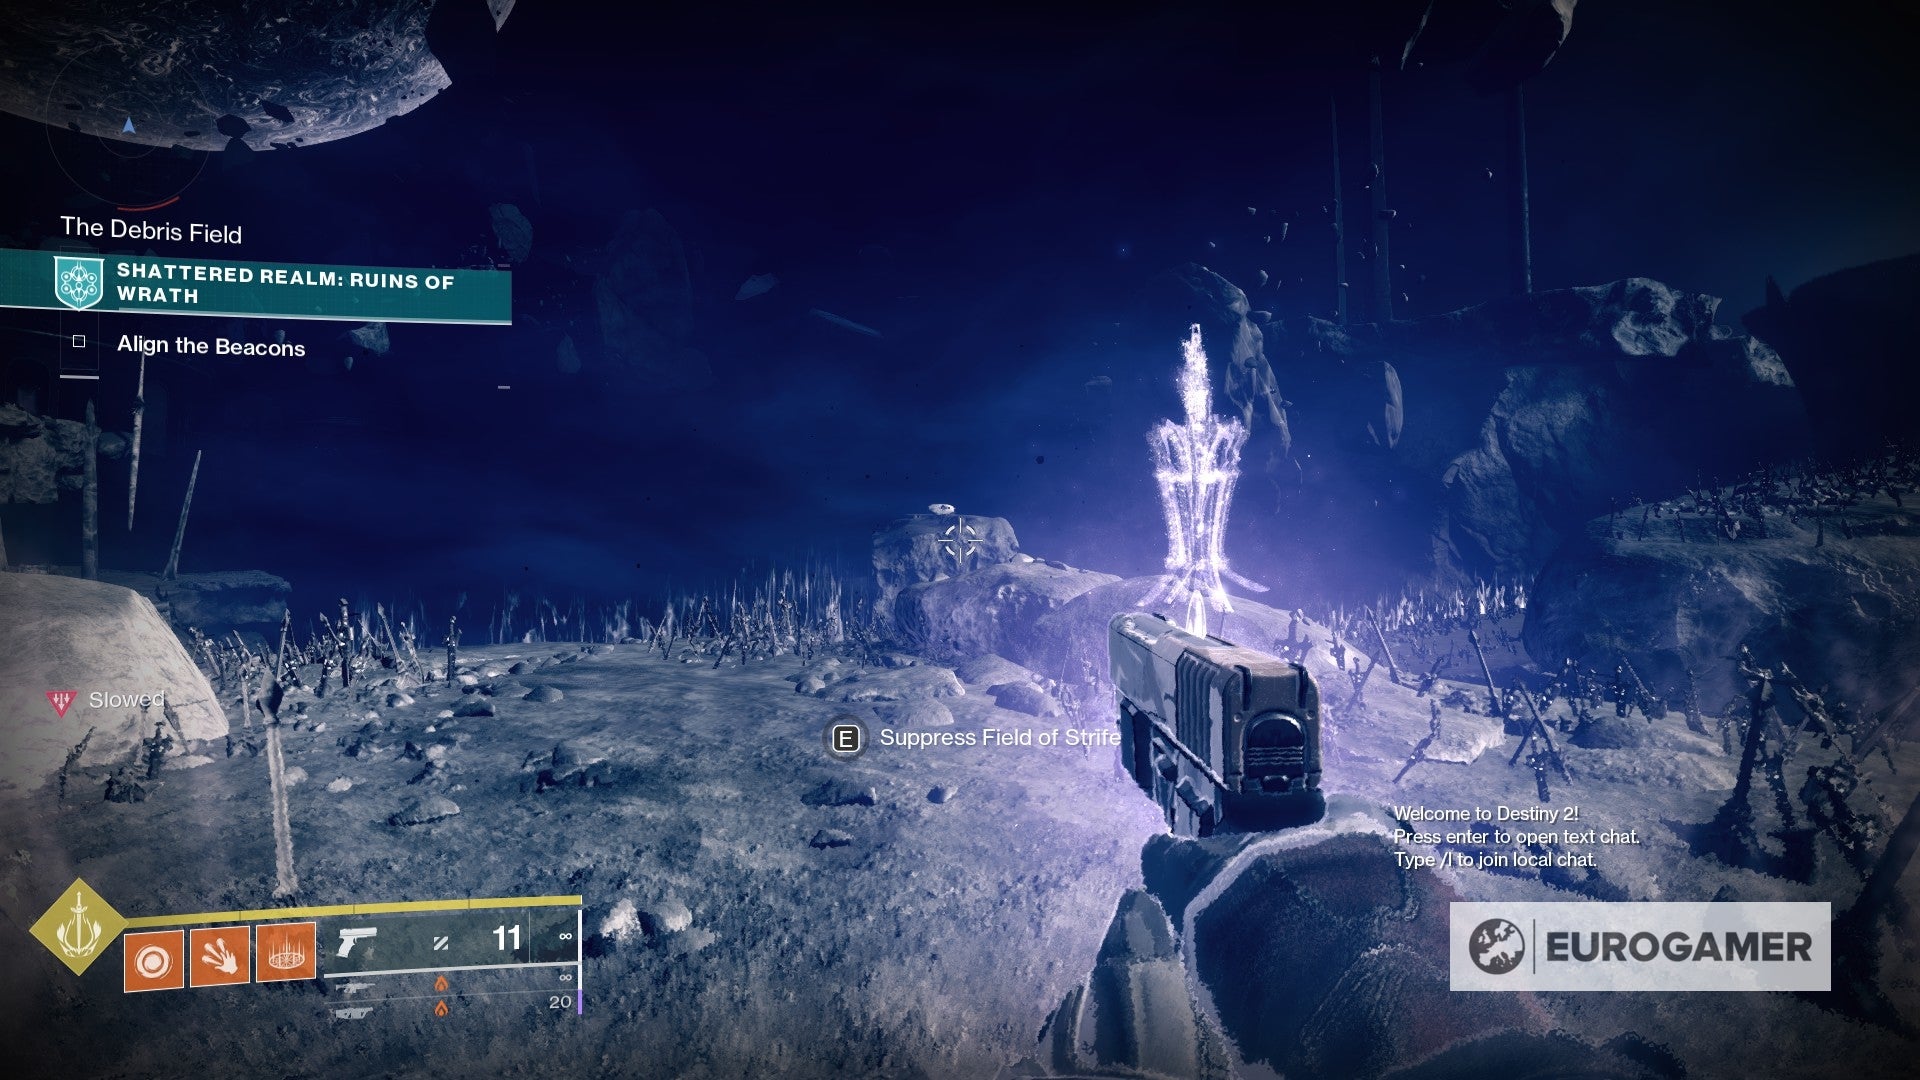
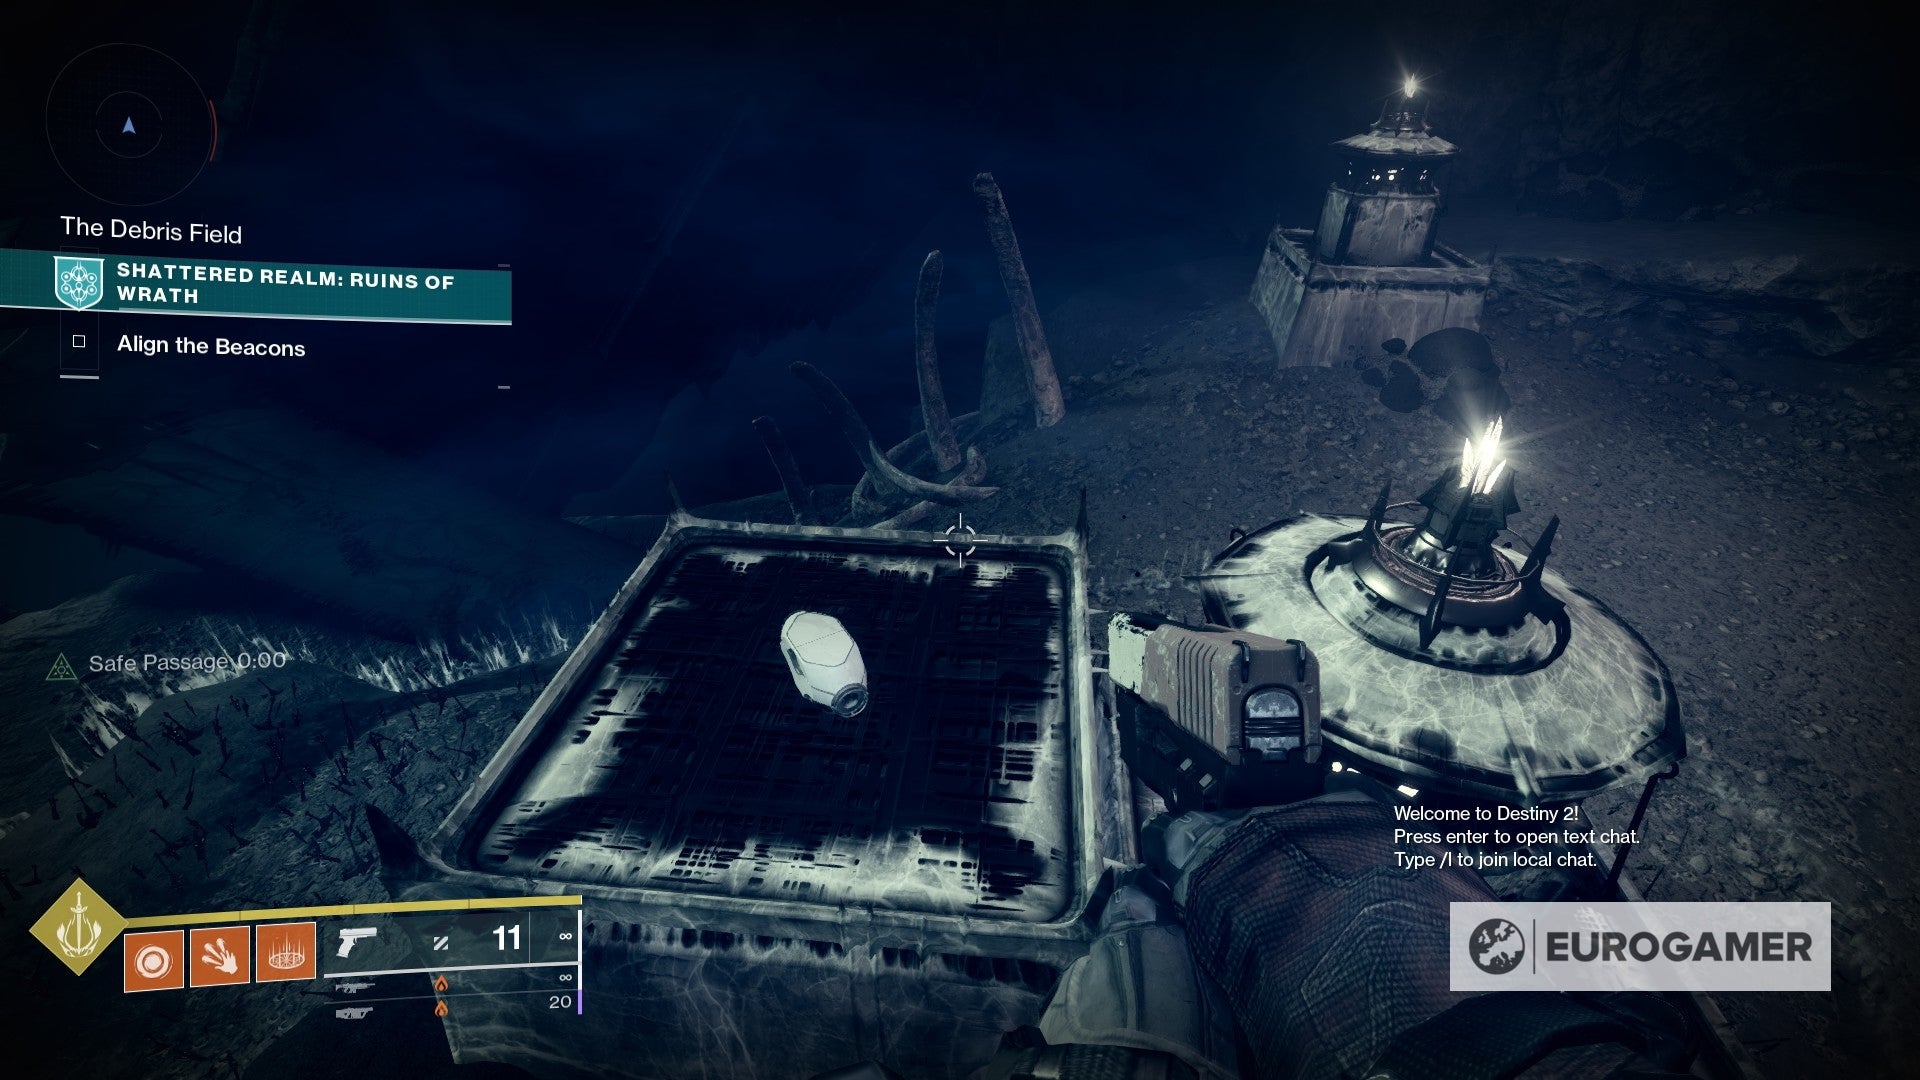
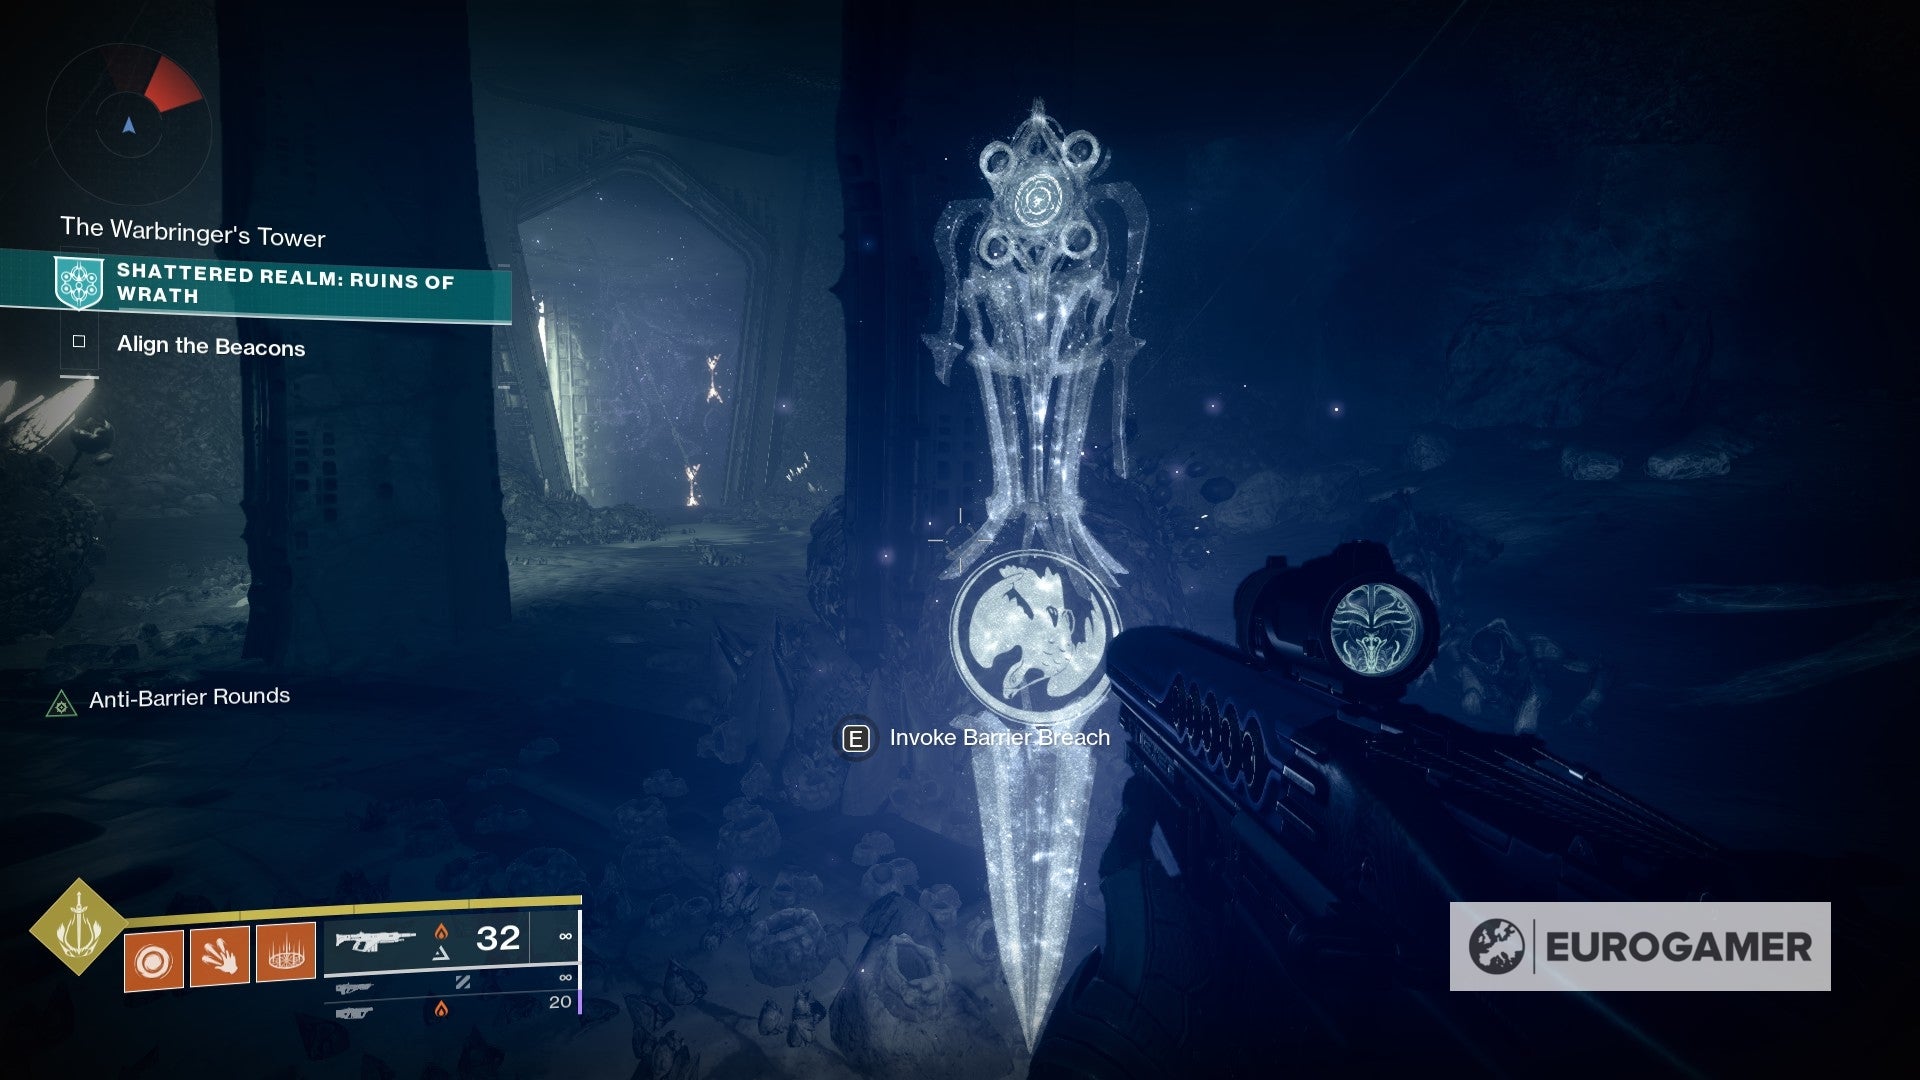
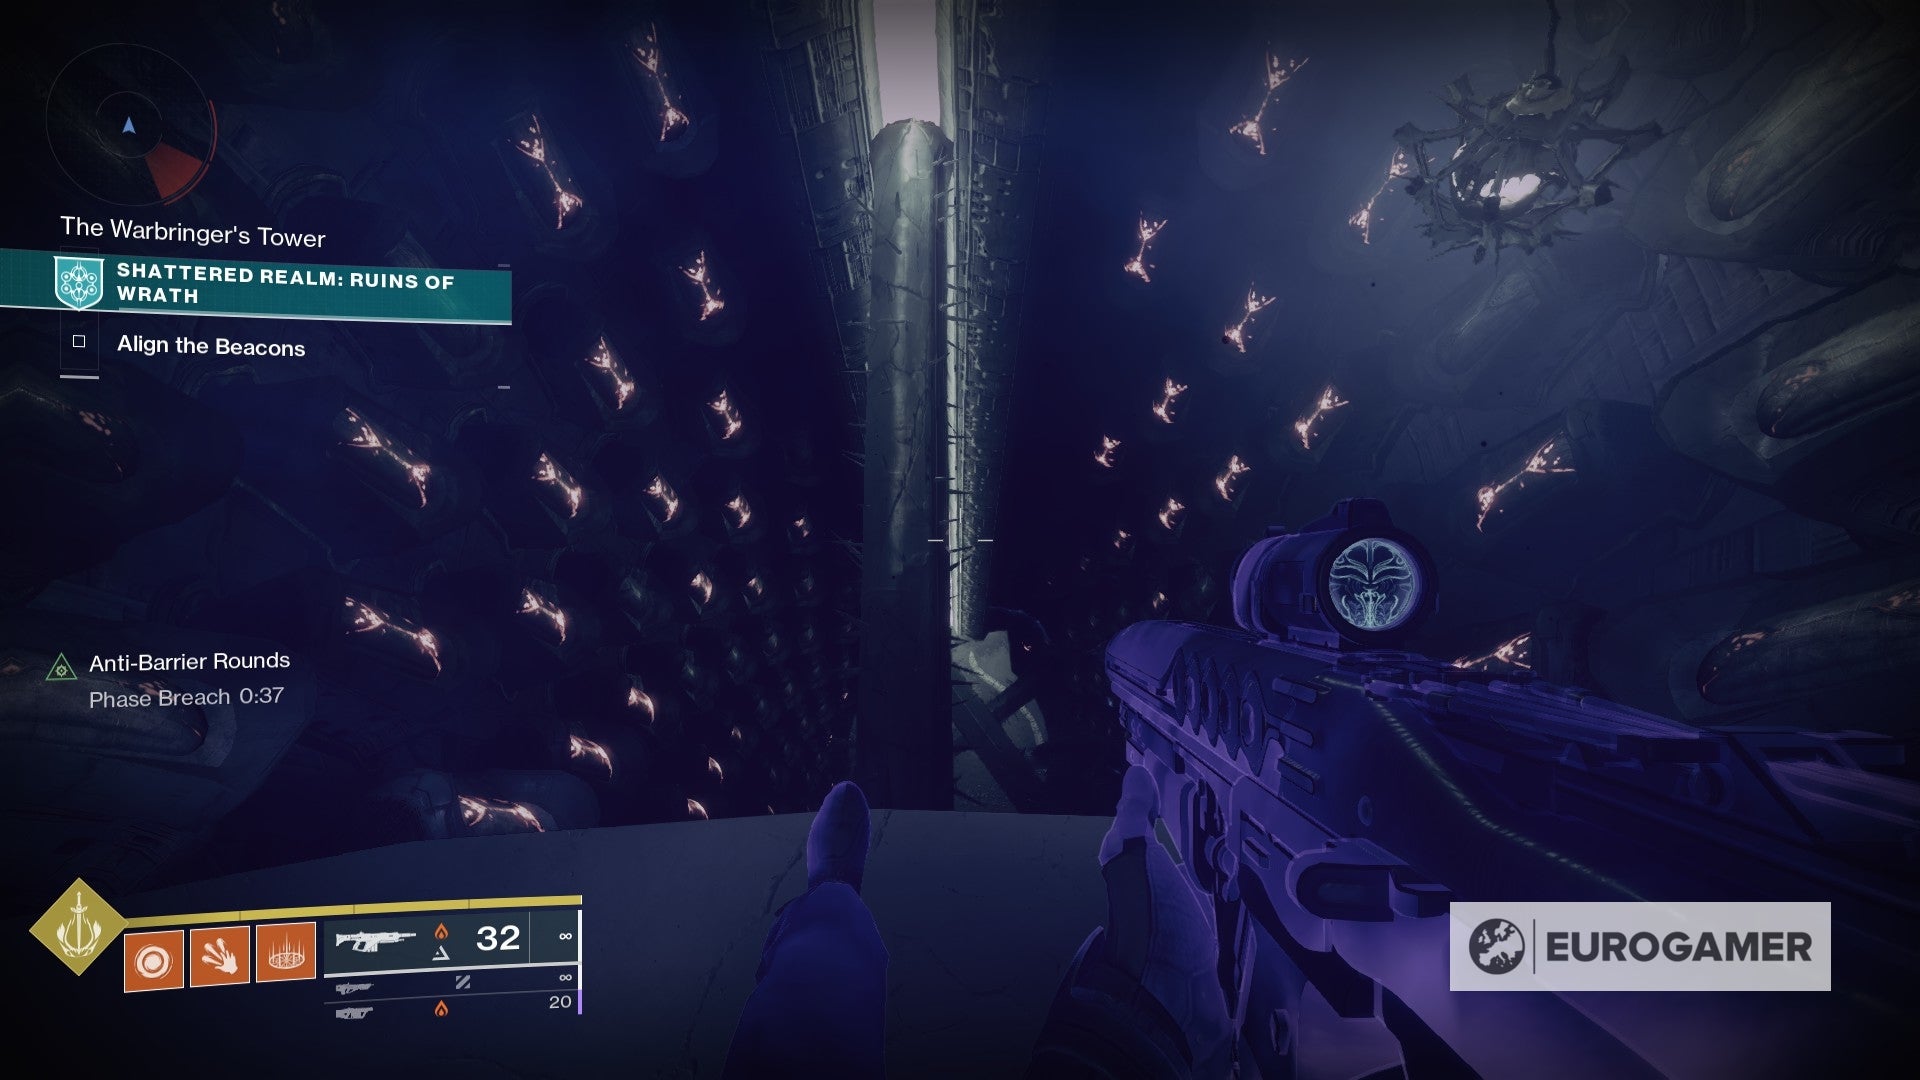
Debuting in Season of the Lost, and working similarly to Atlas Skews, this is one of the first challenges you can complete during week 1, which will remain available throughout the season. While the first challenge only requires for you to gather three Trivial Mysteries alone, each one you find unlocks a secret triumph entry. Plus, knowing their locations may come in handy for the rest of the season, too, as more areas are unlocked with new mysteries to collect. This page explains where to find Trivial Mysteries as well as how to complete Ley Line challenges in the Shattered Realm. Explainers: Shattered Realms: Forest of Echoes locations: Shattered Realms: Debris of Dreams locations: Shattered Realms: Ruins of Wrath locations: These require you to find Trivial Mysteries, which are bonus chests you can find while exploring the Shattered Realm, Season of the Lost’s seasonal activity. Initially only Forest of Echoes will become available as an area to visit via a mission in the H.E.L.M. destination, but other areas within Shattered Realm become available as weeks go on. Additionally, while some Trivial Mysteries will be available right away, you won’t be able to find them all until you unlock upgrades with your Wayfinder’s Compass. This requires you to complete that respective mission once first; for example in Week 1, you need to complete Forest of Echoes, which will grant you the ability to unlock Barrier Breach upgrade for your Wayfinder’s Compass. You can then use these nodes within the Shattered Realm to access new areas - and new Trivial Mysteries. This also applies with other abilities - such as True Sight - in future weeks. Each seasonal challenge involving Trivial Mysteries requires finding a certain number of them to complete; it doesn’t matter which area of the Shattered Realm you find them from, so feel free to collect any as you go from week-to-week. Now, let’s see where those Trivial Mystery locations are. The Entombed Trivial Mystery can be found around the Catacombs area. To access it, you first need to complete the first beacon inside the church. Once outside of the church after aligning the beacon, head to the crypt that is up the hill, overlooking the location you just left. It’s rather easy to follow this one, as the Barrier Breach can be invoked right outside of the entrance. Head downstairs and follow the corridor before making a U turn to the right (watch out for some hidden enemies!) to find a chest on the other end. Open it and the Entombed Trivial Mystery will be completed. The Taken Root Trivial Mystery can be found in the Descent area. To access it, you first need to complete the first beacon inside the church. Once outside of the church after aligning the beacon, head towards the direction of the second beacon (the light that goes up to the sky guides the way). Before jumping to the other side - across the floating platforms and the ruins in the distance - turn around to the trees. Here you’ll find another device from where to invoke a Barrier Breach. Once more, you won’t need to do any kind of acrobatics or anything. Activate the device and head inside the cave on the other end that is blocked by the barrier. You will find the chest on the other side of the barrier. The Left Behind Trivial Mystery can be found around the Ruins area. To access it, you first need to complete the first beacon inside the church. Once outside the church, head west and upwards some platforms that will take you to the abandoned ruins in the vicinity. After ending up in the main area, here is where it gets a bit tricky. You will see the barrier in no time, which is on ground level and protects an entrance to one of the buildings. The problem is that you’ll have to make a few jumps to invoke the Barrier Breach. Considering that you’re hit by the Slowed debuff inside here, it will take a few retries. First, you’re going to want to climb on top of the circular-shaped structure next to the tree. From there, you will see a massive boulder close to the building’s balcony, which is our ultimate goal. You can either try and jump from the rock, or also attempt the jump by letting yourself fall in between the ruins and the rock. After reaching the balcony, all you have to do is walk slightly ahead of you and make a quick turn to notice the Barrier Breach device. Activate it, and then head inside the ruins. You will find the chest on the ground floor. The Twofold Ward Trivial Mystery can be found around the Outer Ruins area. To access it, you first need to complete the first beacon inside the church. Once outside of the church after aligning the beacon, you will notice a statue on your way out. If you look to the farther end, you will notice a path in the vicinity with a entrance akin to a bridge or gate. After fighting your way inside the Outer Ruins, get to the second floor by jumping on the rocks that are forming a staircase of sorts. Immediately after you get up you will see the barrier. From there, turn around towards the left and you will find the Barrier Breach vice right behind one of the pillars. Activate it and go through the barrier. It may seem as if there’s nothing on the other end, and you’re right! Except for the Trivial Mystery that is located in one of the islands ahead of you. You can move as normal here, so go ahead and double jump your way to the chest to grab the Twofold Ward Trivial Mystery. The In Shadow Trivial Mystery can be found around the Harrowed Cliffs area. To access it, you first need to complete the second beacon, which is on the other side of the Shattered Realm. After aligning the second beacon, you will notice a few glowing rings in the landscape behind it - head towards that direction. Before stumbling upon the edge of the ground, double jump to the rocks on your right and follow that path to find a island below with three glowing devices. The device you want is the one overlooking the cave with the barrier on the other side. Once inside, open the chest to obtain the In Shadow Trivial Mystery. The Abandoned Trivial Mystery can be found around the Mill area. To access it, you first need to complete the second beacon, which is on the other side of the Shattered Realm. First, reach the same cave you ended In Shadow in. After grabbing the In Shadow Trivial Mystery, you’re going to want to activate the Barrier Breach device inside the cave, not only to leave, but to access the next Trivial Mystery. Activate it, then head outside through the other entrance, heading back to the beacon and the Mill. (So not the one you just used!) Now, make a run to the entrance of the Mill, which is going back the way you came as you approached the second beacon originally. This will make you run right past the aforementioned Mill, which will be on your left. Once at the entrance, get past the barrier and open the chest to find the Abandoned Trivial Mystery. The Deep Defenses Trivial Mystery can be found around the Sunken Cave area. To access it, you first need to complete the second beacon, which is on the other side of the Shattered Realm. After aligning the second beacon, head all the way back towards the entrance of the beacon’s area. In order to get to the boss you will need to go through the massive black portal in the centre island. But first, we’re taking a detour. Head to the left area by jumping on the floating rocks and towards the complete opposite direction of the portal to find a path that leads to the Ruins area. In there, head all the way forward and turn right to find a True Sight device behind the white building ruins, on the edge of the cliff. Let yourself fall to the area below, where there are some steps that lead you to the Sunken Cave. You’re going to want to head to your left. Depending on where you land, you’ll most likely have to fall down twice. It’s hard to see in the dark, but don’t fret, as it’s easy to follow. There’s another device that requires True Sight that serves as a lantern of sorts in the dark, and also your reference point. Head towards its direction to find the entrance to the cave. There’ll likely be a few enemies waiting for you, too, but won’t be bothersome. Once there, you will find the chest behind the barrier, with the Barrier Breach nearby. (If you try and do this before activating the second beacon, it’ll be inaccessible.) Open the chest to find the Deep Defenses Trivial Mystery. That’s all for Shattered Realms: Forest of the Echoes from Week 1. The Enshrined Trivial Mystery can be found around the Shrine area. To access it, you first need to complete the second beacon, which is on the other side of the Shattered Realm. After aligning the second beacon, head all the way back towards the entrance of Forest of Echoes. Once you’re overlooking the church, you will notice a True Sight device on the left side, next to a tree. Activate it to spawn a floating path ahead of you. This will take you to a floating shrine where a large group of enemies awaits. Bear in mind that if you get busy killing the enemies, it’s likely that you will lose True Sight. In that case the chest won’t appear until you regain it. Thankfully, there is a device opposite to the chest’s location. Open the chest to find the Deep Defenses Trivial Mystery. The Laid to Rest Trivial Mystery can be found around the Crypt area. To access it, you first need to complete the second beacon, which is on the other side of the Shattered Realm. Remember the Entombed Trivial Mystery? We’re taking that as a starting point since Laid to Rest originates from the same spot. After you’ve headed downstairs and followed the corridors, in one of them you’ll notice two devices close to each other. Activate both to gain True Sight and Barrier Breach, and head outside. Now, get past the Barrier Breach device, let yourself fall onto the plateau below and start heading towards the right side. You will immediately notice the floating path, so we’re using that to get to the other side and into a cave entrance. Ignore the enemies momentarily and focus on the chest across the room before True Sight fades away. Open the chest to find the Laid to Rest Trivial Mystery. The Airwalk Trivial Mystery can be found around the Ruins area. To access it, you first need to complete the second beacon, which is on the other side of the Shattered Realm. Remember the Left Behind Trivial Mystery? We’re taking that as a starting point since Airwalk originates from the same area. From there, head to the corner to find a lone True Sight device just before the cliff. Activate the device to unveil a floating path ahead of you. All that’s left to do is follow the path until you see another device on the right side. Just at the side of the device you’ll find the chest. Open the chest to find the Airwalk Trivial Mystery. That’s all for Shattered Realms: Forest of the Echoes from Week 4. The Perilous Path Trivial Mystery can be found around the Shattered Enclave area. This is the route leading up to the first beacon, with the rocky floating platforms ’left’ from the main starting area, leading up. Follow the path above and you will soon notice a True Sight device located on the other end before you reach the dome. After you activate it, a new batch of floating platforms will appear in front of you. It’s a long way to the other side, but don’t fret, as there is another True Sight device in the middle in case you need to recharge the counter. In this area you’ll be hit with slow. You’re going to want to head to the centre and then turn to the right, where you’ll see another True Sight device that is overlooking the islands afar, just before a cliff. It may seem as if you need a double jump here, but don’t worry. All you have to do is jump to the first platform while moving forward - don’t stop at any moment and you’ll get there with no issues. Climb the rest of the platforms up and open the chest. The Supply Stash Trivial Mystery can be found around the Shattered Enclave area. To access it, you first need to complete the first beacon inside the demo-shaped structure. Once you’re done fighting the enemy waves after aligning it, don’t leave the area just yet. Instead, look for the sealed barrier. It’s rather easy to start this one, as the Barrier Breach can be invoked right outside of the entrance. Head upstairs until you’re outside again, where you’ll find a True Sight device. Activate to make some platforms visible in front of you. Use the platforms until you’re on the other side. There, you’ll see another sealed barrier. Luckily, there’s a second Barrier Breach nearby. That’s all for Supply Stash! The Refined Mystery Trivial Mystery can be found in the Industrial Facility area. To access it, you first need to complete the first beacon inside the dome-shaped structure. Once you’re done, head back to where you first teleported to the Debris of Dreams. You will notice a big structure on the eastern side of it (if you’re standing right at the door of the entrance) that has a long wall with a path that goes upwards. Follow that path passing next to a lantern that serves as a helpful guidance amidst the darkness. You will notice the Industrial Facility below. Double jump and levitate your way towards there. Once you land, you will notice a new barrier in the vicinity. Luckily, the Barrier Breach device is on the left side of the door. You know the drill: activate it and head inside to open the chest. That’s all you need for Refined Mystery! The Underhang Trivial Mystery can be found around the Ruined Outpost area. To access it, you’ll first have completed the first beacon. It can be tricky to get there, but as reference, we’re going to start from the Refined Mystery Trivial Mystery location. Go all the way up the stairs until you’re on the rooftop. From there, look for a lantern in the vicinity - there’s a big, hanging structure there. That’s where we’re heading. Once on top of the hanging structure, look down below to find a road that leads to a True Sight device that looks farther than it actually is. Use it as a point of reference. Activate the True Sight ability device to unveil floating platforms in front of you. From here, just follow them until the other side, and they will take you towards a small cave entrance below. All that is left to do now is head there and open the chest. That is all for The Underhang! The Hidden Path Trivial Mystery can be found around the Derelict Shipyard area. You will find it on the way to the second beacon - it’s on the cliff edge just before the doorway to that area - but you might have to activate the second beacon first, so do that, then go back on yourself (from the beacon, go right through the doorway) to reach the cliff. See that True Sight device on the path down below? Activate it and the device will unveil floating platforms right behind you. From here, you’ll just have to follow them to find another chest. That’s all for The Hidden Path - put it’s worth staying here for the next Trivial Mystery… The Concealed Cache Trivial Mystery can be found around the Derelict Shipyard area. To access it, you need to reach the True Sight on the cliff just before the second beacon area - see the above The Hidden Path location for where to begin. Activate it, then head through the door to the area with the second beacon, then head upwards the ladder-like passage on the right up towards the section of the third beacon. The ladder is a bit of a pain, as you’ll have to manually climb three ‘platforms’ instead of the usual ladder steps. You’re bound to fall down on your first try, so don’t worry - just grab the True Sight again and retry. Now, turn right, make a run for it further down the corridor and turn left to find the chest. If the True Sight timer reaches zero, it will disappear and you’ll have to do the whole process again. But this can repeated several times, so don’t worry. That’s all for the Concealed Cache! This one is super close to the Concealed Cache, which has you go up the awkward ladder-steps between the second and third beacons, and turn right. In this room, you really can’t miss it. In the same room you’ll see a barrier with a Barrier Breach on the left side of the door. That’s all for the Secret Stash! The Hidden Refuge Trivial Mystery can be found around The Overlook area. To access it, it’s best if you first complete both beacons. We’re going to be taking the same path that we did for the Refined Power Enigmatic Mystery, in case it makes for a helpful reference point. In addition, we have a short video that can provide further guidance - up to the 0:46 seconds mark. Your main location is The Industrial Facility. This can be accessed from the location of the drill event. The Industrial Facility is pretty much on a straight line from here. Just double jump across to the other side until you stumble upon the True Sight device. After you land on the area, you’re going to head towards the room that has a barrier blocking the door - it’s found on ground level. Use the breach device next to the door, and once inside, hop on the glowing platform to teleport yourself to The Overlook. All you have to do here is activate the True Sight device that is just before the cliff, opposite to the big cylinder-looking structure, and hop on the floating platforms towards the right side instead of going forward. The path will eventually lead you to a secluded structure with an open door. Hop inside to find the chest on the other end, next to the Data Cache. That’s all for The Hidden Refuge. That being said, you’re gonna want to stay in the area for the next mystery. The Envisioned Ascent Trivial Mystery can be found around The Overlook area. We recommend to pick this up right after The Hidden Refuge, since both are super close to each other. Head outside through the door you just came in, activating the True Sight device to unveil the path ahead of you. From here, the goal is to just climb back up to the main area where you first used the True Sight device to grab The Hidden Refuge. Now, you have to activate the True Sight device (or just keep going if you think you have enough time left) and take the other floating path - this one is in front of the device. Shortly after following said path, you will immediately notice the chest in the plateau. Go ahead and open it. That’s all for The Envisioned Ascent! This one is a bit tricky to follow - in case it helps, we’ll be taking the same path that we used for The First Rule Ascendant Mystery. The Sealed Stash Trivial Mystery can be found in The Ruined Outpost area - although this occurs on a path that needs some previous steps to get there. We’re taking the location of the second beacon as a starting point. You’re gonna have to align it for this to kick off. From where you’re currently standing, head inside the broken facility and towards the tube-shaped structure in the middle. It has some stairs that don’t function as regular ones, but double jumping your way up will do the trick. Once on the top, you will notice two enemies tinkering with the door’s padlock. Interact with said padlock and head into the room - expect a fight here. After you’ve taken all of the enemies down, you’re going to go through the door locked with a barrier - use the breach device that is right next to it to get inside. Immediately after getting through the barrier, look to your right to see a chest guarded by two traps. In order to deactivate them and access it, just shoot at the starting point of each - which happen to be at the end of the laser against the wall. Once done, go ahead and open the chest. That’s all for Debris of Dreams for the time being! The In Light’s Reach Trivial Mystery can be found around the Staging Ground area, and it’s rather straightforward. After you complete the first beacon, head backwards towards the big circle-shaped surface that you walked across on your way to the beacon. Now, all you have to do is interact with the True Sight device there for a series of platforms to appear. Climb the platforms up and open the chest. As the name implies, from the location of the previous Trivial Mystery we’re going to continue to the floating island right in front of us and head down below. From here, activate the Barrier Breach device (either before or after taking down the enemies, up to you). The barrier can be found deeper into the cave, close to the lanterns. After you get through the barrier, it’s super straightforward. Keep heading straight and you will see the chest next to a wall. That’s all for Below! The Turret Treasure Trivial Mystery can be found in the Staging Ground area, which means that we’ll be heading back to the first beacon spot. From there, we are heading towards the castle-looking structure on the right side of the area. As you arrive (and most likely fight a group of enemies) you will see a True Sight device. Go ahead and activate for a path to unveil itself around the structure to your left. All that is left to do here is follow that path upwards until you reach the roof, and the chest will be there. That’s all you need for Turret Treasure! The Impactor Cache Trivial Mystery can be found around the Debris Field area. This is the part of the path made out of floating rocks that you take after the first beacon. From here, all you have to do is activate the Suppress Field of Strife, which is the fancy name for the Safe Passage ability. Now that you’re no longer slowed, make a run towards the floating chest and double jump your way there. Open the chest and that is all for Impactor Cache! The Pallasite Cache Trivial Mystery can be found around the Debris Field area, and it’s extremely close to Impactor Cache. For this, all you have to do is activate the True Sight device that is right past the Safe Passage one you’ve just activated. Just follow the short path upwards to find the chest. That is all for Pallasite Cache! The Howardite Cache Trivial Mystery can be found around the Debris Field area. We recommend using the second beacon location as a starting point. You will see a True Sight device in the vicinity - head towards there and activate it. Go all the way across using the floating path and then you will see another True Sight device. Use that as a reference to let yourself fall down to its right, where you will find a Barrier Breach device. Now, hop back on to where the True Sight device is and keep heading straight until you see the ring on the floor. If you look to your right, you’ll find the barrier that is blocking the cave. Head inside and open the chest. That’s all for the Howardite Cache! The Chrondite Cache Trivial Mystery can be found around the Debris Field area. We recommend using the main floating path as reference. Instead of heading to the second beacon, take a detour to the right side - see the area with those massive bones? That’s where we’re going. This is a straightforward one. As you’re following the path you will notice a house of sorts on the left. There is a Safe Passage device to use there. Go ahead and activate it. From here, all you have to do is double jump to get to the roof of said structure. Once on top just open the chest. That’s all for the Chrondite Cache! It’s December, which means the return of The Dawning and Moments of Triumph 2022! Elsewhere, the Season of the Seraph is here alongside More than a Weapon, Seraph Key Codes and Resonate Stems and the addition of Rose in Crucible. We’ve also seen a new dungeon, Spire of the Watcher, with has a chance of Hierarchy of Needs dropping upon completion. Earliear this year we had the arrival of King’s Fall and King’s Fall challenges, plus weapons including Doom of Chelchis and Touch of Malice. For The Witch Queen, learn how to get Dead Messenger and Parasite. The Kamacite Coffer Trivial Mystery can be found around the Debris Field area. If you’re doing this in order, it’s on the same path of where you just grabbed the Chrondite Cache. From there, you’re going to want to head backwards until right before the cliff. As you get closer, you will notice a True Sight device on the other end - that’s where we’re heading. Double jump your way across and activate the True Sight ability. There won’t likely be any enemies around, so it’s an easy one to traverse. From there, make a run for it towards the cave and head inside. After a few steps you will notice the barrier with the chest inside. Once on the other side of the barrier just open the chest. That’s all for the Kamacite Coffer! For this one, we’ll be following the same steps of the Lord of the Undercroft Ascendant Mystery. From the location of the first beacon, we’ll be heading towards the tower on the right side. It’s recommended that you first complete both beacon alignments. As you get closer you’ll notice a group of enemies gathering around a circle. You’ll have to take all of them down first. Then, stand on the circle, which will be more illuminated. After a brief moment, it will open up the door ahead of you. Head inside and let yourself fall to ground level, where you will find a Barrier Breach device. Use it and get to the other side of the barrier. You will end up in a massive pit with moving traps. It looks more daunting than it actually is, though. Jump down and slowly levitate when you get close to the obstacles to safely move around them until you get to the bottom. Once there, activate the True Sight device nearby. Then, head towards the other side of the room with the massive pit in the centre. While True Sight is active, a platform will appear right on top with the chest. All there’s left to do is go ahead and open it. That’s all for The Deep! For this one, we’ll be following the same steps of the Light the Way Ascendant Mystery, since we need to get to the Warbringer’s Tower. Upon your arrival, take down the Soulfire Exarch so it doesn’t get in the way. Then, you want to look to your left, where you’ll notice a True Sight device. Go ahead and activate it. A floating path will unveil itself. Follow it down below (grab the anchor if you haven’t!) and it will lead you to an open room with the chest. Enemies may appear, but only a few. All there’s left to do is to open the chest. That’s all for Spire’s Reach!


