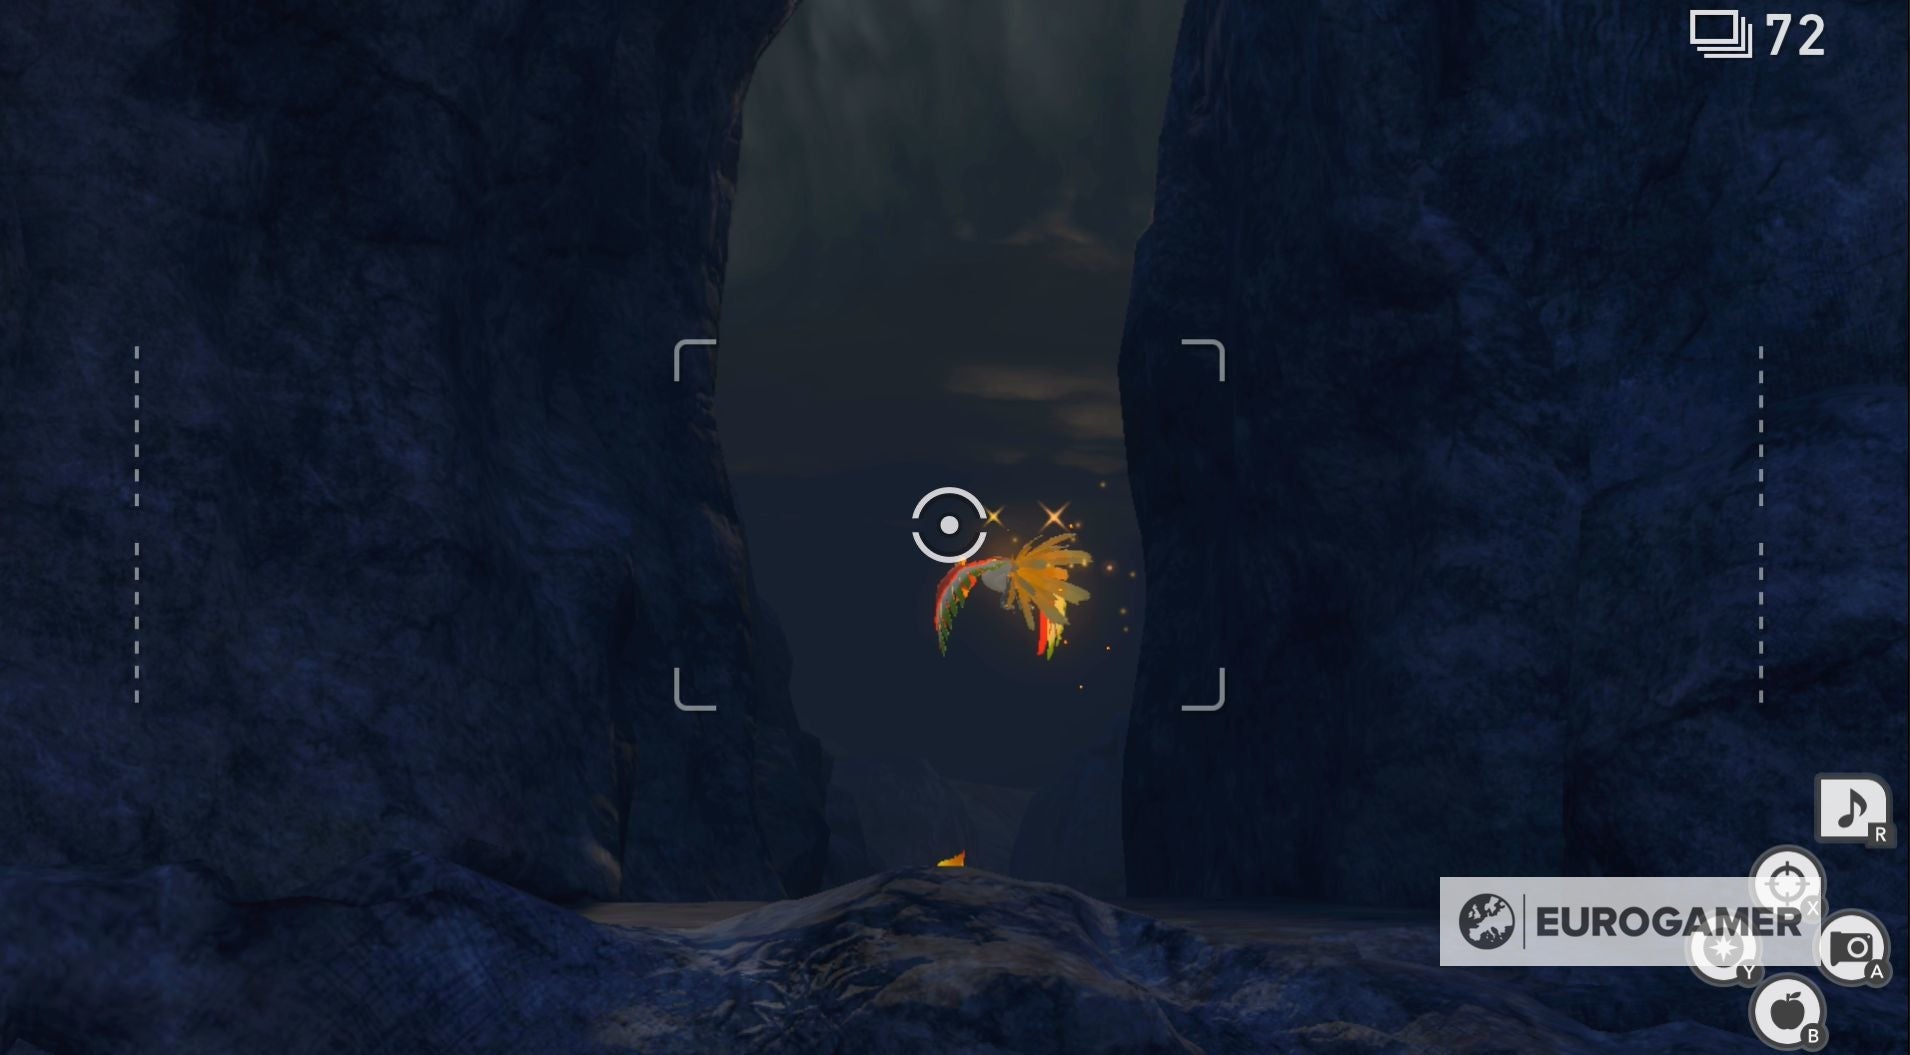
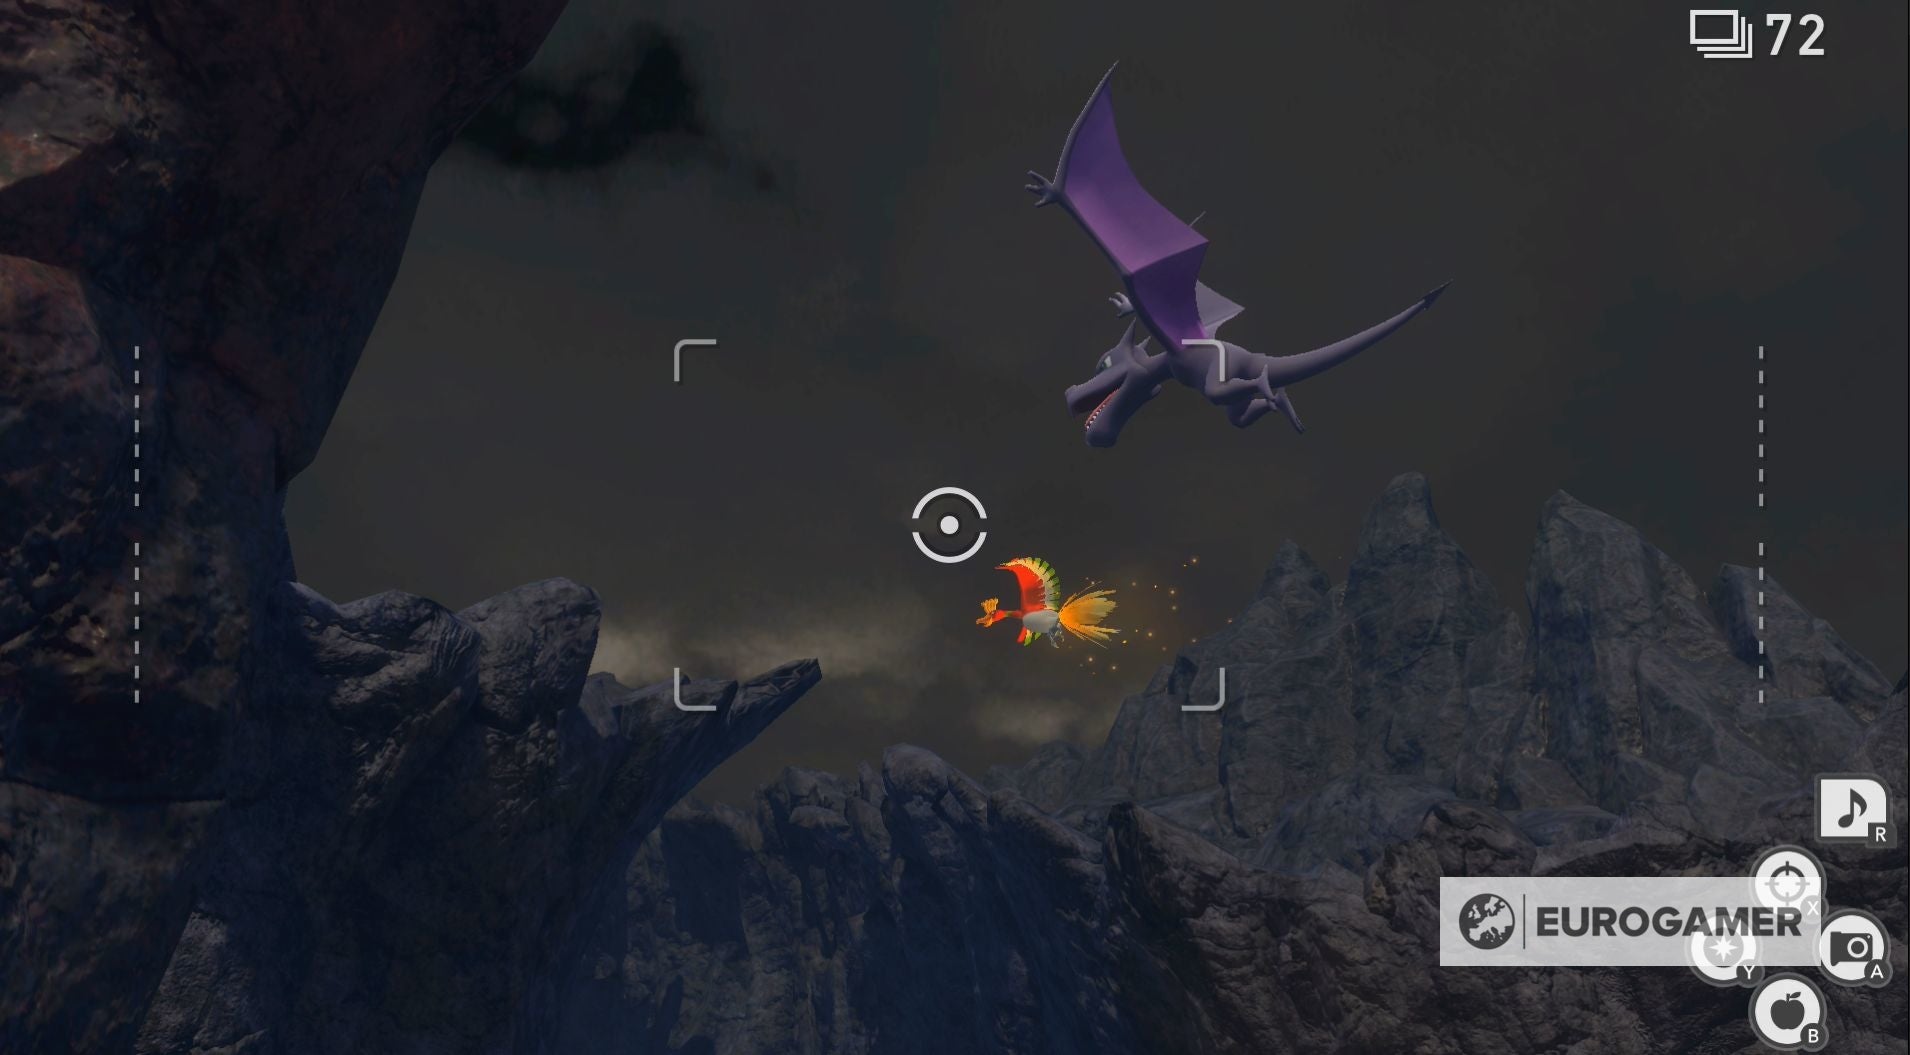
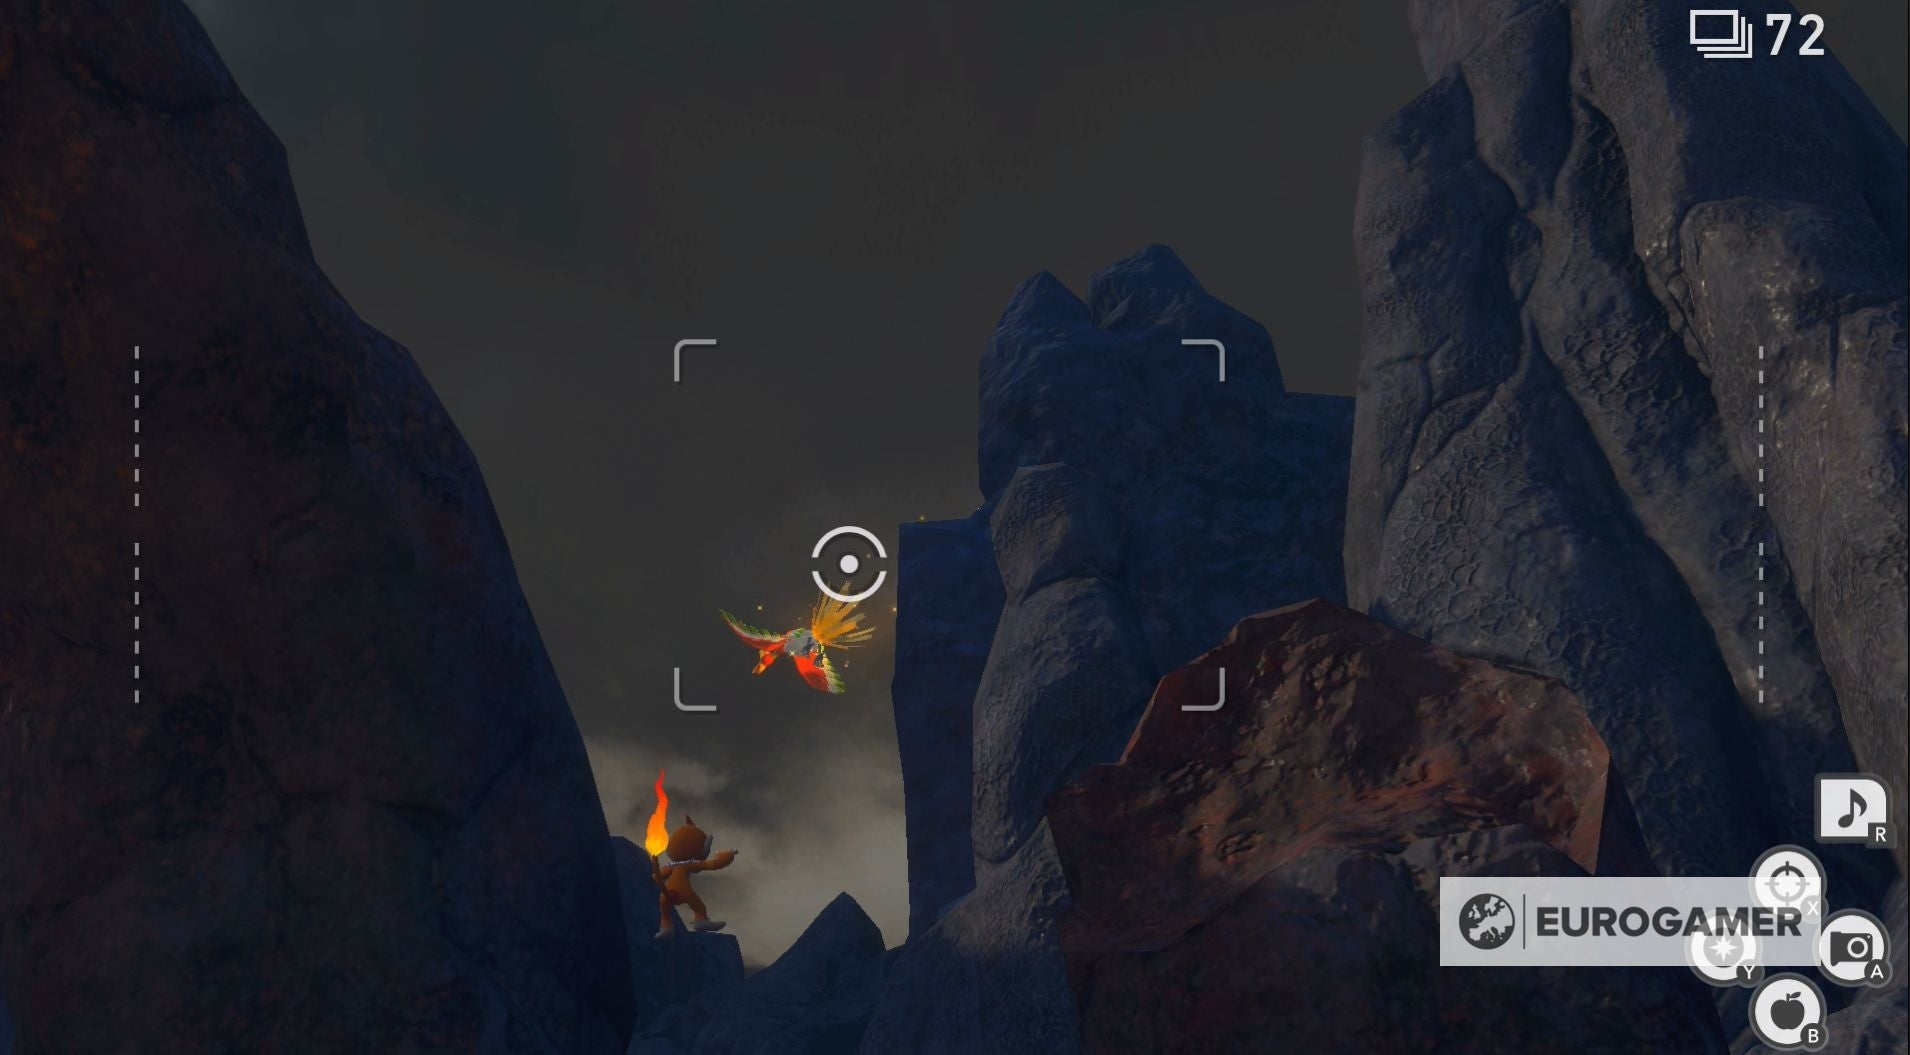
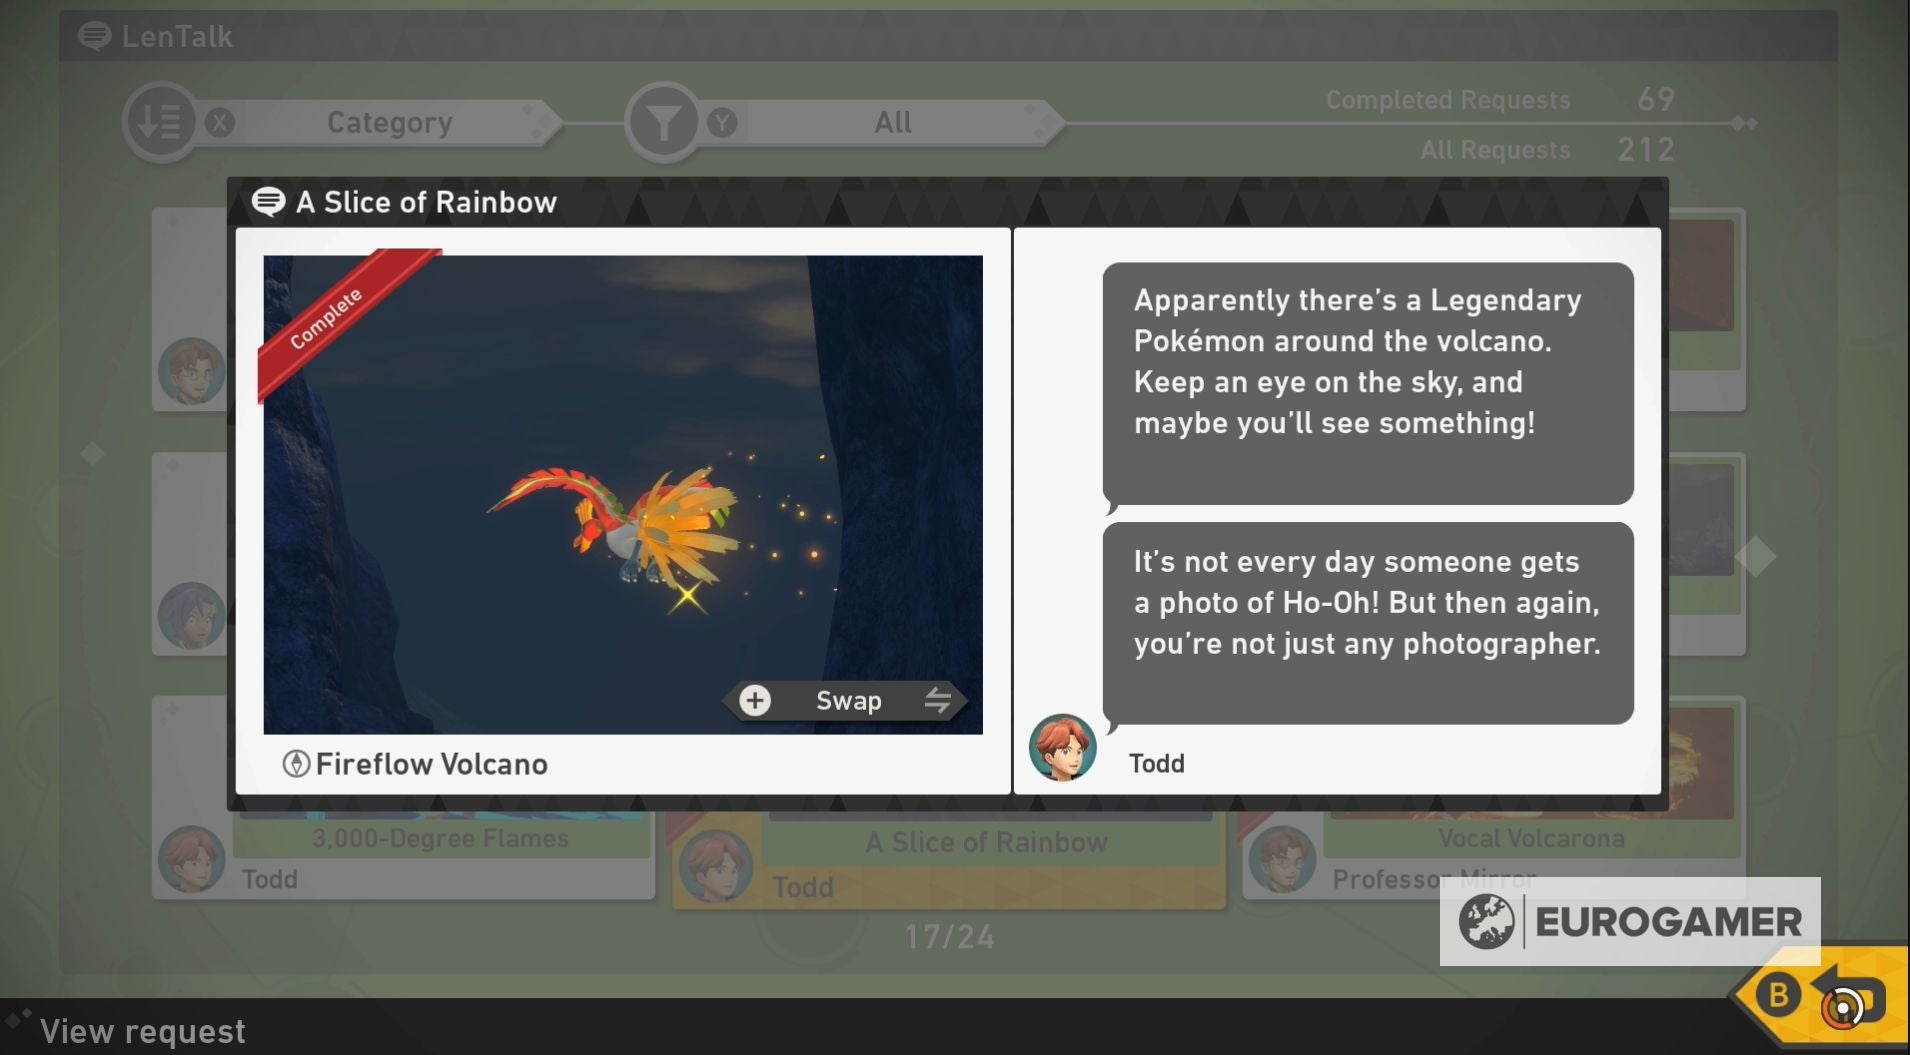
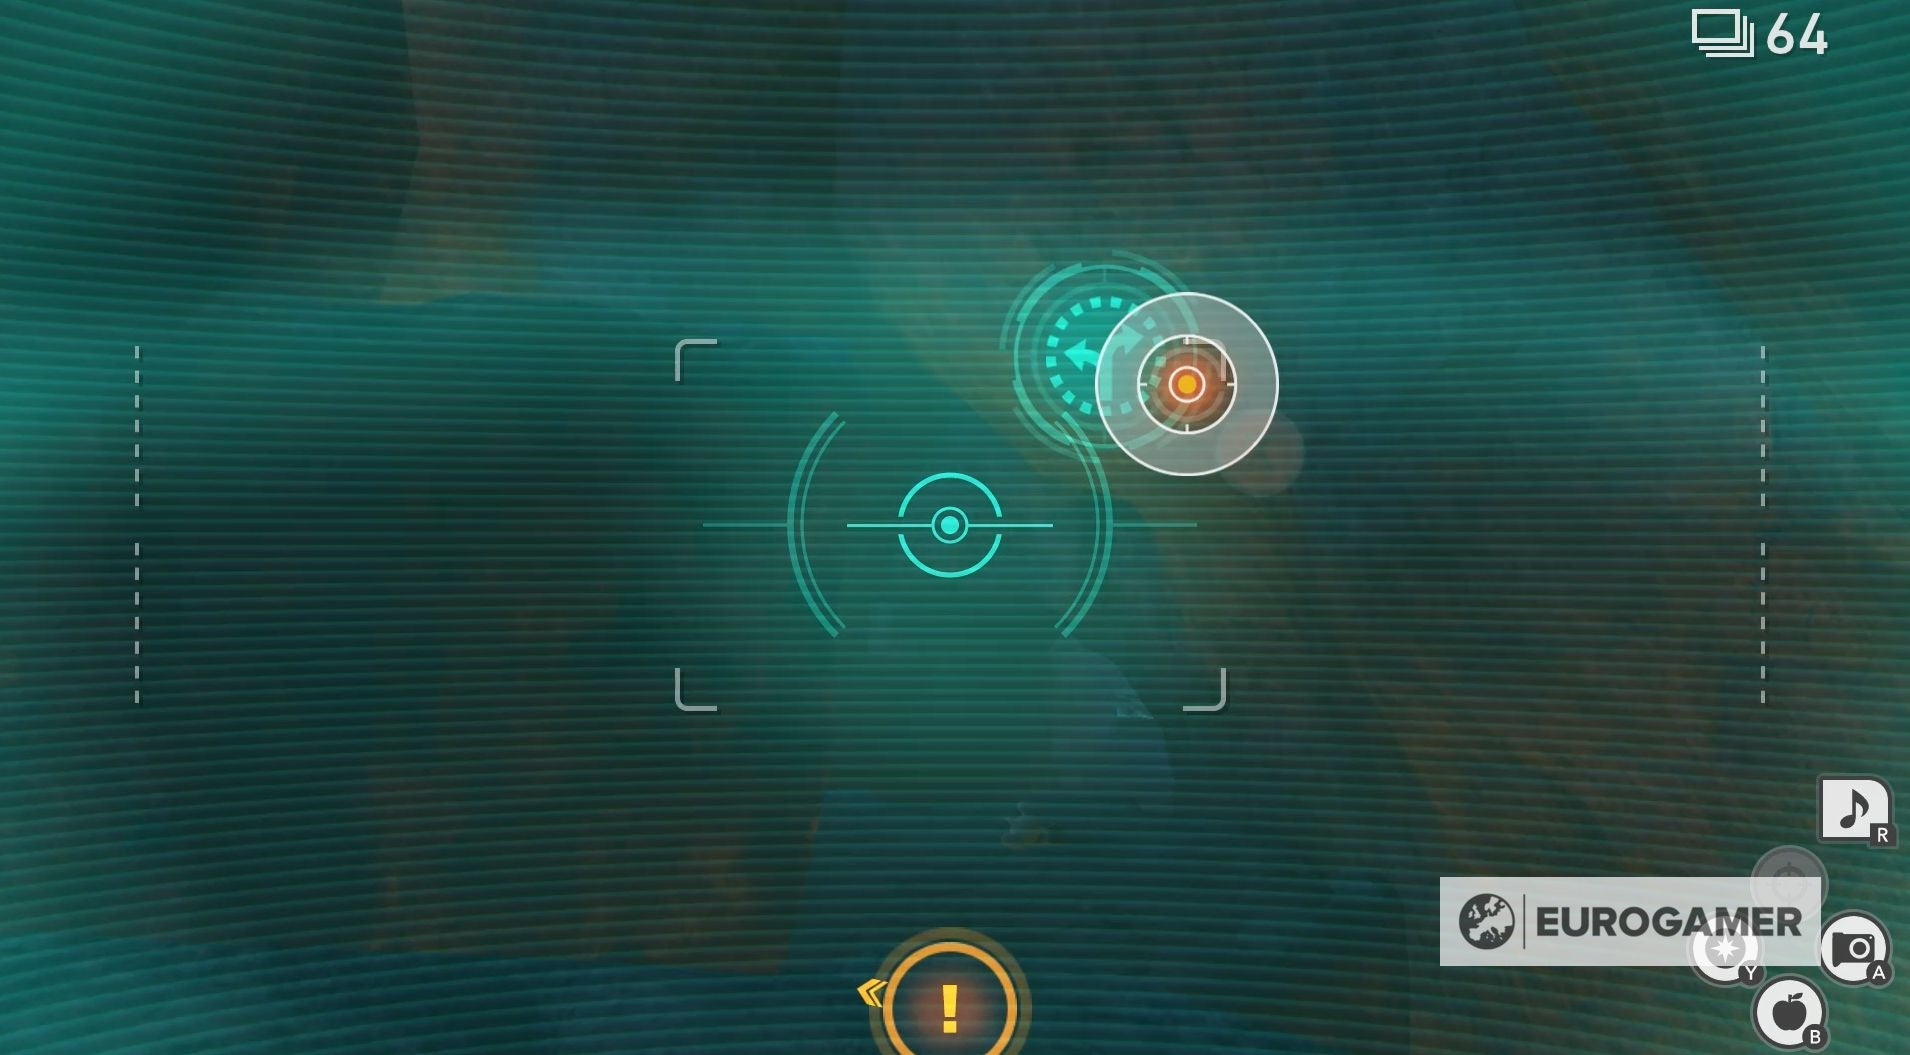
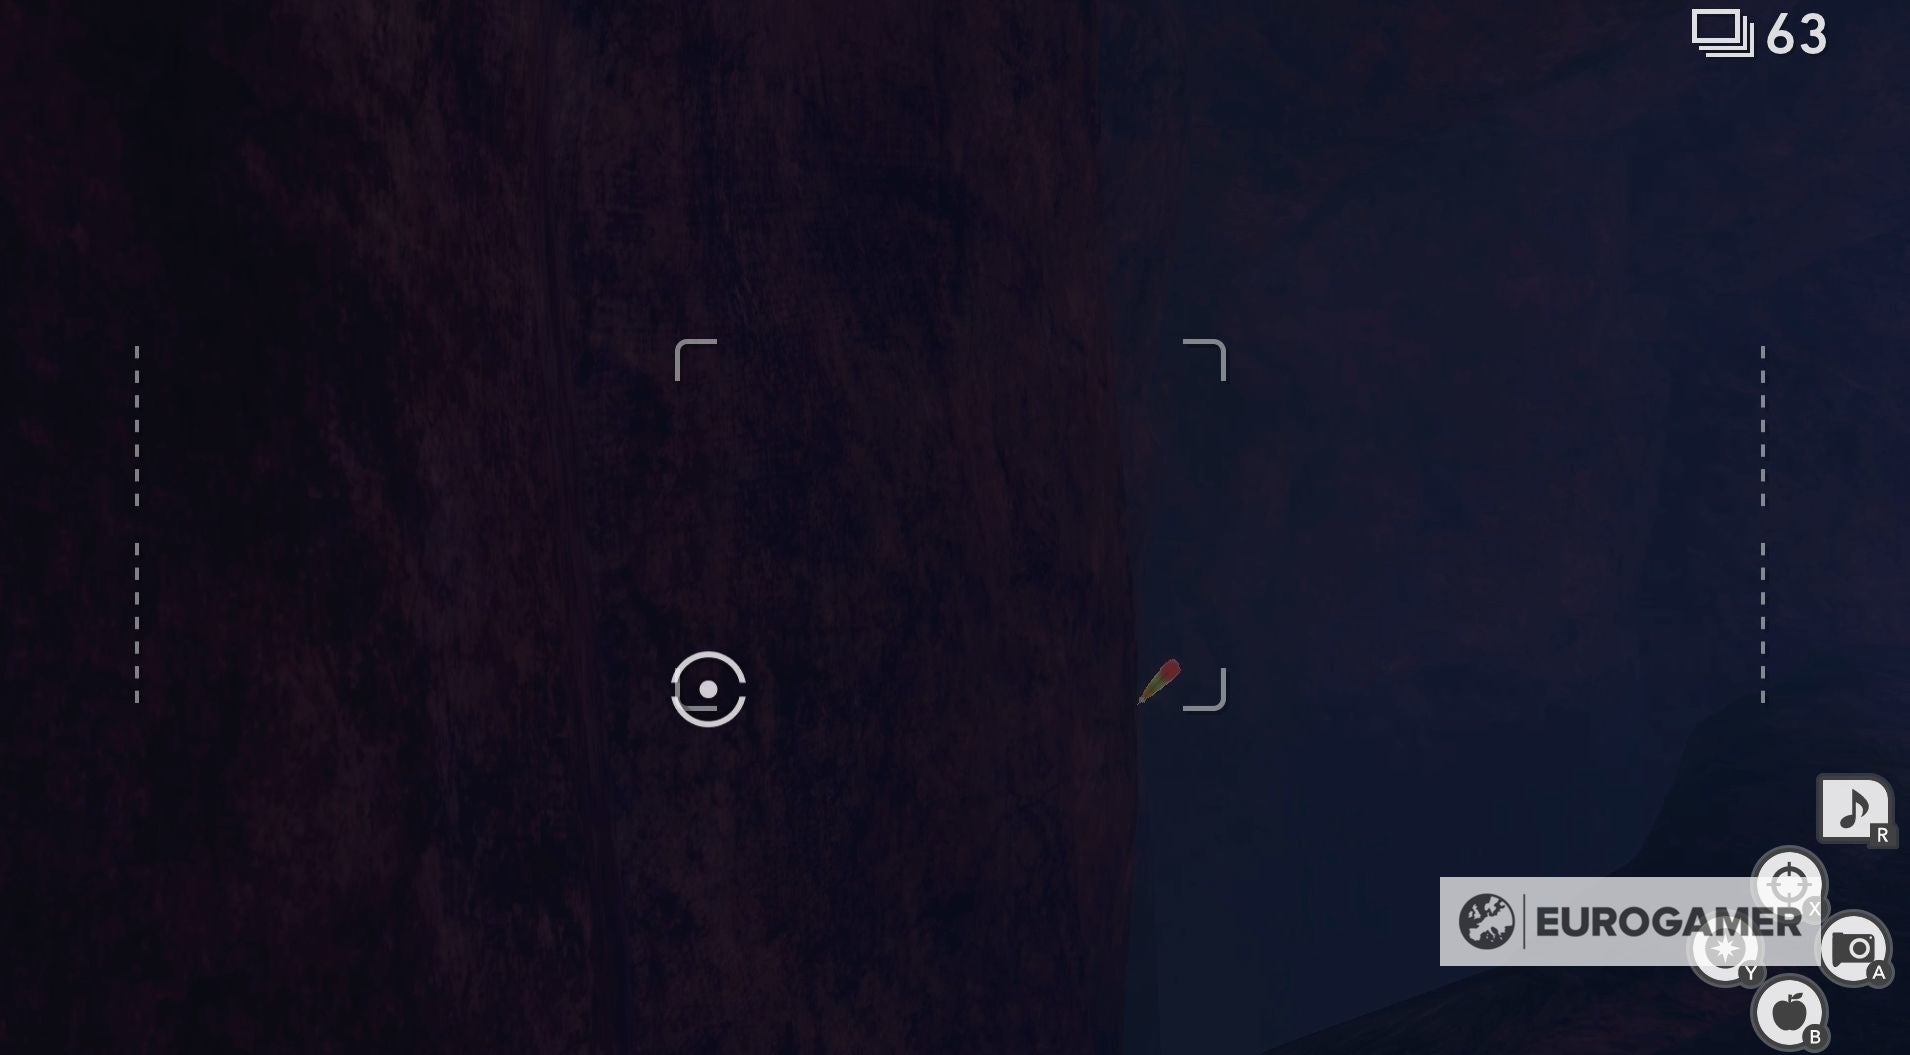
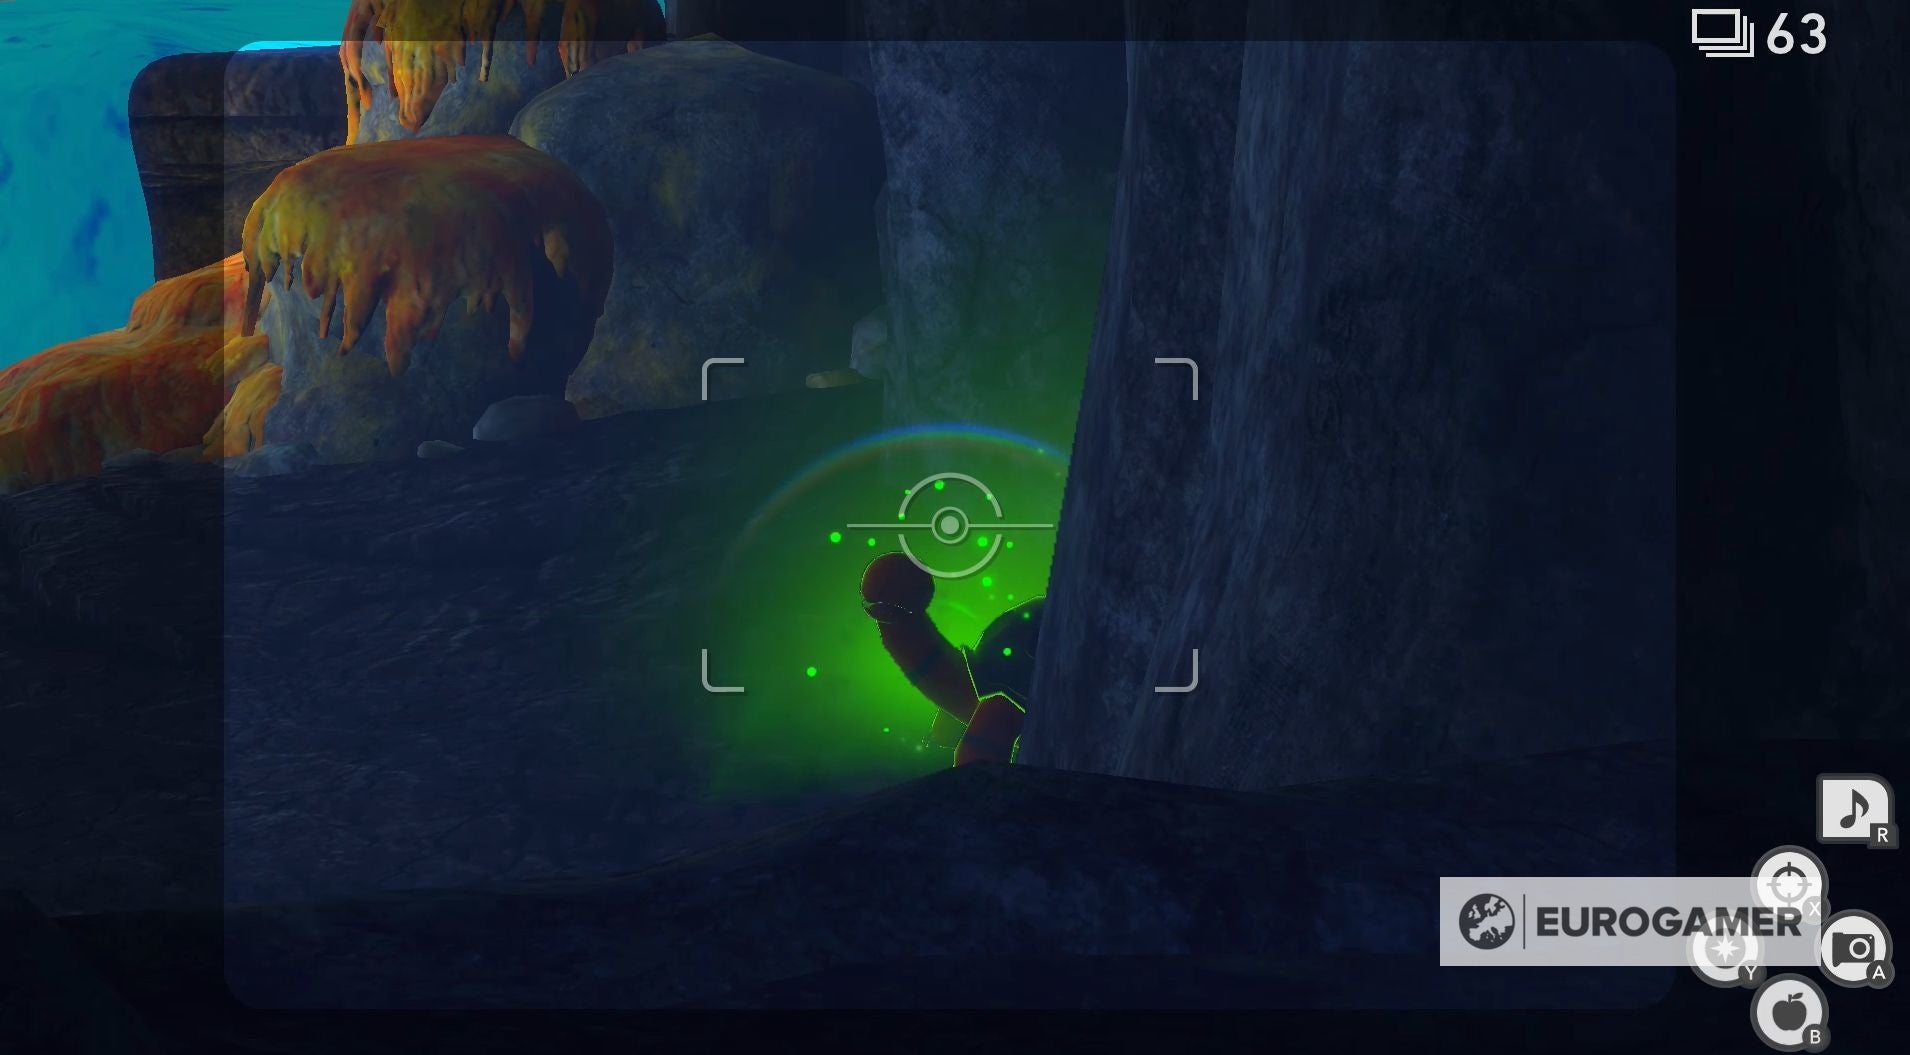
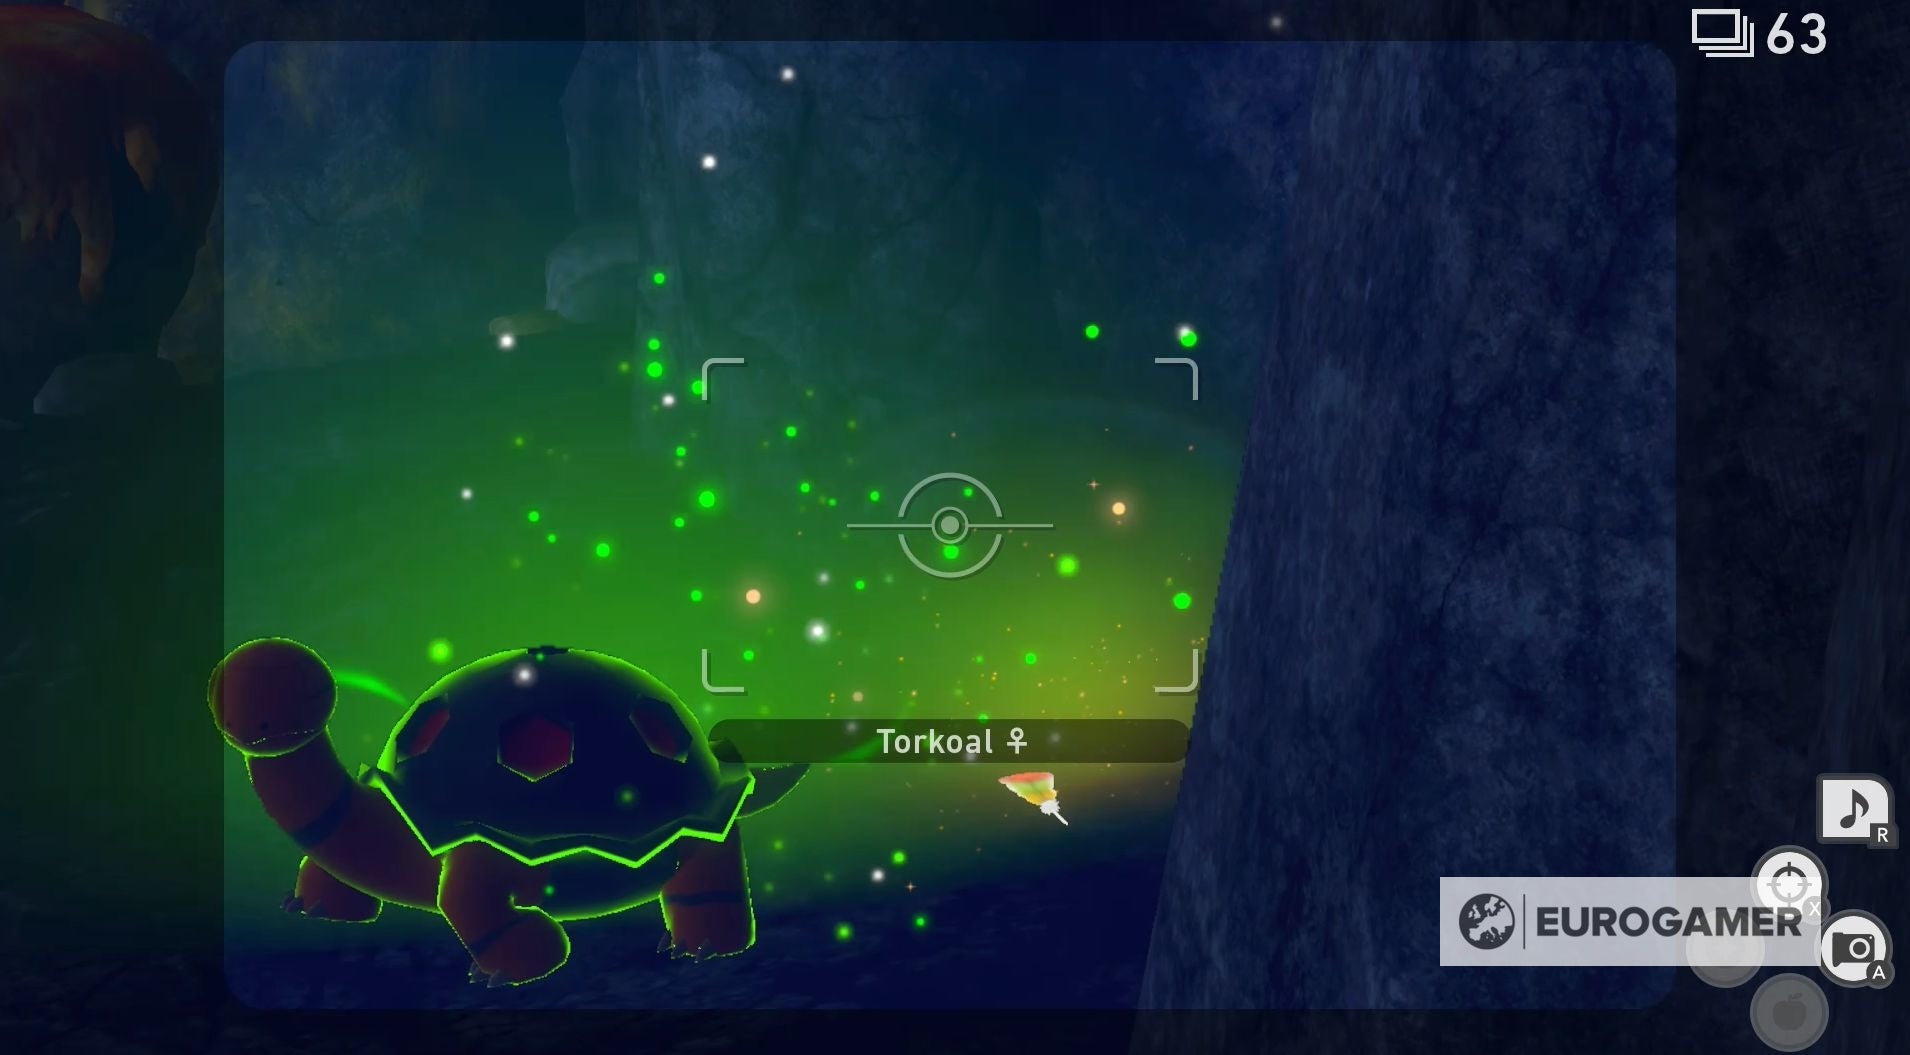
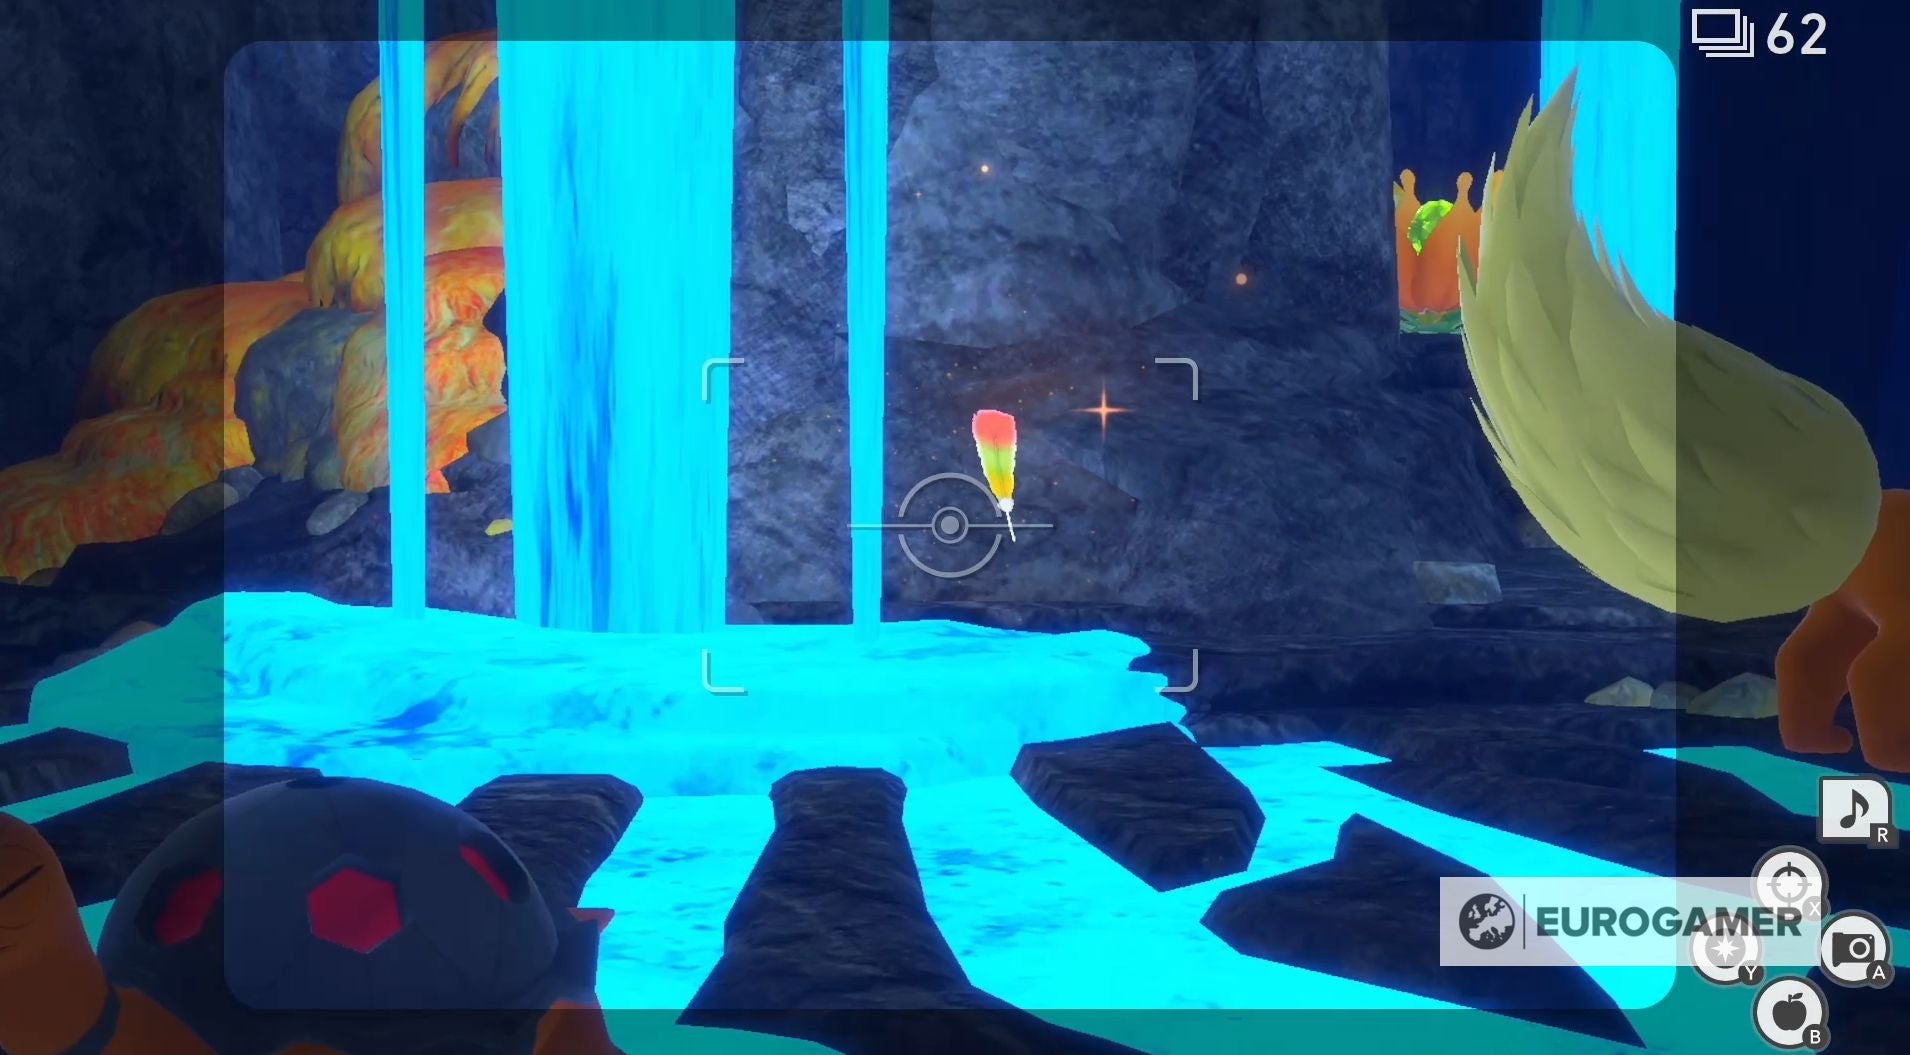
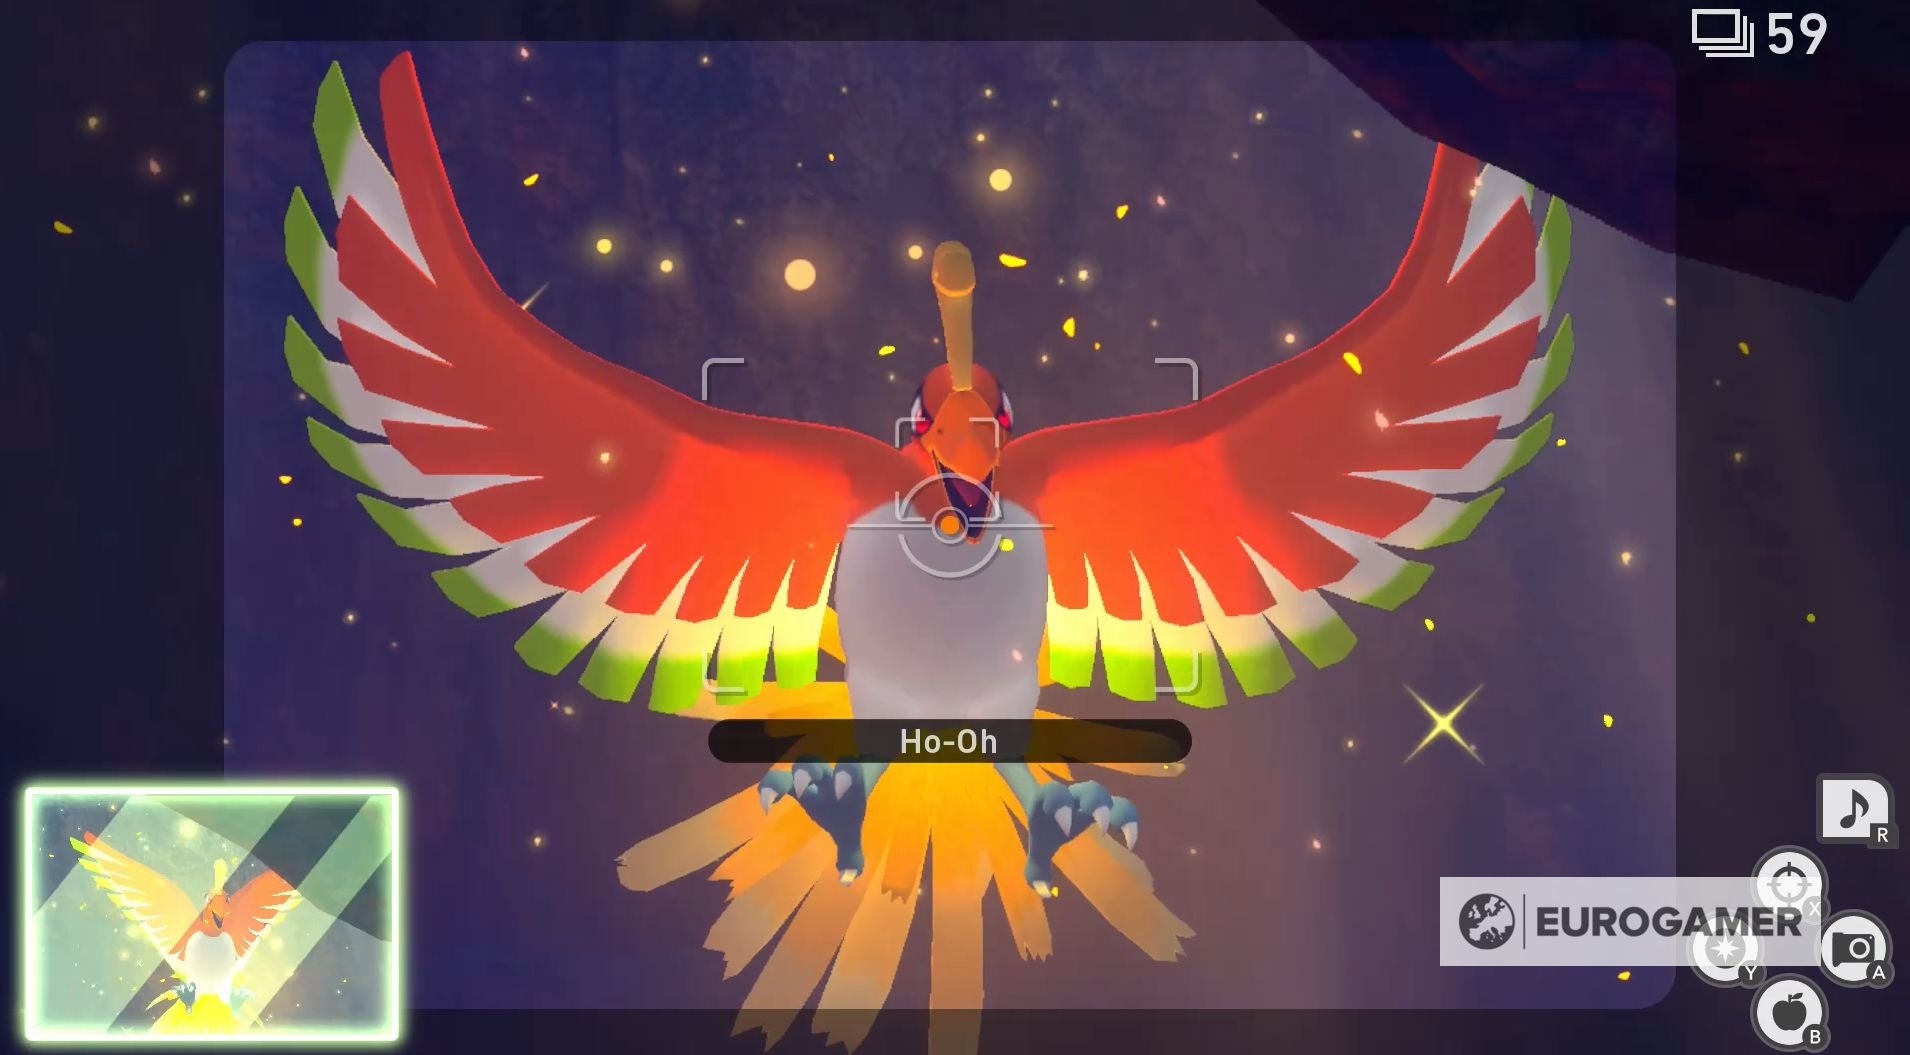
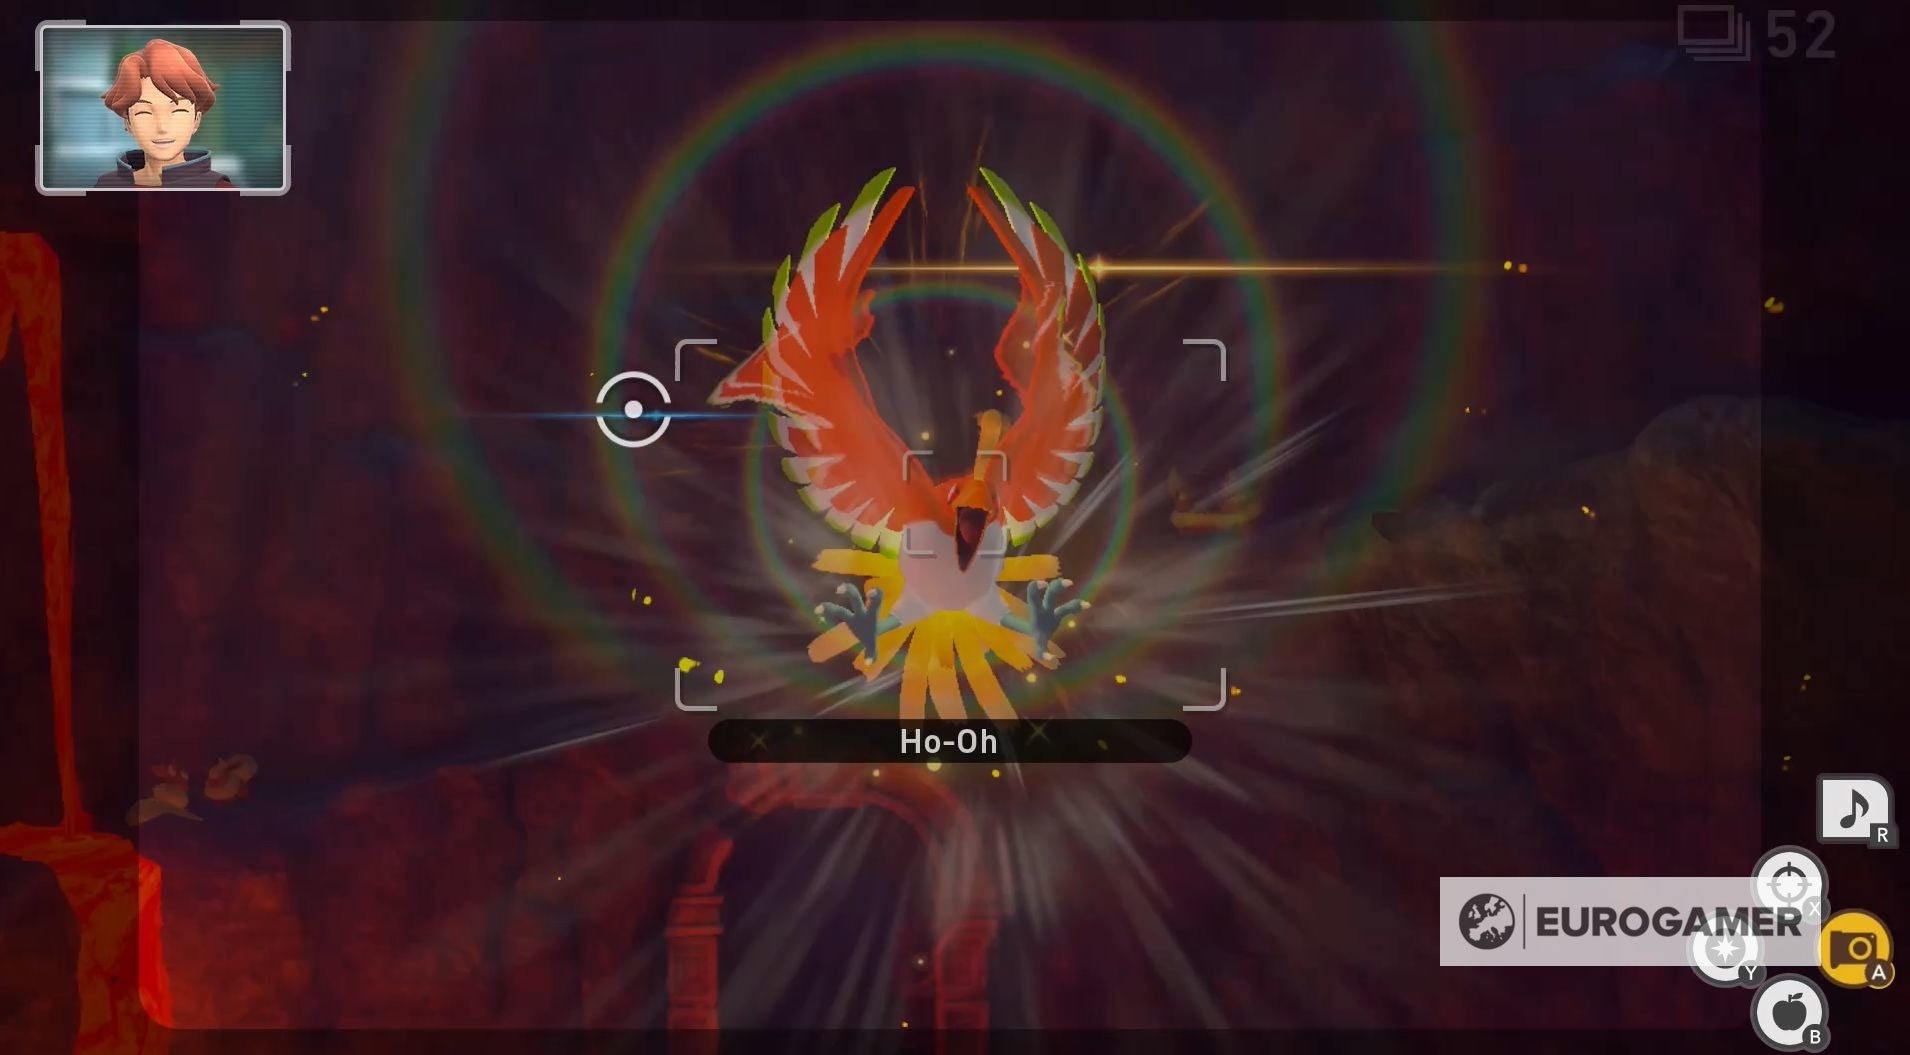
If you want this picture though, you first need to know Ho-Oh’s location, which, in turn, will help you complete the A Slice of the Rainbow LenTalk request. The real challenge, however, is taking a four star photo of Ho-Oh for your Photodex. On this page: The first location is directly to the right of the starting point for the course - between a gap in the mountain. For the second location, you need to wait until you’ve gone down the slope near the beginning of the course to where you’ll see Tyrantrum for the first time. Once you’re in this area, immediately look behind you to see whether Ho-Oh is flying across the sky. The third location is along the right-hand side of this same area - find the Crystabloom sitting between gaps of stone and you may see Ho-Oh passing by. Remember - Ho-Oh’s location is chosen at random, so make sure you check all three locations if you want to take its picture. The best thing, however, is that taking a picture of Ho-Oh in one of these locations will allow you to complete the A Slice of the Rainbow LenTalk request! The first is to take a photo of Ho-Oh in one of three locations listed above. Remember - exactly where Ho-Oh appears is decided randomly, so you will have to check every location. After you’ve taken this photo, take the alternative route inside the mountain which will lead you through the blue magma room. During this journey, you will need to find three Ho-Oh feathers and hit them with Illumina Orbs. The first feather is located on the lava opposite the crater before the blue magma cavern. If you’re having trouble finding it, make sure you’re looking to your left after passing over the sleeping Shinx. Once you’ve found the feather, start tossing Illumina Orbs until it starts to glow. For the second feather, you need to keep an eye on your right-side when entering the blue magma cave and upon entering this area, you’ll see a Torkoal fast asleep. You can’t allow this peaceful sleep to continue though, so hit the Torkoal with an Illumina Orb to wake it up. Once Torkoal gets up and starts moving, you’ll realise it was sitting on top of the second Ho-Oh feather, which you then need to quickly hit with an Illumina Orb. The third and final feather is the easiest to find, because it’s simply on the rocks in the middle of the blue magma area - simply look beneath the first magma waterfall and you’ll find it easily. After hitting all three Ho-Oh feathers, you’ll enter the final cavern, where Ho-Oh will fly down from the sky. For a four star photo, make sure you take a picture of Ho-Oh roaring at you. If you’ve already taken this photo, you’ll also be able to use this opportunity to grab two and three star photos of this legendary bird. If you’d like to learn more, visit our New Pokémon Snap walkthrough or legendary Pokémon guide.