With over two million copies sold and hundreds of thousands of concurrent players on Steam in the weeks following launch, Valheim already has a huge following. Though you can enjoy Valheim solo, it’s playing with others where the game comes into its own. If you’re serious about being part of a group who want to come and go from a single world with better hosting, then a Valheim dedicated server setup might be for you. We’ll run through why you might need a dedicated server in Valheim, what you need to get it up and running properly, the step-by-step setup process and how to join a dedicated server when it’s all done. And, if that all sounds like a bit too much for now, a quick explainer on hosting a multiplayer session on your current PC too. On this page: If you’re looking for more help, we have explainers for how to build a base in Valheim, finding flint and iron and getting a workbench. If you have a decent gaming rig and a reasonable internet connection and you just want to play the game intermittently with a few friends, you could host a game yourself with ease. Here are the steps to follow: It’s fairly straightforward - but this might not be the best option if you have loftier ambitions. Valheim supports up to 10 players in co-op, and in our experience, local servers can suffer from lag and connection trouble even with just a handful of players in the same instance, especially once you venture out into multiple biomes. If you’re familiar with Minecraft, you may have seen similar locally-hosted server issues when entering the Nether or venturing far from spawn - which is why hosting a dedicated server might be an attractive option. It means your friends can be farming resources and exploring while you’re away, and is therefore very handy if you’re playing with a group of friends who have tricky schedules, perhaps across different timezones. Hosting a server can be taxing, so some players opt to have their dedicated servers running on a separate server PC, built for the sole purpose of hosting the game. This means it isn’t a drain on their main rig’s performance, and they can switch off the computer they game on without cutting off access for the rest of the troupe. However, you should be aware that leaving a computer on at all times to host a dedicated server will be a drain on your electricity and bandwidth - so be sure to clear this with the bill payer before getting started, especially if you’re on a data cap. Without this knowledge, it’s not clear whether server capabilities are gated by PC hardware, bandwidth or the game’s code itself, but the more power you throw at it, the better it’s going to be. Just bear in mind that the game is in early access and is still being optimized. Also, if you’re playing with a person who has a particularly poor internet connection, they (and by proxy, the rest of the group) will no doubt experience lag regardless of your efforts. Mainly, dedicated servers will need the following to run things properly:
Decent internet bandwidth Solid CPU power A good amount of RAM
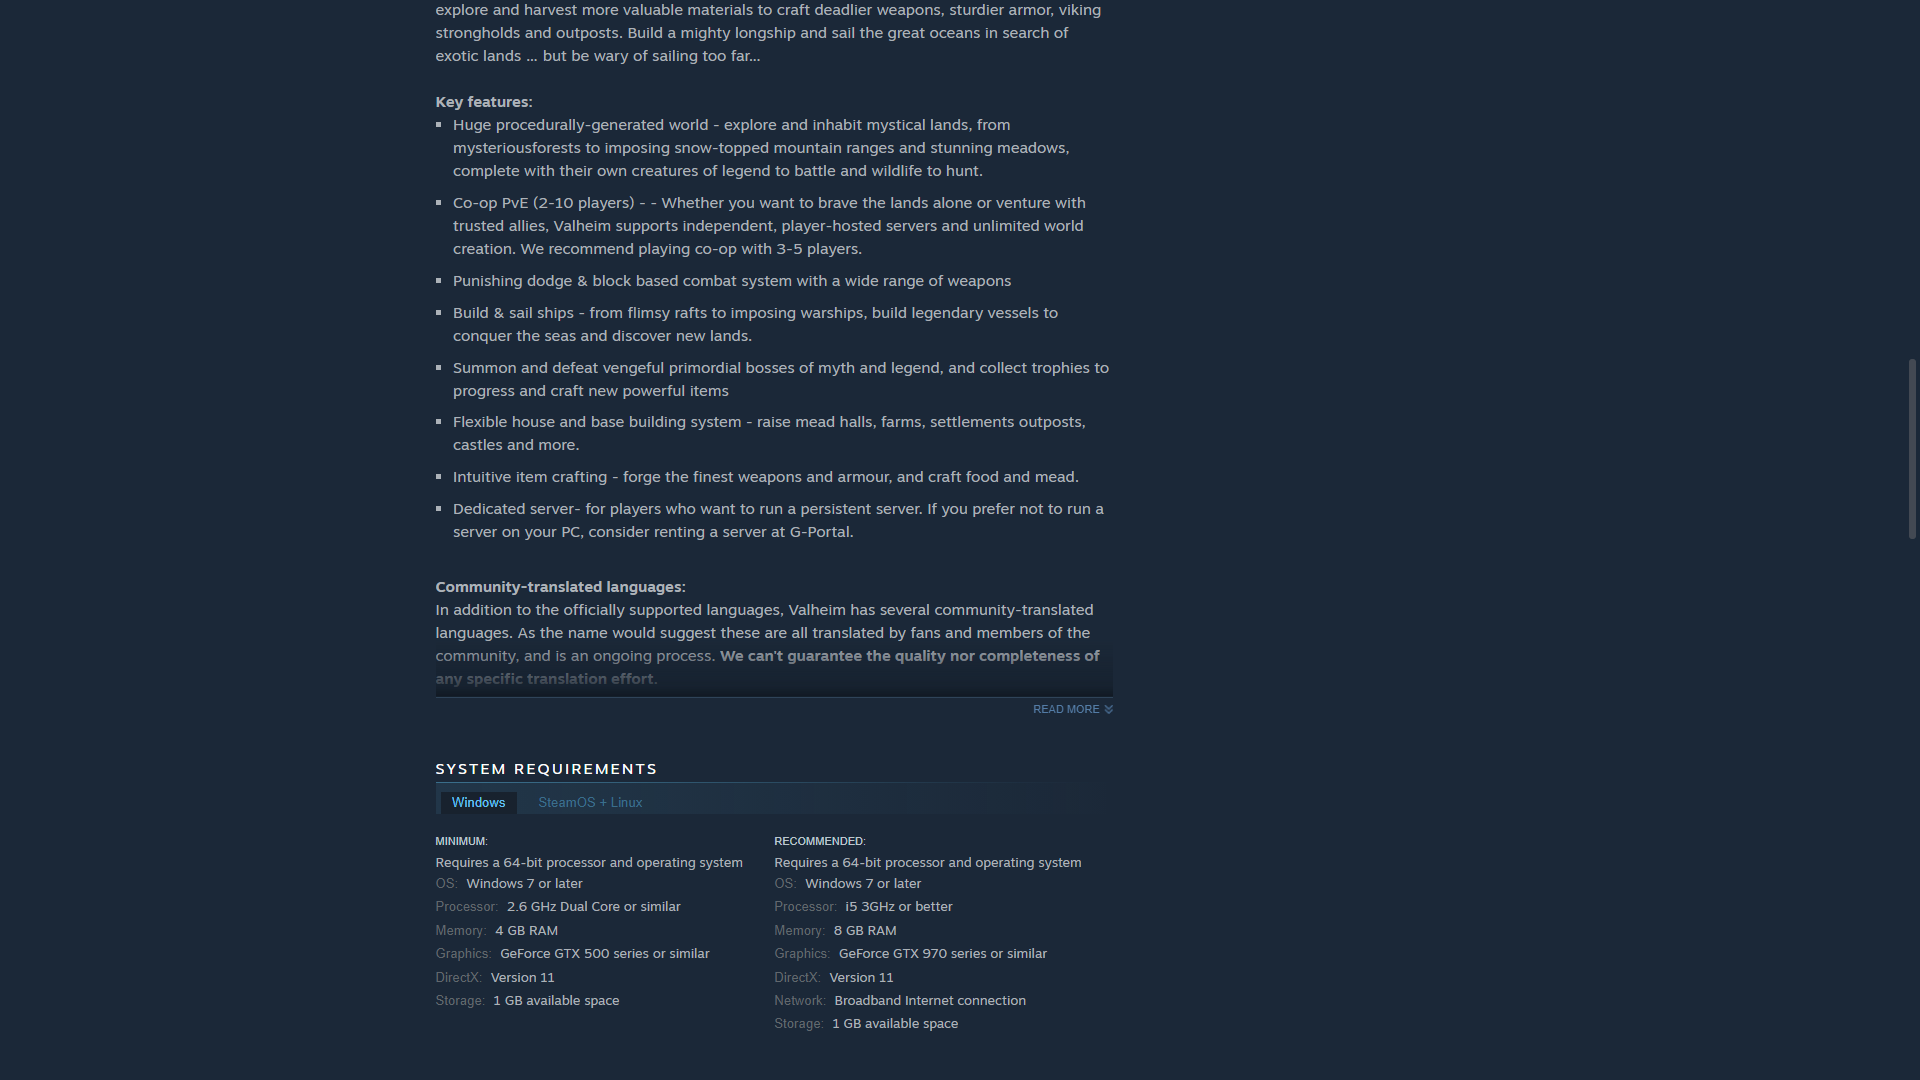
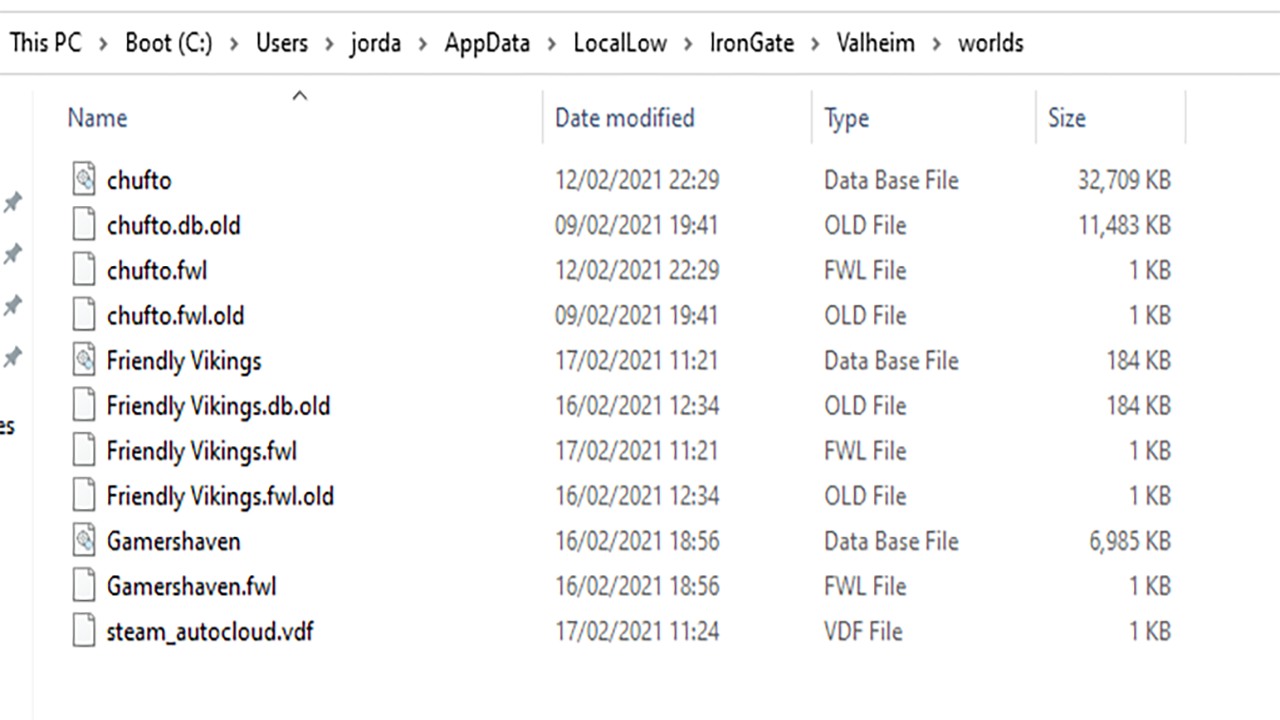
For example, I have 50 Mbps download and 10 Mbps upload internet, a Ryzen 5 3600 and 16 GB of RAM and my server ran fine with two other players. That feels like a decent base level, but your mileage ultimately may vary. Given that Valheim isn’t very demanding, players on Reddit are anecdotally reporting that they’re able to host a server on modest dual-core CPU rigs, so if you have an old, but not ancient computer lying around, you may want to see if you can use that to create a persistent world - but I wouldn’t expect an entirely smooth experience regardless of your situation. Elsewhere on the game’s store page, Iron Gate notes that if players want to run a dedicated server and they don’t wish to host it themselves, they could pay to rent one from a site called G-Portal, which provides dedicated servers for Valheim. This is an option if you have the money to spend and you don’t want to jump through any technical hoops. Otherwise - let’s look into how we can start getting things ready for a dedicated server of our own. Head to the C:\Users[USER]\AppData\LocalLow\IronGate\Valheim\worlds folder and copy the .db, .db.old and .fwl files into the same folder on the system you’re hosting the game on. If you happen to be hosting a dedicated server on the same system that you’re playing on, you can leave the world files in there. Once you’ve done that, just specify the name of the pre-existing world you want to use in the dedicated server’s start_headless_server’ file to use it. Get that downloaded and follow the steps below. These instructions assume the user is attempting to create a server on a Windows PC machine, which is what we are using:
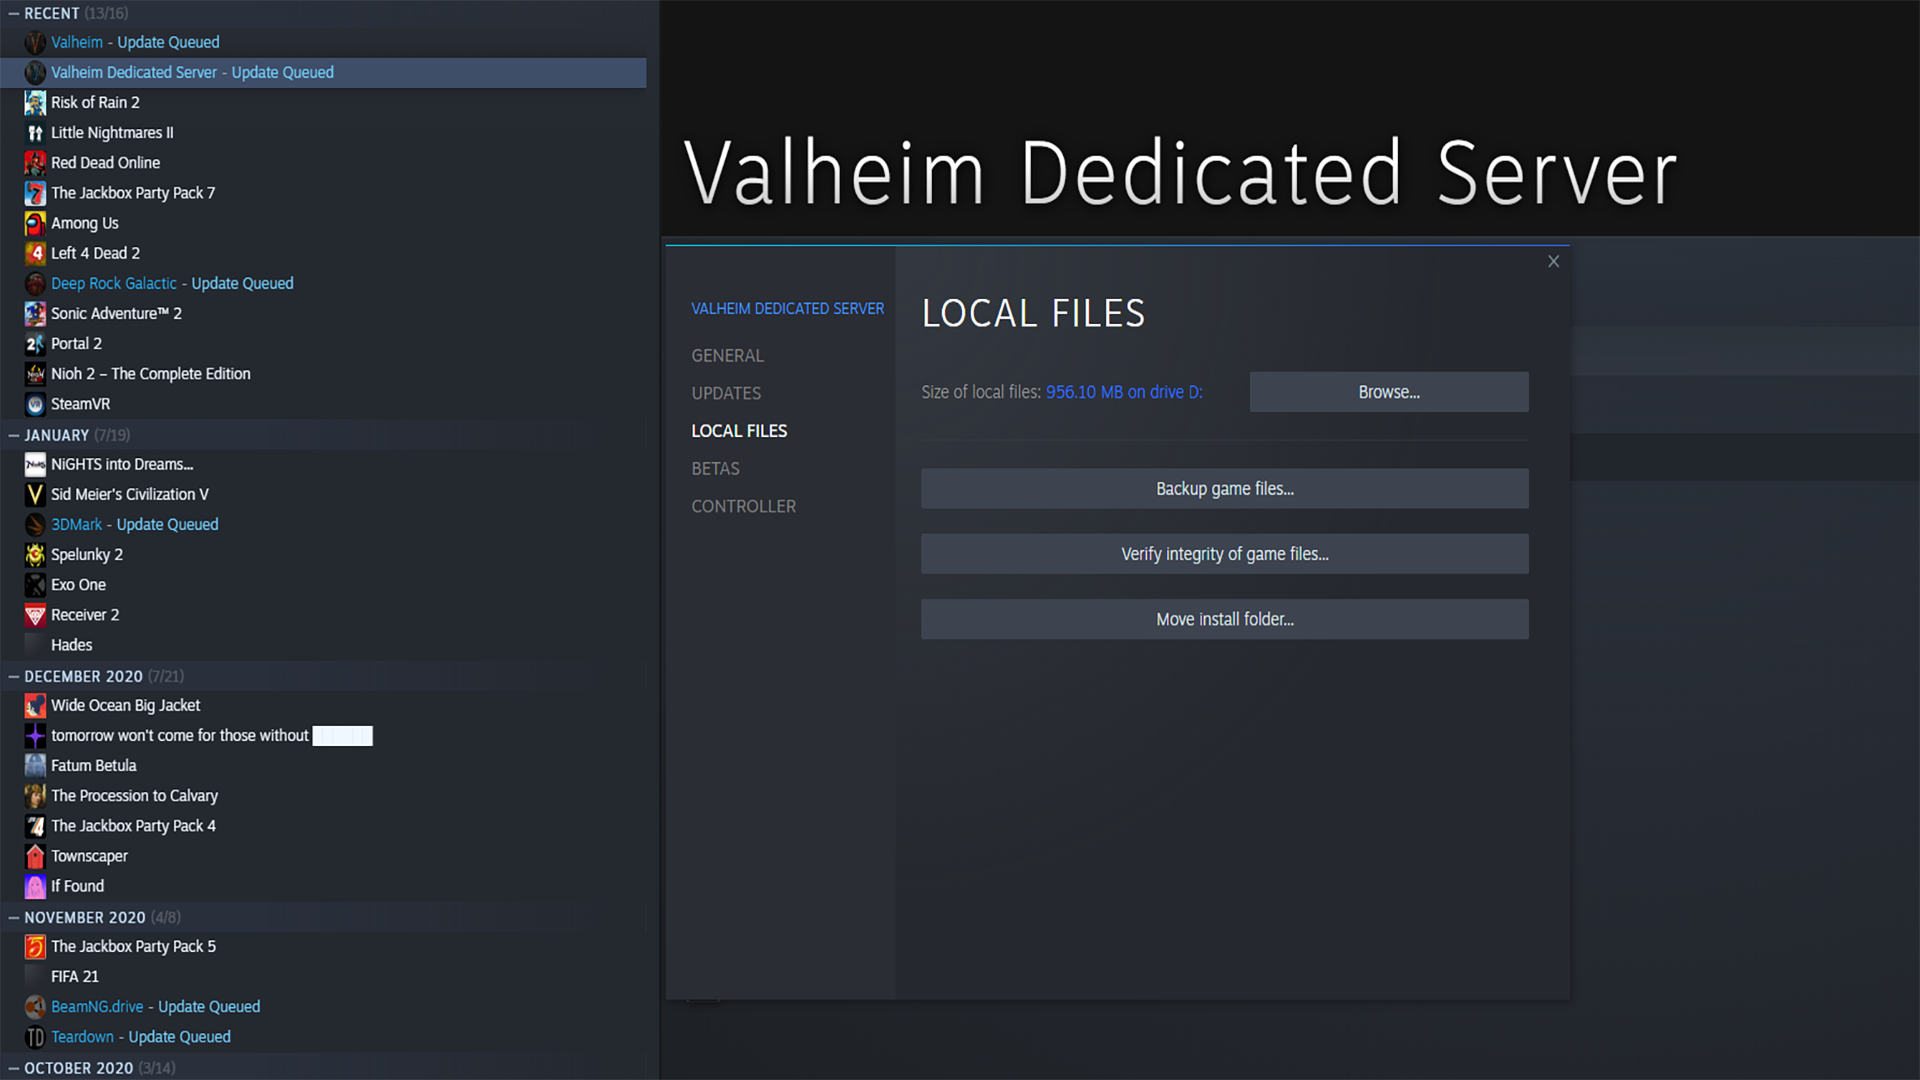
- Right-click the Valheim Dedicated Server on Steam, click Properties, Local Files and then Browse.
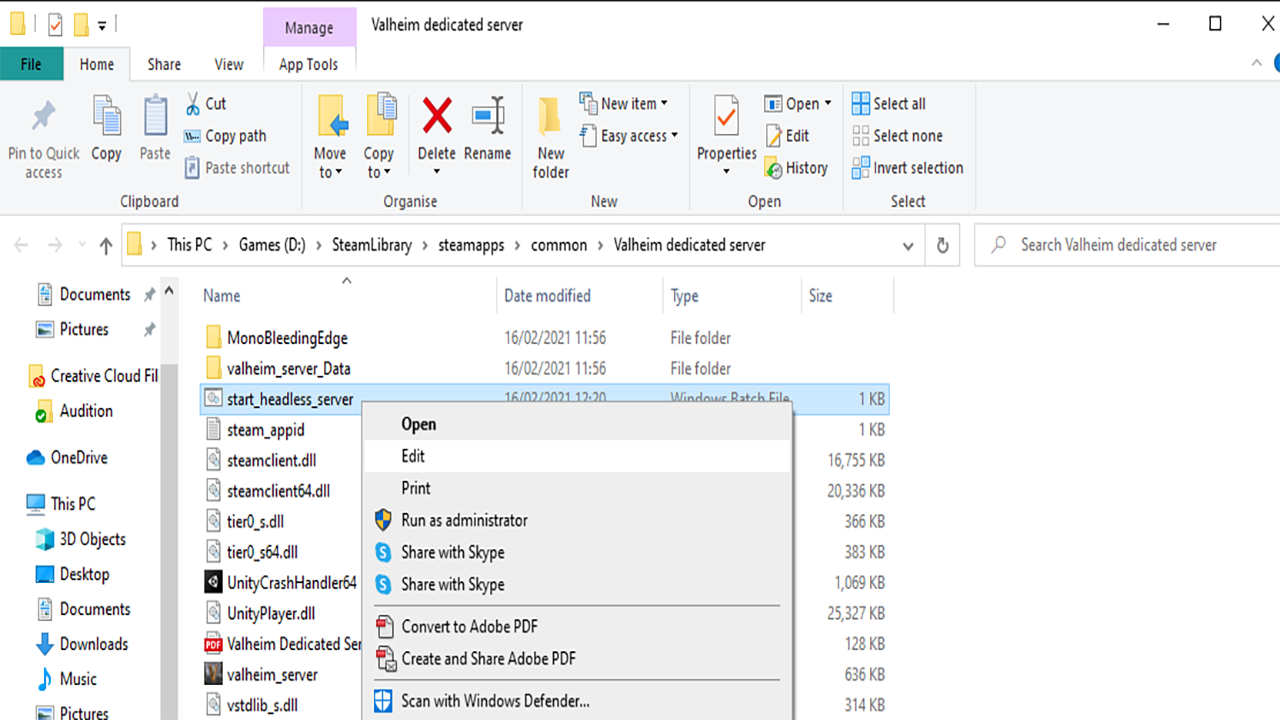
- Right-click, copy and paste the ‘start_headless_server’ file into another safe directory so it’s backed up if you make any mistakes.
- Right-click the original ‘start_headless_server’ file and then click edit.
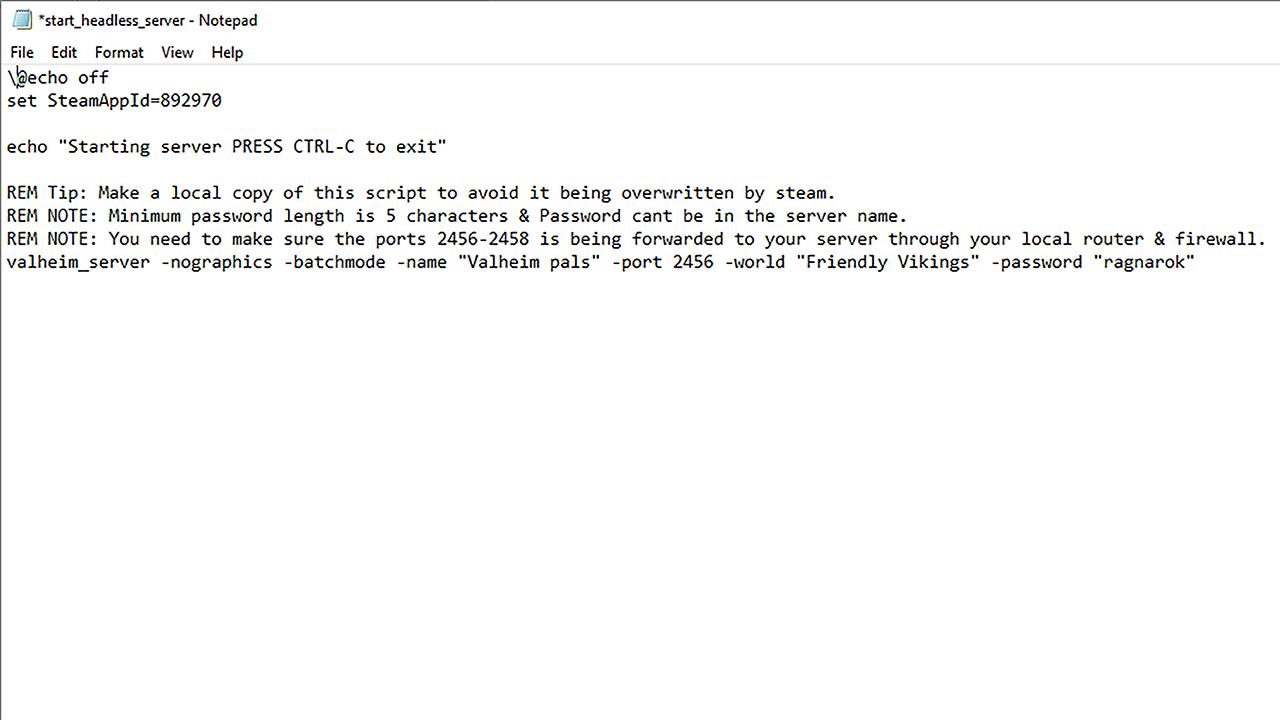
- Change the -name tag from “My server” to whatever you want to call your server, but keep the quote tags. Example:“Valheim pals”.
- Change the -world tag from “Dedicated” to something that doesn’t clash with the server name. Keep the quotes. Example: “Friendly Vikings”.
- Change the -password tag from “Secret” to anything you like that doesn’t clash with the above and save the ‘start_headless_server’ file. Here’s how our file looks with the edits in place:
- Head to PortForward.com, find your router brand and make, log into your own router software and forward the ports 2456-2458 TCP/UDP on the host PC. This process will vary for every user, but documentation is readily available online. Make sure Valheim is unblocked in your firewall too.
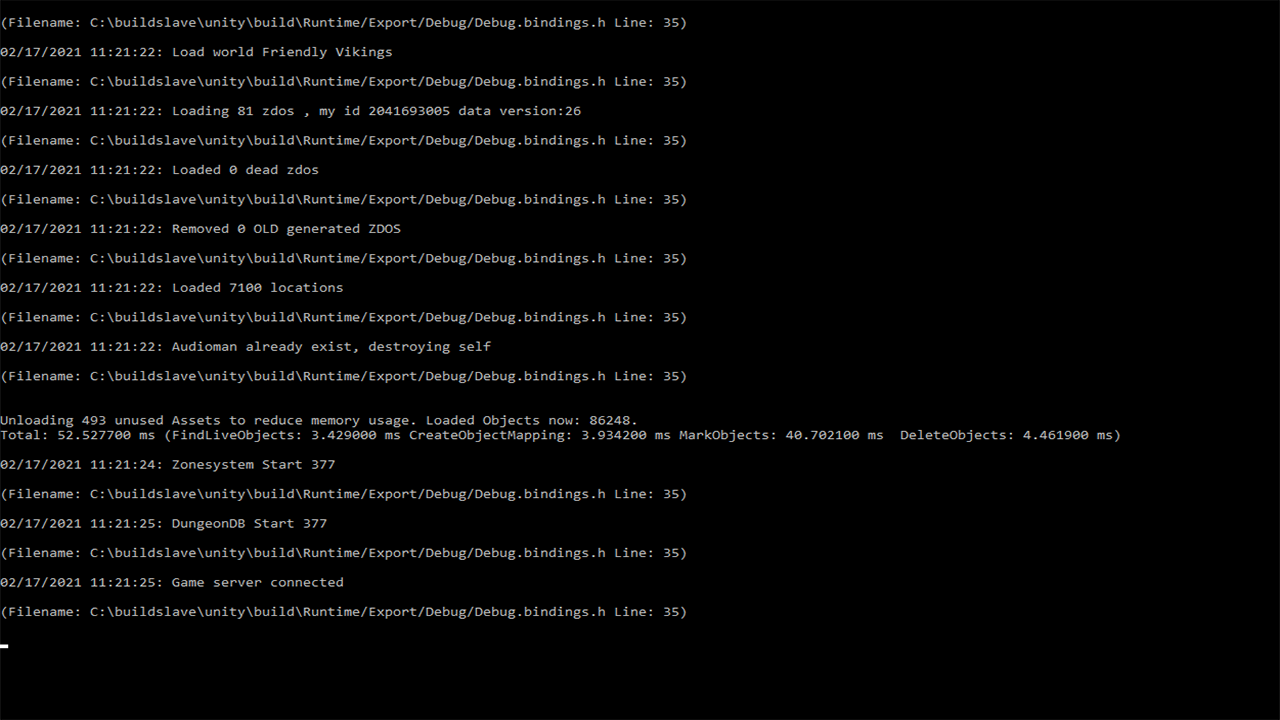
- Run the Valheim Dedicated Server on Steam. A CMD box will pop up, and you need to wait until it throws up the line [DATE] [TIME]: Game server connected.
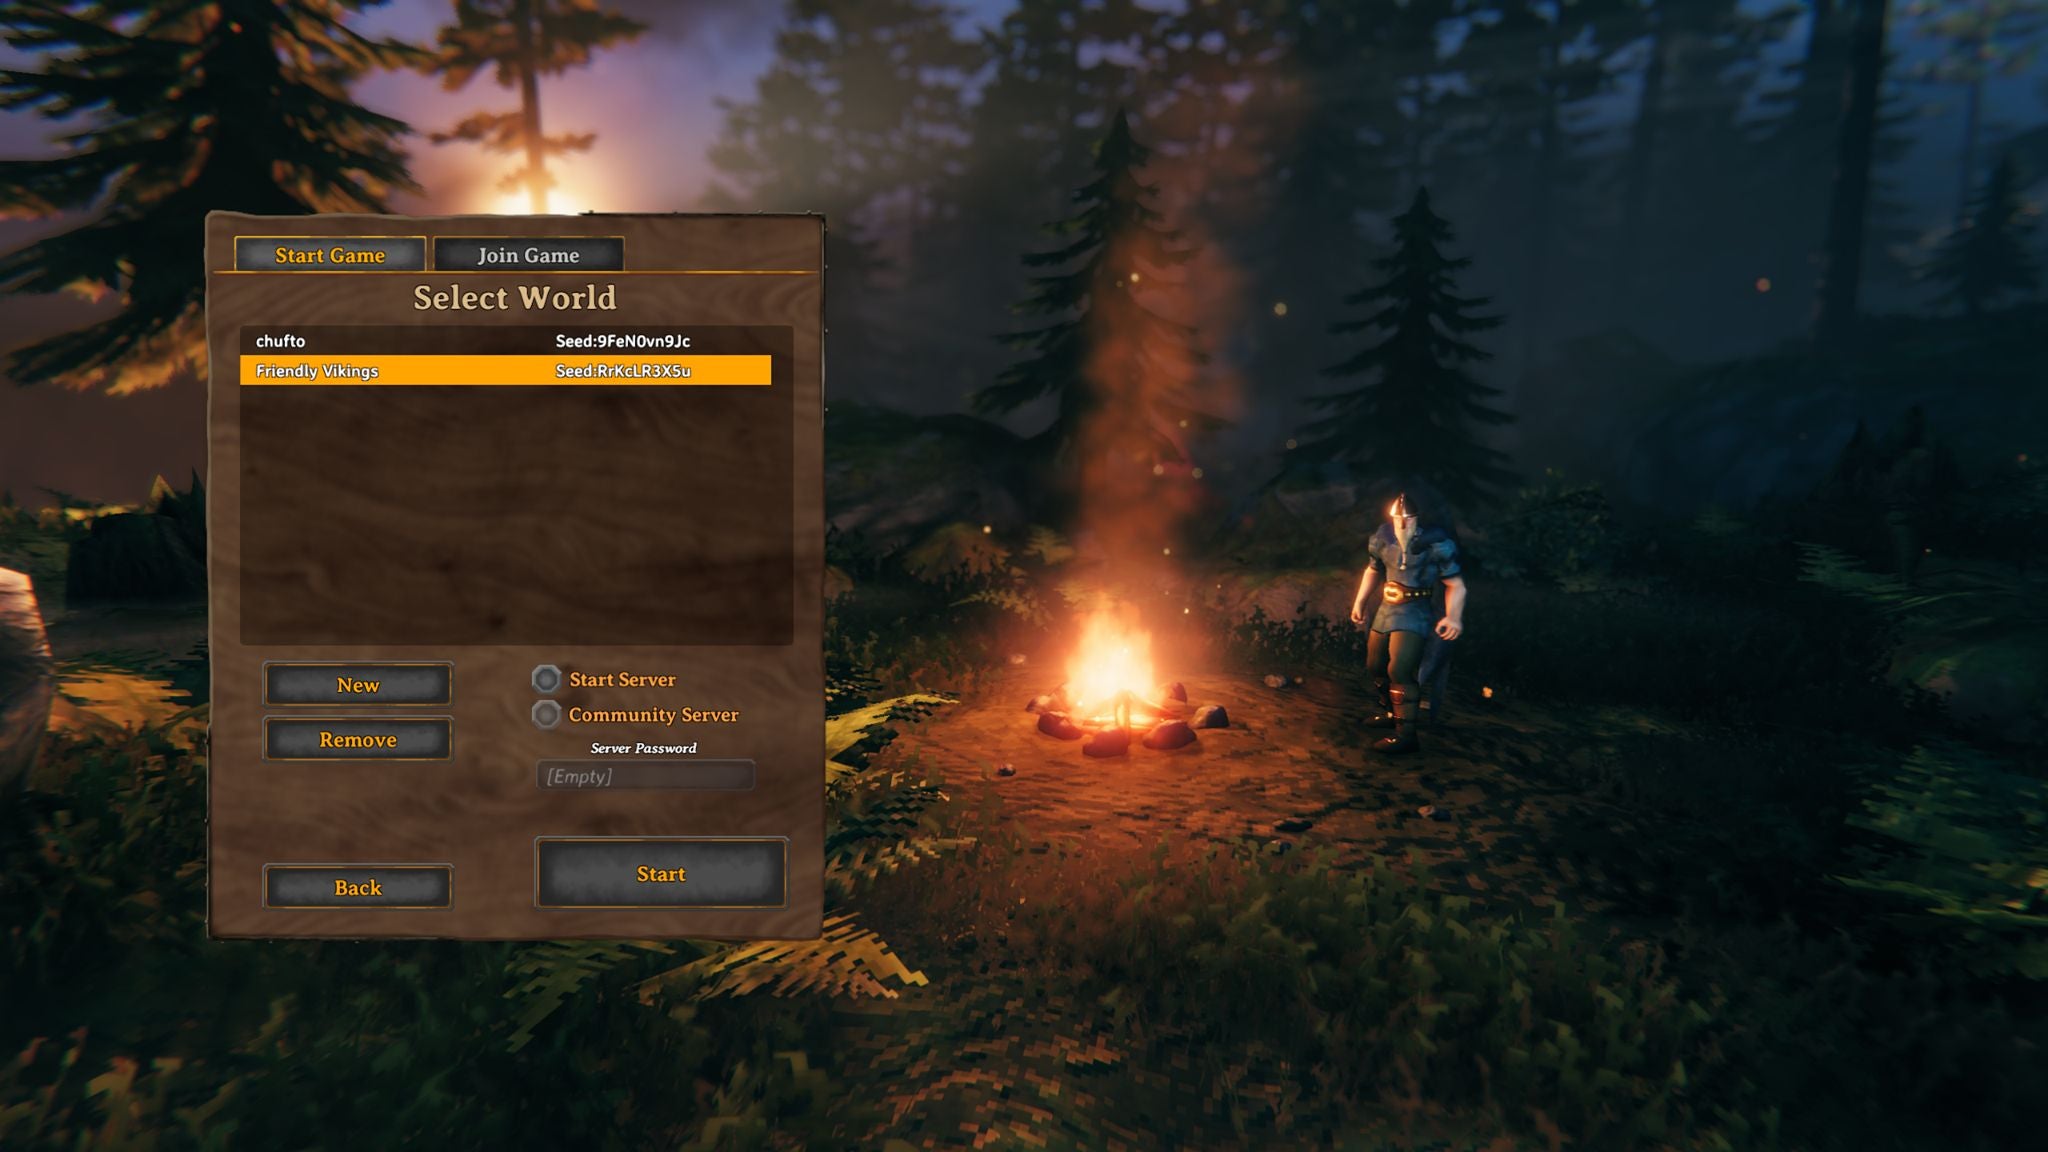
- After a short while, your server should appear in Valheim’s community server list. We’re now ready to go! Now, here’s how to join the dedicated server we’ve just set up.
- Boot up Valheim, wait a little while, then check the Community Server list under the Join Game tab once the server is live.
- Click on the Community Server list, enter the password and connect.
- Ask the server host for their external IP Address and forwarded port.
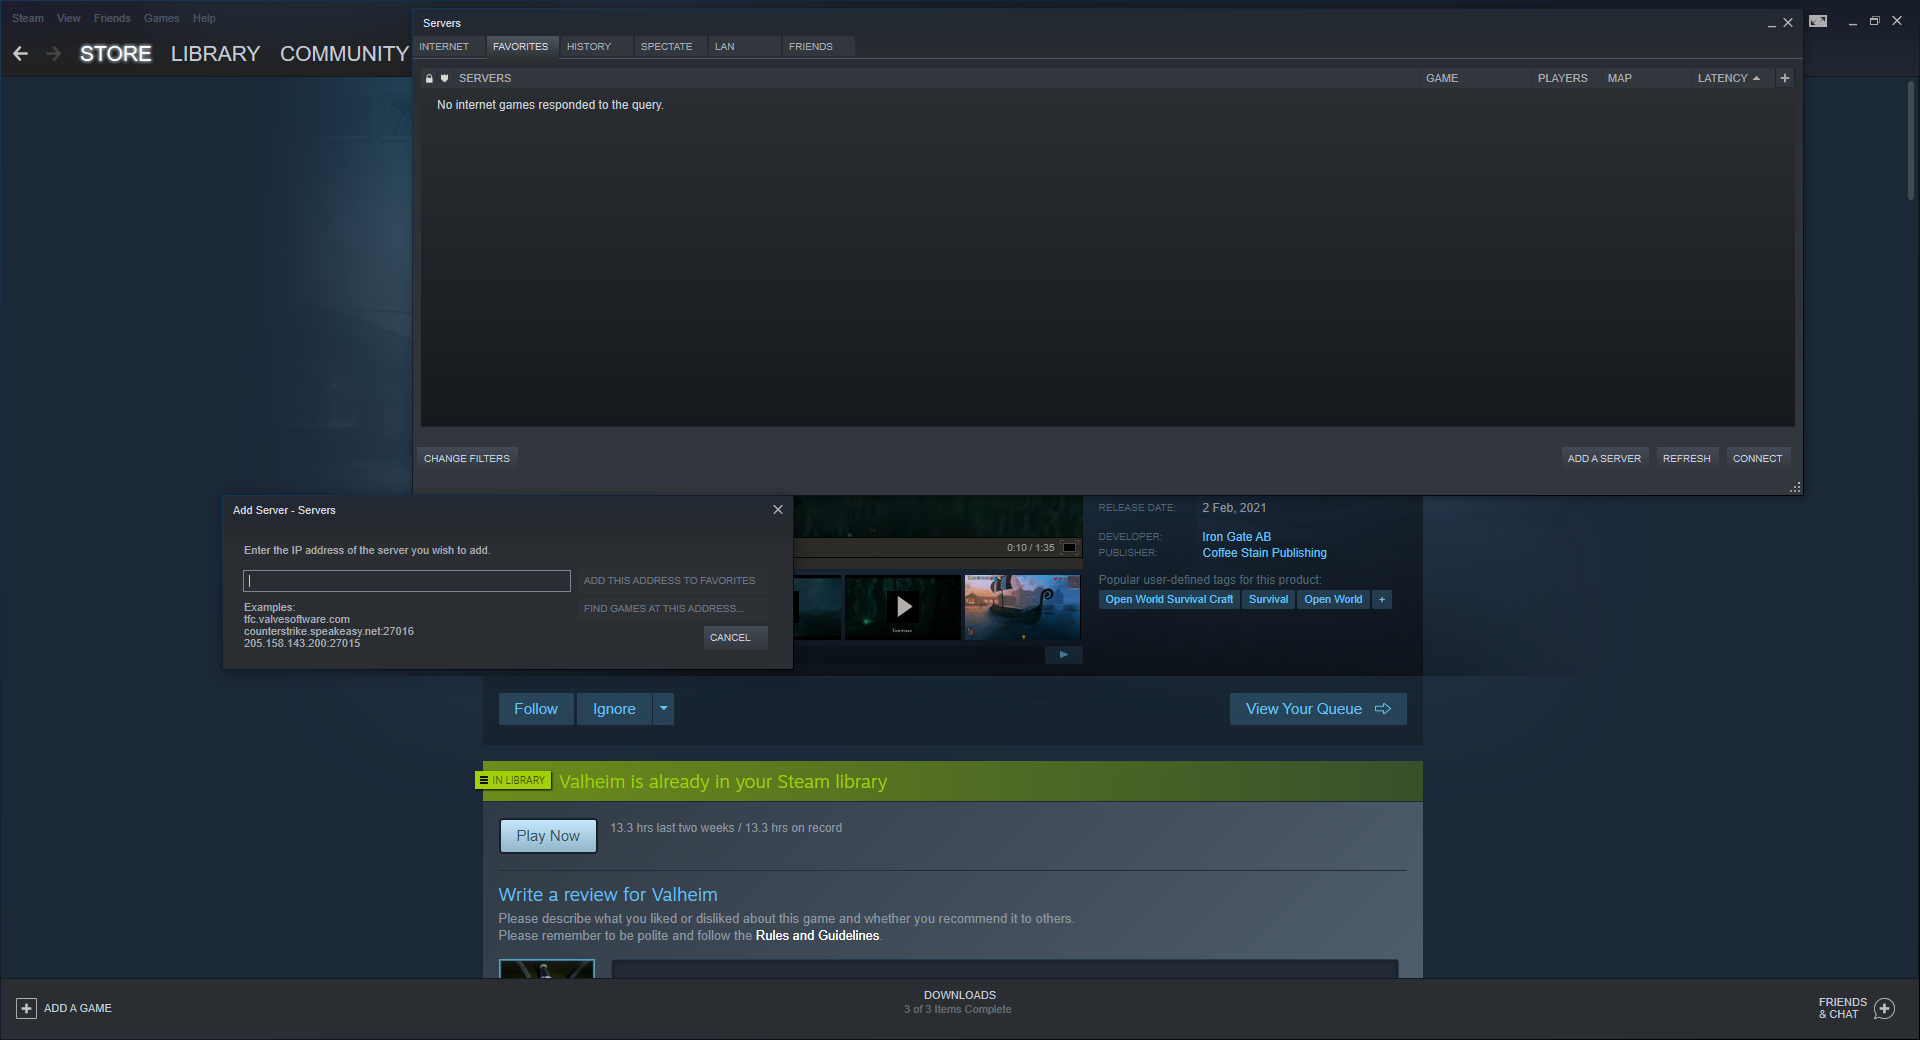
- With Steam open, click View in the top-left, then Servers and open the Favourites tab.
- Click ‘Add a Server’ and then type in the numbers in this format “IP ADDRESS: PORT”.
- Click ‘Add this address to favourites’ and then you can easily access it from Steam. There you have it. With that, you should have everything you need to start and play on your own dedicated server in Valheim. From here, you can summon a homestead and start seeking Valhalla with your plucky Norse colleagues 24/7. Enjoy!